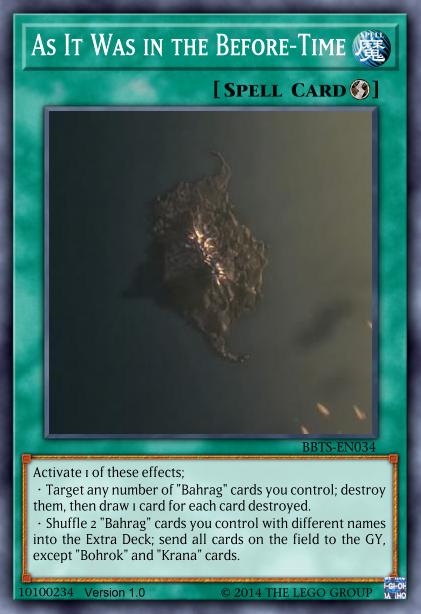
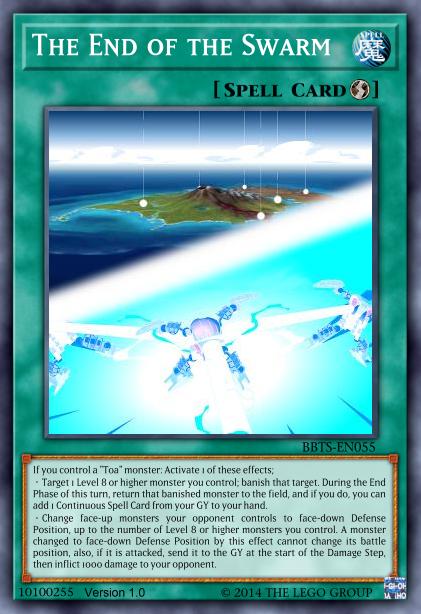
Notice the similarity between these cards? That’s right, both are Quick-Play Spells that let you activate one of two effects if you control a specific category of monsters. Even more, in both cases the first effect has lower requirements and provides some simple utility, while the second needs more setup but deals a potentially game-ending blow.
This is, of course, no coincidence. As It Was in the Before-Time shows the scenario in which the Bohrok swarms successfully eliminate everything else that dwells on the surface, and The End of the Swarm shows the scenario of their defeat that eventually came to pass in the 2002 storyline. They are victory and defeat, so they naturally form a pair – though which one is which obviously depends on what deck you are playing.
No, I am still not going to explain what’s going on with the Level 8+ monsters and Continuous Spells. Try to figure it out on your own if you really want to know already, or just wait patiently 😉
Splashability is when a card or group of cards can be used outside their own deck/archetype to achieve benefits in combination with entirely unrelated cards. Taking this into account when making custom cards adds a lot of depth and therefore fun to the process while also achieving more balanced results, but for a long time I didn’t really do that. So once in a while I have the funny experience of looking back at older designs and realizing they do something generically useful I wasn’t actually going for. Here’s one such example.
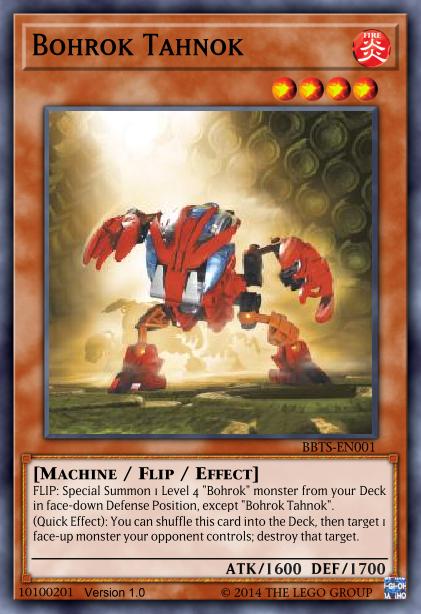
Bohrok Tahnok can shuffle itself into the Deck to destroy a face-up monster, and this is a Quick Effect. Already seems quite useful, but between having to return to the Deck, the limitation of the targets to only face-up monsters, the fact that it targets at all, and the lack of a built-in way to easily bring it out, it probably wouldn’t be that good to just splash it into random stuff.
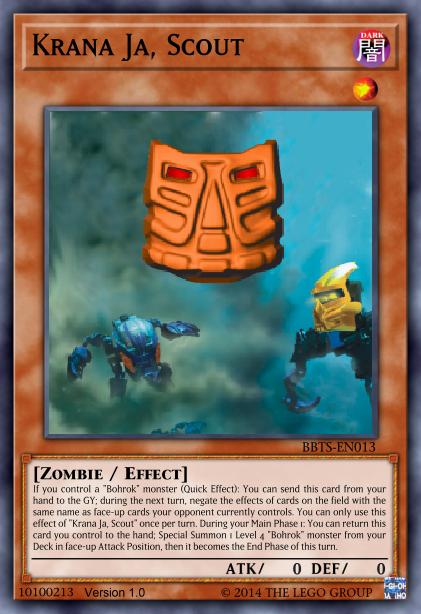
In comes the second card of this package, the Krana Ja. By discarding it from your hand while you control a Bohrok, you can scout ahead and render everything that is already visible on your opponent’s field ineffective during the following turn, and like many other Krana it can return from the field to your hand during Main Phase 1 to bring out a Bohrok from the Deck at the cost of immediately ending the turn.
The bottom line is that by just getting a Krana Ja on the field somehow in your Main Phase 1 (e.g. with One for One or simply a spare Normal Summon), you can easily out any single monster that can have its effects negated. Return the Ja to your hand to Special Summon a Tahnok from your Deck, activate the Ja from your hand during the immediately ensuing End Phase (since you do have a Bohrok now), then in the following turn activate the Tahnok’s Quick Effect to target and destroy whatever you like. At this point all protection and/or negation on your opponent’s field will be negated by the Ja, so you don’t have to worry about that stuff at all.
Now, this does ultimately cost you your Battle Phase and only takes care of a single monster, so it probably isn’t really that impactful in the grand scheme of things. But I found it pretty funny that these two cards on their own could pull this off even though neither of their designs was in any way geared towards it. The Tahnok just has a Quick Effect because it’s fast, and the Krana Ja does what it does because it’s literally a Scout.
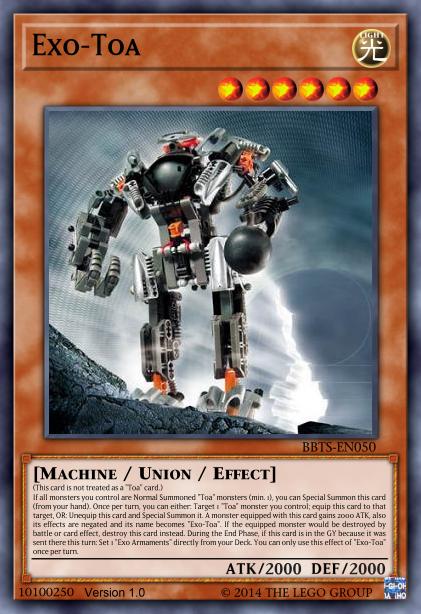
After collecting all types of Krana and descending into the depths of the Bohrok Nest to stop the swarms for good, the Toa Mata came across a new power to aid them in this quest, sealed deep beneath the earth. Suits of armor equipped with powerful weaponry, at the cost of inhibiting their innate elemental powers.
The Exo-Toa, like the Boxor used by the Matoran, is represented by a Union Monster, but like the Toa, it’s Level 6, so getting it on the field where it can do all the Union stuff is the first challenge. The built-in solution is being able to Special Summon itself if all monsters you control are Normal Summoned Toa, though in hindsight it probably wouldn’t be broken to drop the “all monsters” part. Anyway, equipping it gives an enormous boost of 2000 ATK, but comes with two downsides. First, it negates the monster’s effects (i.e., the “elemental powers”), and second, it robs the Toa of their individuality by replacing their name with “Exo-Toa”. Which, due to the little clause at the start of the card text that I’m pretty sure has never actually been used in history (because why would it?), means the are not technically “Toa” monsters anymore and thus lose access to archetypal support cards. This, unfortunately, includes the Kanohi (even in their most recent and well thought out form as of the time of this writing), which canonically shouldn’t be affected by the armor. Might have to come up with something to fix that.
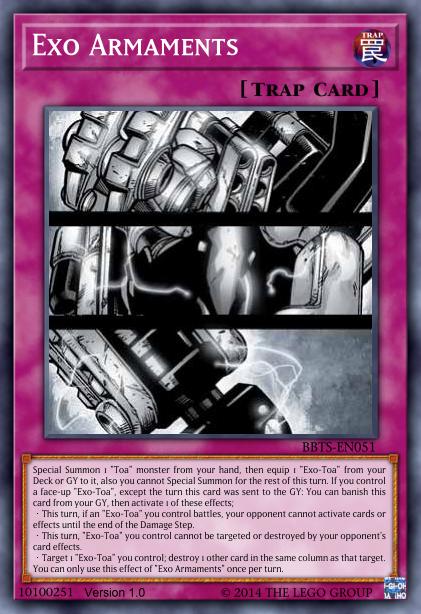
As if this wall of text wasn’t enough, the Exo-Toa has a final consistency-boosting effect to make sure it’s capable of carrying the frankly kind of useless original Toa Mata designs to playability: After going to the GY, it Sets Exo Armaments from the Deck during the End Phase. And once the next turn starts, you can immediately use this Trap Card to bring out a Toa Mata from your hand and equip it with an Exo-Toa from Deck or GY, completing the package in one shot. This also conveniently makes it so the effect negation is actually relevant on the old versions of the Toa Mata who only had on-summon effects, since this way the negation is already active when that effect tries to resolve.
Once in the GY, the Trap turns into what it really takes its inspiration from, namely the array of equipment found on an Exo-Toa. The “boxing claw” works similar to the Boxor (just because of the name) and prevents your opponent from using effects while an Exo-Toa (which could be the Union Monster itself or a Toa that has been equipped and renamed) battles. The armor simply grants protection as you would expect it to. And the electro rocket flies in a straight line to destroy something in the same column as an Exo-Toa, which can be two columns with one copy if you set up the zones correctly when equipping (one from the equip card, one from the equipped monster). Do note that all of these are Quick Effects due to this being a Trap Card.
So the Exo-Toa has many powerful features, but in the story, they were not enough to overcome the combined power of the Bahrag. And I did indeed design the cards specifically so nothing they do can actually out the Bahrag when paired up with both their protection effects online. Because that requires an ability that can only be used when the Toa shed the armor and return to their own elemental powers.
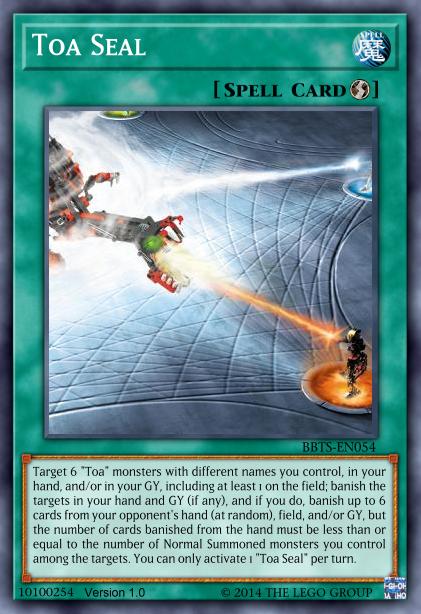
The Toa Seal is the ultimate finishing move achieved when six Toa of different elements combine their powers, imprisoning whatever is unfortunate enough to be in the middle in an inescapable mass of crystalline Protodermis. Accordingly, this card requires six Toa to activate, but due to Yugioh’s Attribute lineup not quite containing the boatload of elements Bionicle has, we will settle for different names. And since getting 6 monsters on the field is only technically possible, you may also pick from those in your hand and GY, though those will be banished on resolution. The result is a non-targeting mass banishing of up to 6 cards, which easily gets past the mutual protection of the Bahrag queens and wipes out pretty much everything else while it’s at it. The number of cards banished from the hand is limited by the number of Normal Summoned Toa participating in the seal, because just banishing 6 from the hand specifically sounded a bit too broken even with these difficult requirements.
The final new card on the Toa’s side is The End of the Swarm, and it’s a … kinda weird one. Assuming you have a Toa, it grants you the choice between two effects relating to Level 8 or higher monsters (?). One temporarily banishes (??) one of those to recover a Continuous Spell (???) from the GY. The other locks a number of your opponent’s monsters depending on your Level 8+ count into face-down Defense Position and basically makes your monsters go UCT on them, except continuous.
Now I can reveal that the second of these effects represents the deactivation and subsequent cleanup of the Bohrok, referenced in the name of the card. Face-down is their sleeping state, so they get switched into that, and the rest is mostly to bypass their Flip effects because this would be kind of self-defeating otherwise. As for what is going on with these Level 8 or higher monsters, Continuous Spells, and the entire first effect, I will remain quiet. Just enjoy the foreshadowing and wait for the answer to your questions to one day rock your universe (okay, that might be overstating it a bit).
Conclusion
While the Toa Mata are currently undergoing a total redesign in order to make them playable on their own, this was actually one of my first attempts to fix those old designs by introducing a small, consistent combo that they could use in the likely event that Plan A (just somehow summoning a lot of Toa) didn’t work out. It provides a 4k+ ATK beater who, with the Exo Armaments correctly set up in the GY, has access to either an effect lockdown during battle, protection against both destruction and targeting, and a limited Quick Effect destruction. Nothing crazy, but at least good enough to actually start getting somewhere in most games.
Once the BCOT overhaul is done and the Toa Mata are fully updated with a more competent strategy, these cards may have to be adjusted for that. But in the meantime, you can find a sample deck using both them and the old Toa in the BBTS release.
In chronicling the struggle between Matoran and Bohrok, the BBTS expansion obviously also needs to show some stuff on the Matoran side. That mainly means their famous anti-Bohrok invention, but let’s first look at some new cards unrelated to that.
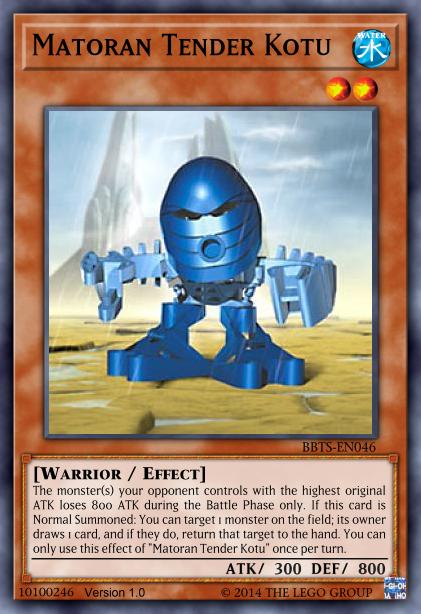
Kotu, serving as the left hand of Turaga Nokama and a Rahi Tender, gets her only real notable bit of screentime in this part of the story, so I took the opportunity to include her. She has the skills to calm aggressive beasts, lowering their ATK, and on Normal Summon can return a monster to the hand in such a way that it’s mainly beneficial in the specific case where your opponent stole one of yours (or you’re just playing Kaijus).
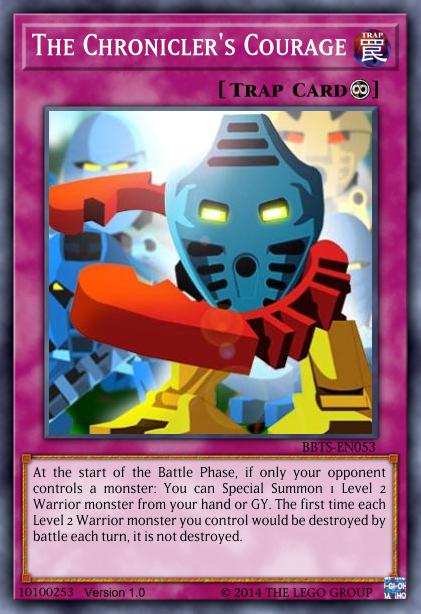
The Chronicler’s Courage depicts Chronicler Takua’s heroic last stand against the swarms invading Ga-Koro, which really just stalled them for that brief moment before the Toa defated the Bahrag. Accordingly, this card simply stalls against battle by bringing out small Warriors to guard against attacks and granting them some protection. Hey, it could potentially buy you a turn.
And now for the main event.
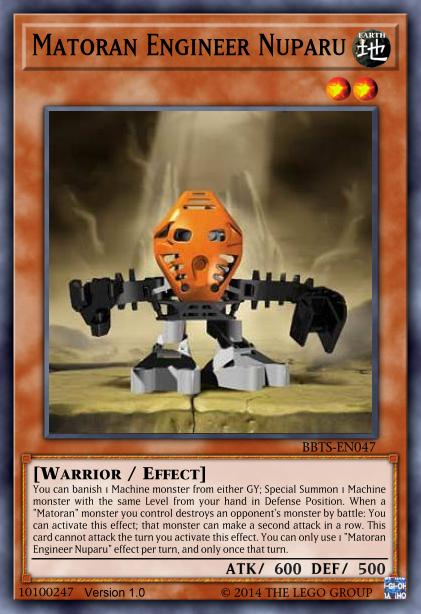
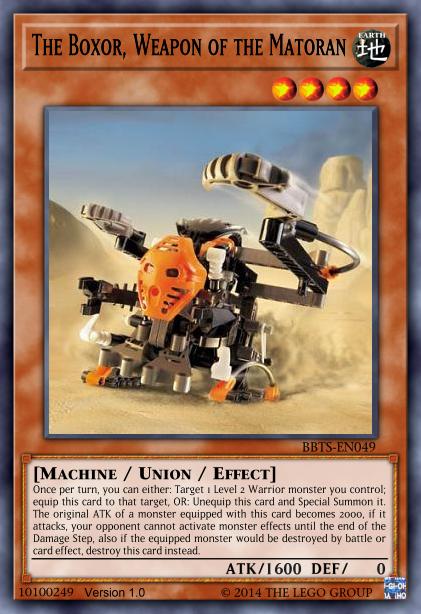
In the village of Onu-Koro lives Nuparu, a Matoran with a passion for machinery. Though this sometimes leads him to neglecting other work such as digging (or attacking, to explain one of the card’s effects already), his time to shine comes when he is trapped in a cave after the Gahlok invade Onu-Koro. There, he and his fellow Matoran discover anEmpty Bohrok Shell, the mechanical hull of one of the attackers that has lost its Krana. Nuparu begins tinkering, and soon the machine is remodeled into a new weapon that would shift the power balance between Matoran and Bohrok: The Boxor.
Playing these cards, you too can recreate this grand tale. The Empty Bohrok Shell places itself directly into your GY in order to search any EARTH Matoran, which includes of course Nuparu, but also the Boxor due to its full name. Then, with Nuparu on the field and a Boxor in your hand, you can activate Nuparu’s effect, banish the Shell from the GY, bring out the Boxor, and use its Union ability to equip to a Matoran of your choice. And now you are ready to overcome any Bohrok in battle and even halt the march of the swarms by denying them their monster effects that would call more of them from the Deck. As a bonus, banishing the Shell can unleash some vestiges of the Bohrok’s destructive power (though not during the same turn you used it for searching), and if the Boxor-equipped Matoran is not Nuparu himself, Nuparu can grant that 2000 ATK beater a second attack at the low cost of not attacking with his own measly 600 (though not during the turn he summoned the Boxor).
Demo
Sample duel ft. Bohrok AI from development version (some cards outdated)
Conclusion
These cards still predate the dedicated Koro playstyle just like the ones in BCOR, but in this case that doesn’t matter as much because at least the Boxor series forms its own little combo independent from other strategies. Adding them to a Matoran deck of any kind will significantly increase its power in the Battle Phase, which is a pretty good niche to cover for an archetype of Level 2 monsters with (almost) only three-digit ATK values.
The BBTS release includes a sample Boxor deck, which uses Matoran from BCOR (also included in the link) together with the new cards.
The Bohrok invasion also introduced some new Rahi into the story, because the designers came up with a bunch of combiners and had nothing better to do with them. This means the Rahi archetype experiences a bit of growth in this expansion.
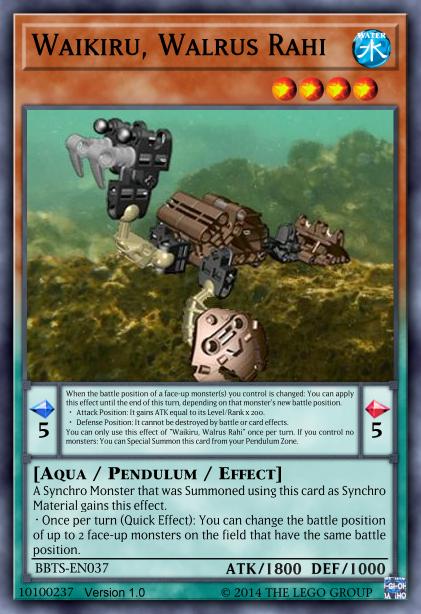
For the Level 4 group (Remember: Special Summon themselves from the Pendulum Zone, grant effects when used as Synchro Material), there are two new additions.
The Waikiru is a creature with two sides in multiple ways: Slow on land but quick in the water, and docile at rest but aggressive when threatened. It changes much like monsters change their battle positions, so that’s the theme for this Rahi’s effects. A Synchro monster summoned with it gains a position-changing Quick Effect, and in the Pendulum Zone it grants appropriate buffs to your monsters when their battle position changes.
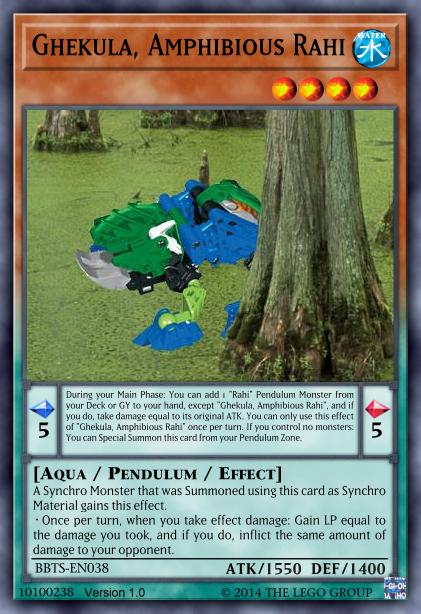
The Ghekula, natural enemy of the Bog Snake, is entirely built to be a counter to that exact Rahi from BCOR (which had effect damage as its gimmick), granting a Synchro Monster the ability to effectively redirect effect damage you take to your opponent. And if you don’t want to wait for your opponent to damage you, the Pendulum Effect provides a good source of damage as well.
A battle between Ghekula and Bog Snake, captured in the wild (little known fact: swamps have wooden floors)
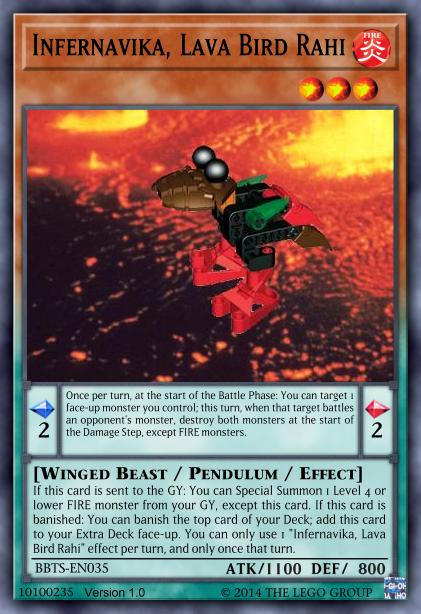
The Level 3s with the banish/GY triggers get 3 new members.
The Infernavika is a small bird that protects itself from predators by hiding among streams of lava, and thus has a Pendulum Effect that can cause battles to take place in an environment hostile to all but FIRE monsters. The attribute theming continues with its effect when sent to the GY, which complements the Daikau, Ussal, and Kewa from BCOR by reviving a FIRE monster, and when banished, it can deftly escape to the Extra Deck while banishing the top card of your Deck in its place.
Serving as a steed to Matoran in the battle against the Bohrok swarms, the Keras helps out your small monsters with both its Pendulum Effect (aiding them in battle for an ATK boost) and its GY effect (carrying them across difficult terrain to protect against effects). The remaining effect that triggers when banished is anti-Bohrok rather than pro-Matoran, but still derives from the same idea.
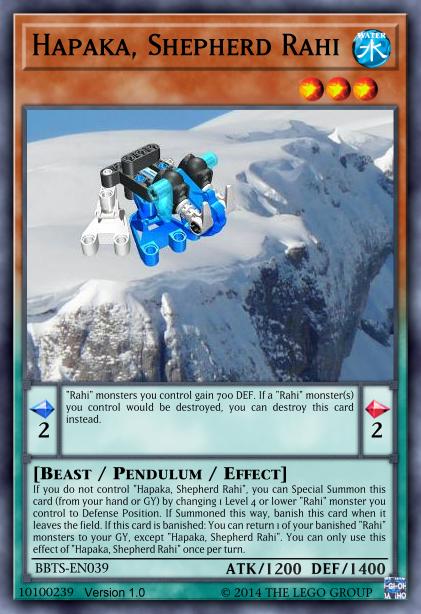
Perhaps the most notable addition is the Hapaka, a Rahi used to safeguard flocks of other Rahi. Accordingly, its Pendulum Effect boosts the DEF of Rahi and prevents their destruction, but the more interesting part is the GY effect, or lack thereof. Instead, it has a Special Summoning procedure from hand or GY by “guarding” another small Rahi. And when banished, including as a result of its own summoning condition, it will return “stray” (banished) Rahi to the “herd” (GY).
Finally, there are two new Level 2 Tuners, both of them coincidentally birds.
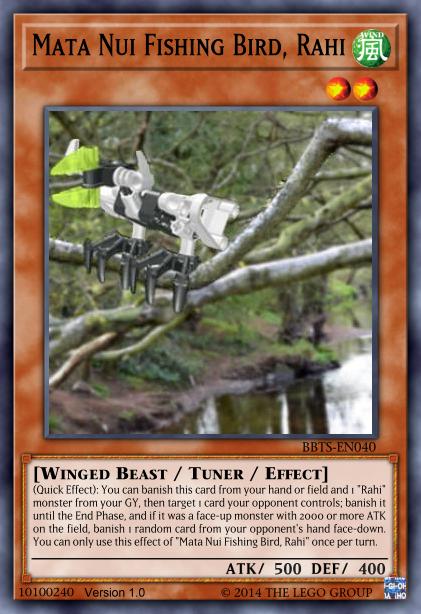
The Pokawi disorient enemies by moving quickly in great numbers, so its effect weakens your opponent’s monsters in proportion to how many Rahi you have gathered up in the banished “zone”. Mata Nui Fishing Birds have a habit of swooping in to annoy larger predators and then escaping again, which I translated into a “swoopy” (if that makes sense) temporary banishment effect that includes an extra reward if used against large monsters.
Conclusion
These new cards mostly focus on fitting the available tidbits of lore on these Rahi into the established frameworks of the archetype from BCOR, so while they do introduce some new gimmicks and options, I’m pretty sure there isn’t any real change in terms of the overall playstyle. The possible exception is the Hapaka, which actually does break with the framework a bit and introduces an entirely new way to get a Level 3 Rahi on the field. But given the myriad of unpredictable deckbuilding options Rahi have in their current wonky state of design, it probably isn’t even feasible for me to conduct enough tests to confidently confirm or deny this assessment.
Anyway, the BBTS release includes not only a sample deck featuring all of the new Rahi, but also decks built entirely around the Waikiru’s and Ghekula’s respective gimmicks. They also require cards from BCOR, so be sure to use the complete version linked above rather than just the standalone BBTS expansion.
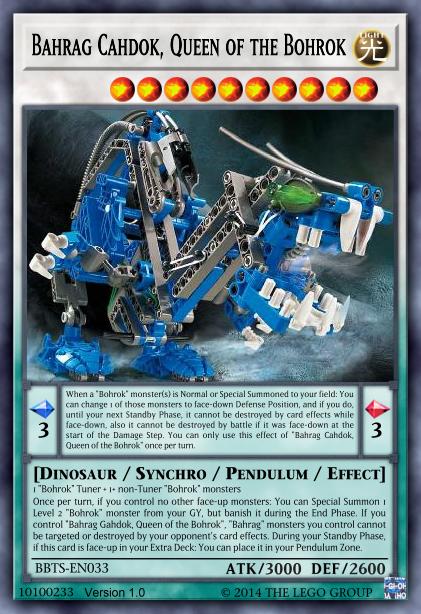
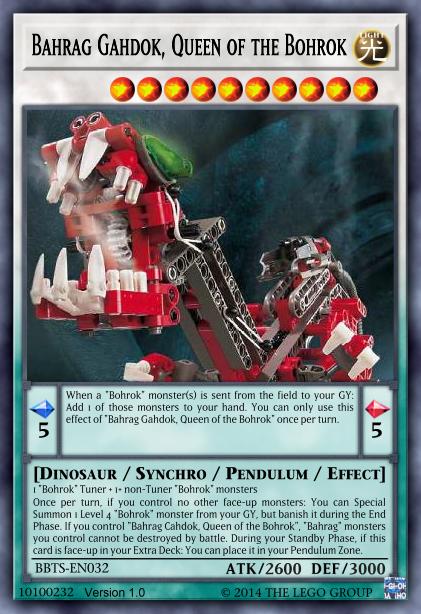
At the top of the Bohrok swarms stand the Bahrag, ancient twin queens utterly dedicated to carrying out their one and only mission. As the final bosses of the 2002 storyline, it is only appropriate that they are also the ultimate boss monsters of the Bohrok archetype.
Since I like to make pairs into Pendulum Monsters, that’s what they are, and also Synchros to complement the Fusion Bohrok Kaita and the Xyz [REDACTED]. Their Pendulum Effects attempt to alter the way Bohrok function in order to let them take better advantage of Pendulum Summons: Cahdok lets you put a Bohrok into face-down Defense Position when it’s Summoned face-up, with added protection to make sure you’ll get to the Flip effect. Gahdok replicates the recursion ability of Pendulum Monsters by returning a Bohrok that gets sent from the field to the GY to your hand.
In the Monster Zone, their shared gimmick is that they gain and grant each other protection if you control the other Bahrag anywhere on the field (including as a Pendulum Scale!), with Cahdok protecting from effects and Gahdok protecting from battle. Both of them also place themselves in the Pendulum Zone if they are face-up during your Standby Phase – their shadowy presence behind the Bohrok swarms cannot be easily eliminated, and if you successfully summon them once you will have access to them for the rest of the Duel.
Finally, each queen has the ability to Special Summon certain members of the swarm (the Level 2 Bohrok Va for Cahdok, the Level 4 Bohrok for Gahdok) from the GY if it is the only face-up monster you control. This has a lot of situational utility since there are no restrictions on attacks or effects for the Summoned monster, but the main intent actually is simply to help assemble the materials for the other Bahrag (usually you need 1 Bohrok Va + 2 Bohrok).
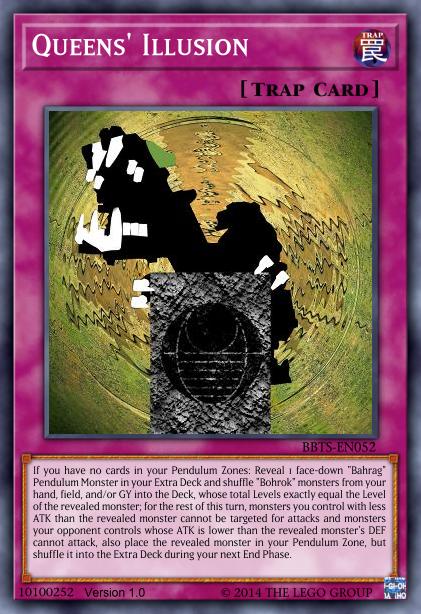
A potentially simpler, if temporary, way to get to the Bahrag is Queens’ Illusion, a Trap Card based on, well, the queens’ ability to generate illusions. By shuffling the materials from hand, field, or GY into the Deck, it places an “illusory” Bahrag in the Pendulum Zone and imposes attack restrictions based on its stats. The illusion ends after a turn, but while it is active you can freely use the Pendulum Effect and potentially enable another Bahrag’s protection with the added name.
And once you do get the Bahrag out, is there anything you can do other than sitting on them and throwing Bohrok at your opponent? Well yes, there’s a card specificall to ensure that all shall be …
Representing the final goal of the Bahrag and their Bohrok swarms, As It Was in the Before-Time is the ultimate payoff to assembling the pair. By activating this Quick-Play Spell and returning both of the Bahrag (either as monsters or as Pendulum Scales) to the Extra Deck, you can send everything on the field except the swarms themselves to the GY, completing the great mission of cleaning it all. Somehow I feel like that sounded more impressive before Konami made Zeus, but whatever. To make the card not completely useless outside the absolute best case scenario, it can also be used as a draw spell at the cost of destroying a number of Bahrag cards equal to how much you want to draw (again, these can be monsters or just Pendulum Scales). With the Bahrag automatically returning from the Extra Deck each Standby Phase, this is usually a pretty good trade.
Conclusion
Sucessfully setting up the Bahrag provides significant lasting benefits to a Bohrok strategy, and on top of that they simply serve as nice big boss monsters to go into. This makes them into a package that can be included both as just an additional option and as the main win condition.
The BBTS release provides examples of the former approach in any of the multiple Bohrok decks, and of the latter in the Bahrag deck specifically.
The eight types of Krana are sentient, organic beings that provide the guiding intelligence as well as a set of special powers to the Bohrok swarms, so the BBTS expansion implements them as monsters that allow Bohrok access to some effects that are generally a bit more clever than what the archetype otherwise does. Each Krana essentially has two effects: One that activates in the hand and is different for each monster while following one of two templates, and another that can only be one of two options, each of which is shared by half the Krana.
Let’s just use those second effects to segment the Krana in the following explanation and cover the rest as we go.
Based off the idea that Bohrok are really just robot suits piloted by the Krana inside them, these monsters have the ability to return themselves from the field to the hand to get any of the Level 4 Bohrok directly from the Deck. This is not something you want to rely on unless you need to since it only works during your Main Phase 1 and then ends the turn, but having the option at least avoids total bricks when playing a lot of Krana.
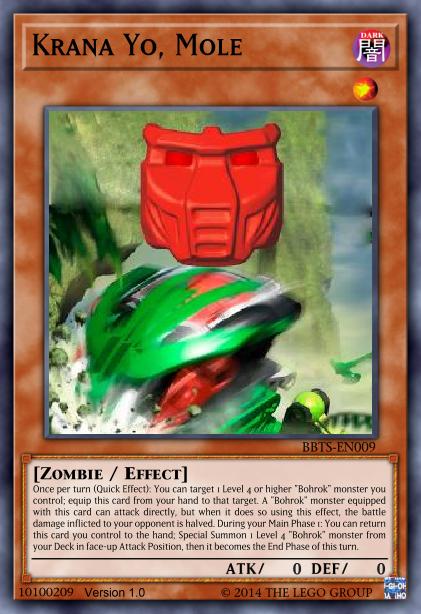
Regarding the first effect, the Krana Yo and Krana Ca follow the template of equipping themselves to a Level 4 or higher Bohrok from the hand in order to grant some continuous benefit. The Yo, holding the power to let its Bohrok dig through most substances, allows the equipped monster to attack directly. The Ca with its shielding powers protects all of your Bohrok from battle, but only once per turn for each.
Krana Xa and Krana Ja feature the alternative effect template, which means you can activate them by sending them directly from the hand to the GY at a certain timing. With the Xa, which are mainly in charge of formulating the more complex strategies of the plans, you can counteract negations or other responses to your Bohrok effects. It can be activated in any chain that has a Bohrok monster’s effect anywhere but as the last link and will negate the effects of all non-Bohrok cards on the field that appear in this chain. This lasts all the way to the end of the turn, so you might be able to disable something vital using this if you can just bait an activation out of it first. Another mass effect negation option is provided by the Krana Ja, which gives the swarms advance warning of known threats and thus renders everything that is visible on your opponent’s field useless during the following turn. This effect can be activated at any time as long as you control a face-up Bohrok, so you’d probably want to use it during the End Phase for maximum effect.
The other group of Krana are those that can banish themselves from the GY to steal a monster destroyed by a Bohrok from your opponent’s GY, controlling their enemies to make them part of the swarm. The monsters are Special Summoned in face-down Defense Position for thematic reasons and there’s a restriction on it that effectively prevents you from doing it more than once per turn, but even with that it’s obviously a damn strong move.
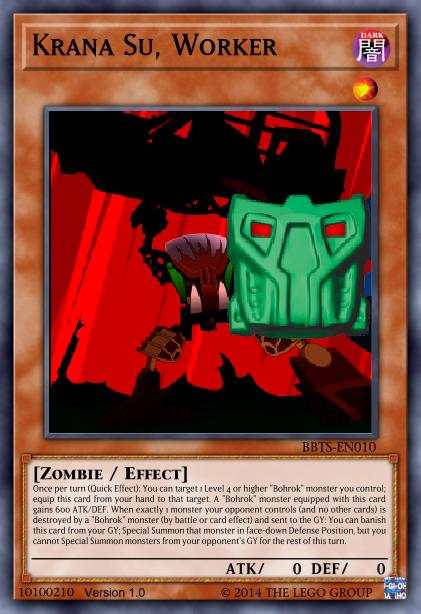
The equipping Krana among these are the Krana Za and Krana Su. The squad leader-type Za allow Bohrok to communicate and coordinate telepathically, which in this case is used to protect the equipped monster via strategic retreats of your other monsters (including face-down ones) while also keeping up the card supply. The Su is the caveman among the Krana, merely granting a stat boost, but that is very versatile in its simplicity, especially considering the equipping is a Quick Effect.
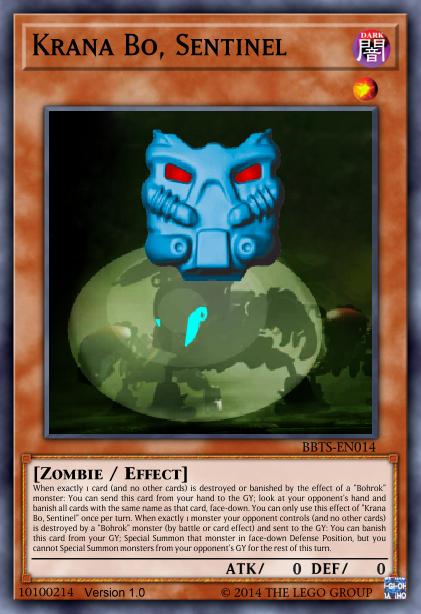
The pure hand effects here belong to Krana Vu and Krana Bo. The Vu makes Bohrok capable of flight, so it can be used to dodge targeting effects and even goes as far as negating and destroying the card in question to really make your opponents think twice about targeting your Bohrok with anything. The Bo can be triggered in response to your Bohrok cleaning up any card with their removal effects, using its night vision capabilites to track down further copies of the same card hiding in the darkness of your opponent’s hand and get rid of them for good.
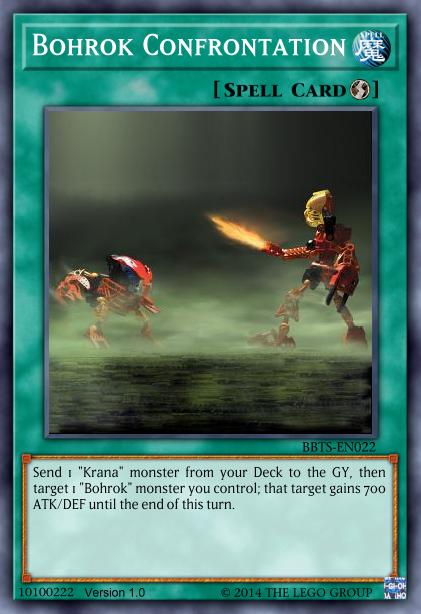
On the topic of Krana that can steal your opponent’s monsters, we should take another look at Bohrok Confrontation, which was already covered in the main Bohrok article. What it does is send a Krana from your Deck to the GY to boost a Bohrok’s ATK/DEF, and knowing what we do about Krana now, the idea is obviously to have a Bohrok run over a monster in battle and then immediately steal it with the Krana.
There are other cards that further expand on the idea of Krana mind control. The following four monsters, for which I like to use the umbrella term “Servants of the Swarm”, represent the unwilling victims of this power.
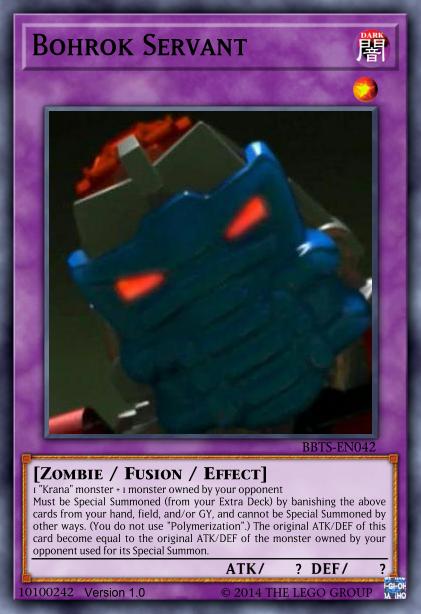
Bohrok Servant is the generic standin for arbitrary beings under the control of a Krana. Its purpose is basically to make immediate use of the face-down monsters you get from the stealing effect, by contact fusing them (remember, that works when face-down) with a Krana from pretty much anywhere, banishing both and giving you a monster that at least copies the stats of whatever you stole.
The remaining Servants of the Swarm are a bit more specific, each of them being based on one particular inhabitant of Le-Koro that was possessed by a Krana during the takeover of that village. They generally work by sending a Krana from the Deck to the GY to neutralize an opponent’s monster and set up a situation where you can easily steal it, though the way in which they do so differs greatly.
Matoran of the Swarm counters Xyz Monsters by attaching to them as a material, which locks their effects and makes their ATK/DEF become 0 during battle with a Bohrok. It can also attach itself from the GY to your Xyz Monsters that are flipped face-up, obviously so a stolen Xyz can actually have material.
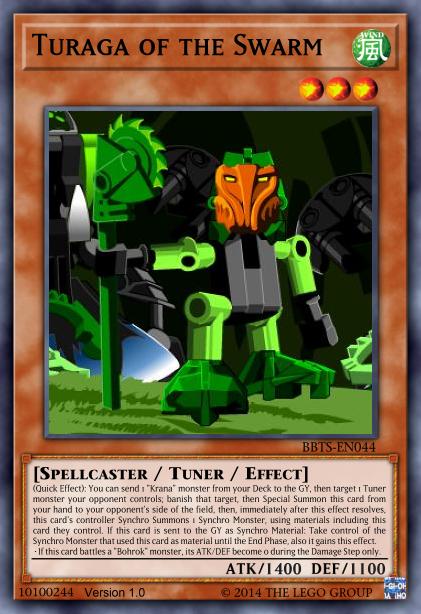
Turaga of the Swarm interferes with Synchro Summons in a particularly funny way, inserting itself on the opponent’s field in place of a Tuner and immediately forcing a Synchro Summon. When used as material, it gives you control of the Summoned monster for a turn and permanently makes it so its ATK/DEF become 0 when battling a Bohrok. This approach comes from the fact that Turaga were originally Tuners, so now that the BCOT remake is changing them to Link Monsters this card might be due for a redesign sooner or later as well.
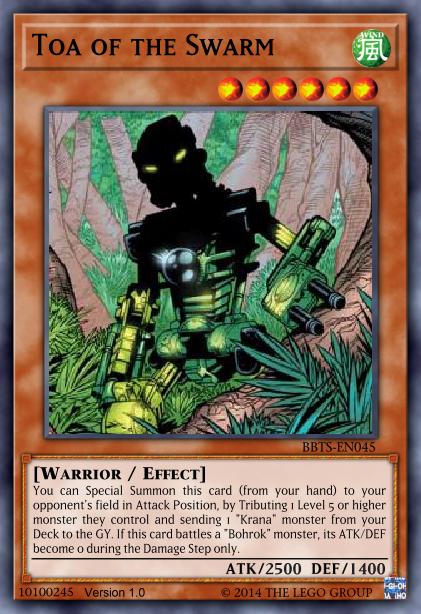
Toa of the Swarm is the simplest of these, since it just Tributes over an opponent’s high-level monster and then surrenders itself willingly by making its ATK/DEF 0 when battling a Bohrok. The Level restriction was already iffy to begin with and is even more so when considering the prevalence of Link Monsters, so I might eventually tweak that to something like “2000 or more ATK”.
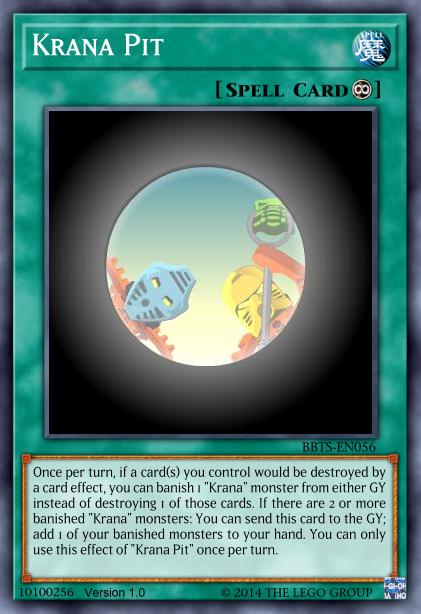
Finally ,we have a funny little card that simultaneously supports and counters Bohrok/Krana decks. Krana Pit lets you protect a card from destruction each turn by banishing a Krana monster from the GY instead, but since this works on both GYs you can just as well use it if your opponent is the one playing Krana. Similarly, it allows recovering a banished monster when there are 2 or more Krana banished, without specifying whose Krana they must be.
Conclusion
Krana add quite a few sophisticated effects to the Bohrok toolbox, giving you interesting options to interact with your opponent beyond just razing their field to the ground. The ability to steal a destroyed monster makes the Bohrok’s effects and attacks a bit more threatening than they already were, and with the Servants of the Swarm can itself be made into a central strategic element of your deck.
A selection of Krana can be found sprinkled throughout the sample Bohrok decks in the BBTS release, while the Servants of the Swarm usually appear as Side Deck options.
The Bohrok Va are the secondary monsters of the Bohrok archetype, lending different kinds of support to the primary Level 4 Flip Monsters. They themselves all come in the form of Level 2 Tuners with the ability to Special Summon themselves from the hand if you control their respective breed of Bohrok, making them the main means of access to the archetype’s own Synchro bosses, the Bahrag.
In addition to the shared traits above, all Bohrok Va have a helpful effect on the field and another one that activates during the End Phase of the turn in which they were sent from the field to the GY. The former is different for each monster, the latter divides them into two distinct flavours.
One of those are the Bohrok Va that use the End Phase to return a banished Krana to your hand, where it can lend its powers to the swarms once again.
If you control “Bohrok Tahnok”, you can Special Summon this card (from your hand). You can only Special Summon “Bohrok Tahnok Va” once per turn this way. Once per turn: You can excavate the top 3 cards of your Deck, and if you do, banish 1 of them, and if it was a “Bohrok” monster, increase this card’s Level by the Level of the banished monster, until the end of this turn. During the End Phase, if this card is in the GY because it was sent there from the field this turn: Add 1 of your banished “Krana” monsters to your hand.
Bionicle: Beware the Swarm (v3.15.5)
The Tahnok Va, speedy and reckless, can pump its Level to 4 or 6 by banishing a Bohrok from among the top 3 cards of your Deck, but this might backfire if you fail to find one there. Should you succeed, though, you will instantly be able to pull out a nice and big Synchro in most cases, so it’s worth the risk.
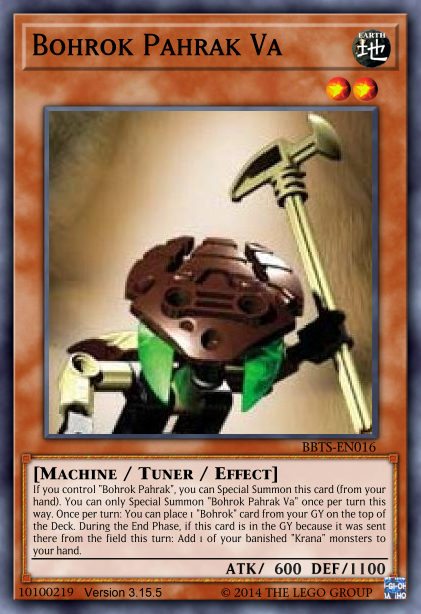
If you control “Bohrok Pahrak”, you can Special Summon this card (from your hand). You can only Special Summon “Bohrok Pahrak Va” once per turn this way. Once per turn: You can place 1 “Bohrok” card from your GY on the top of the Deck. During the End Phase, if this card is in the GY because it was sent there from the field this turn: Add 1 of your banished “Krana” monsters to your hand.
Bionicle: Beware the Swarm (v3.15.5)
The Pahrak Va, known to be slow unless they have a reason to move quickly, will stack the top of your deck with a Bohrok card from the GY, which is an effect that goes from slow to fast depending on whether or not you have some way to draw a card.
If you control “Bohrok Lehvak”, you can Special Summon this card (from your hand). You can only Special Summon “Bohrok Lehvak Va” once per turn this way. When your opponent activates a Spell/Trap Card while you control another “Bohrok” monster (Quick Effect): You can Tribute this card; negate the activation, and if you do, destroy that card. You can only use this effect of “Bohrok Lehvak Va” once per turn. During the End Phase, if this card is in the GY because it was sent there from the field this turn: Add 1 of your banished “Krana” monsters to your hand.
Bionicle: Beware the Swarm (v3.15.5)
The noisy Lehvak Va drown out not only other sounds, but also your opponent’s Spells/Traps, though only with the backup of another Bohrok and at the cost of tributing itself. Would be a bit unfair otherwise.
The other flavour of Bohrok Va are those which grant you a draw in exchange for shuffling Bohrok from the GY into the Deck during the End Phase, which is a particularly valuable ability when things aren’t going too well for your strategy.
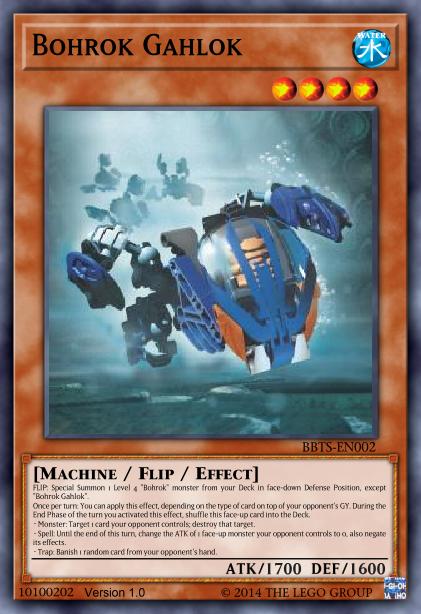
If you control”Bohrok Gahlok”, you can Special Summon this card (from your hand). You can only Special Summon “Bohrok Gahlok Va” once per turn this way. During your Main Phase: You can excavate the top card of your Deck, and if it is a “Bohrok” card, add it to your hand. You can only use this effect of “Bohrok Gahlok Va” once per turn. During the End Phase, if this card is in the GY because it was sent there from the field this turn: Shuffle 2 “Bohrok” monsters, except “Bohrok Gahlok Va”, from your GY into the Deck, then draw 1 card.
Bionicle: Beware the Swarm (v3.15.5)
The Gahlok Va move slowly, yet steadily, and will attempt to add an extra Bohrok card from the top of your Deck to your hand once per turn.
If you control “Bohrok Nuhvok”, you can Special Summon this card (from your hand). You can only Special Summon “Bohrok Nuhvok Va” once per turn this way. You can send 1 card from your hand to the GY; draw 1 card. You can only use this effect of “Bohrok Nuhvok Va” once per turn. During the End Phase, if this card is in the GY because it was sent there from the field this turn: Shuffle 2 “Bohrok” monsters, except “Bohrok Nuhvok Va”, from your GY into the Deck, then draw 1 card.
Bionicle: Beware the Swarm (v3.15.5)
The Nuhvok Va take a more straightforward approach and just dig into the Deck at the appropriate cost of losing a card from your hand.
If you control “Bohrok Kohrak”, you can Special Summon this card (from your hand). You can only Special Summon “Bohrok Kohrak Va” once per turn this way. When an opponent’s monster declares an attack: You can Tribute this card; negate the attack, then end the Battle Phase. During the End Phase, if this card is in the GY because it was sent there from the field this turn: Shuffle 2 “Bohrok” monsters, except “Bohrok Kohrak Va”, from your GY into the Deck, then draw 1 card.
Bionicle: Beware the Swarm (v3.15.5)
Finally, the Kohrak Va are masters of evading attacks through camouflage, which lets them help you avoid battle. Not an amazing effect in the face of, you know, the entire concept of removal effects, but occasionally it does something.
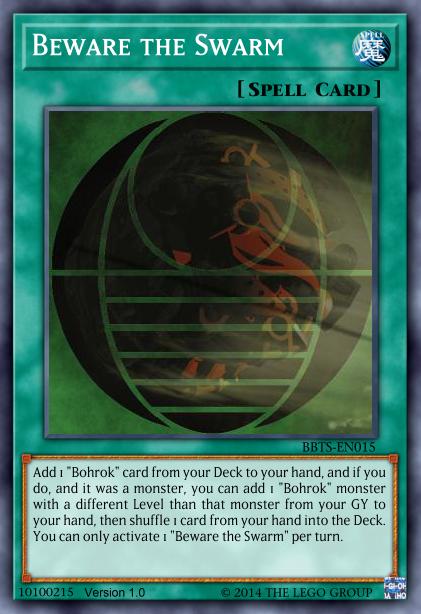
With these monsters and the main Level 4 Bohrok in mind, the true power of the already good search spell Beware the Swarm becomes apparent. By adding either a Bohrok or Bohrok Va whose matching counterpart is in the GY, you instantly become able to place both of those monsters on the field. Assuming your hand is in a good enough state to not have to shuffle either of them back and you still have your Normal Summon, of course.
Like the larger Bohrok, the Bohrok Va also have the ability to form Kaita. These combiner models never played any role in the story at all, so I just went the route of giving them extra useful ways to support the archetype. And I’ll leave going over the dedicated fusion spell to the main Bohrok article, because most of the time you’d probably just Instant Fusion these guys out anyway.
“Bohrok Gahlok Va” + “Bohrok Kohrak Va” + “Bohrok Lehvak Va” If this card is used as Synchro Material, all other Synchro Materials must be “Bohrok” monsters. During the Standby Phase: You can Tribute this Fusion Summoned card; Special Summon 1 “Bohrok” Fusion Monster from your Extra Deck. During the End Phase, if this card is in the GY because it was sent there from the field this turn: You can add 1 “Bohrok” or “Krana” card from your Deck to your hand. You can only use this effect of “Bohrok Va Kaita Ja” once per turn.
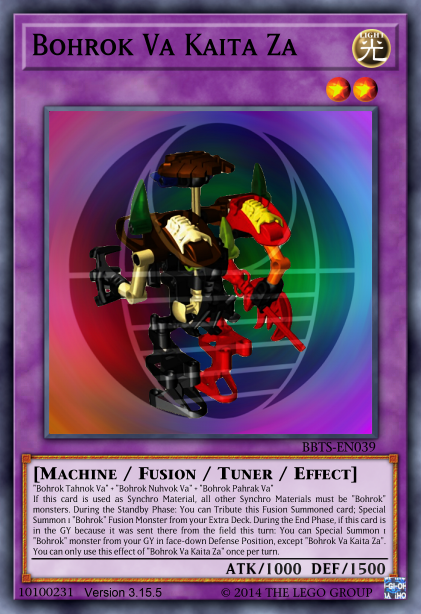
“Bohrok Tahnok Va” + “Bohrok Nuhvok Va” + “Bohrok Pahrak Va” If this card is used as Synchro Material, all other Synchro Materials must be “Bohrok” monsters. During the Standby Phase: You can Tribute this Fusion Summoned card; Special Summon 1 “Bohrok” Fusion Monster from your Extra Deck. During the End Phase, if this card is in the GY because it was sent there from the field this turn: You can Special Summon 1 “Bohrok” monster from your GY in face-down Defense Position, except “Bohrok Va Kaita Za”. You can only use this effect of “Bohrok Va Kaita Za” once per turn.
Bionicle: Beware the Swarm (v3.15.5)
Just like the regular Bohrok Va, both of the Kaita are Level 2 Tuners (their Level remains the same when combining simply because it’s more convenient for Synchro math this way), but being just a Spell Card away in any arbitrary deck means they need the restriction of only performing Synchro Summons with other Bohrok. Both also share the ability to replace themselves with another Bohrok Fusion (including the big ones) during the Standby Phase, but only if they were properly Fusion Summoned themselves, and Instant Fusion’s little clause doesn’t help here because in that case they won’t even live to the Standby Phase.
Their other effects activate during the End Phase of the turn they went from the field to the GY, be it because they were used as Synchro Material, tributed by their own effects, or otherwise destroyed. In the case of Bohrok Va Kaita Ja, this allows you to add any part of the swarms, Bohrok or Krana, from the Deck to your hand. Bohrok Va Kaita Za on the other hand Special Summons any Bohrok monster, regardless of Level, from the GY in face-down Defense Position.
Conclusion
Bohrok Va supplement the basic Bohrok strategy by aiding the circulation of resources and simplifying access to more powerful boss monsters. Since they require specific Bohrok names on the field to work to their full potential, they are best when used together with a smaller subset of the six breeds, which seems like the most reasonable way to play Bohrok anyway.
Examples of incorporating Bohrok Va like this can be found in any of the Bohrok decks of the BBTS release.
The Bohrok swarms are the central focus of the BBTS expansion, so it shouldn’t be a surprise that a lot of the cards relate to them. This article will only cover the actual Bohrok that make up the main body of the swarms, as well as their standalone support cards. There are some additional groups of support that will be covered separately, namely Bohrok Va, Krana, and the Bahrag.
With that said, let’s take a look at these colorful rolling pellets of doom and destruction.
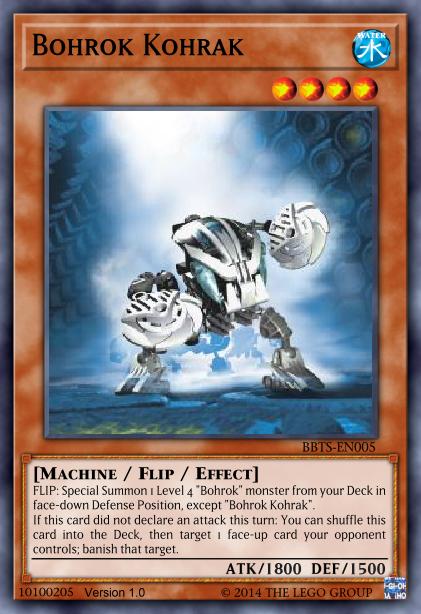
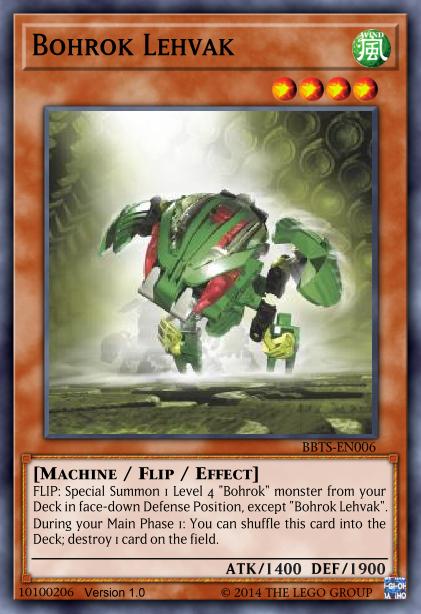
The Bohrok come in six breeds, making six Level 4 monsters with varying stats but relatively similar effects. Most importantly, they all share the Flip Effect that allows them to Special Summon a Level 4 Bohrok with a different name directly from the Deck in face-down Defense Position. So waking (flipping) one immediately sets up the next, and if this chain continues uninterrupted for a bit, you will soon have woken them all.
Once face-up on the field, the Bohrok will begin their work to clean all that must be cleaned, or in other words everything on your opponent’s field. Each type has a different removal effect at the cost of shuffling itself back into the Deck (so it can later be called by other Bohrok and continue the onslaught of the seemingly limitless swarms), with the slightly less potent ones delaying the shuffling until the End Phase.
Among the powerful effects that require their cost instantly at activation, we have the Tahnok, known for their speed, who can target and destroy an opponent’s face-up monster as a quick effect. Out of all Bohrok removal effects, this has the least options for targets but the highest options for timing, and it’s the only one of the six that can be used for disruption on the opponent’s turn. The other end of this spectrum are the Lehvak, which can use their acid powers to destroy any card on the field without even targeting, but can only do so specifically during your Main Phase 1. Finally, the Kohrak tend to value their cleaning task over fighting those wo try to stand in their way, and therefore have the more impactful removal of banishing an opponent’s face-up card at the additional cost of not being able to attack that turn.
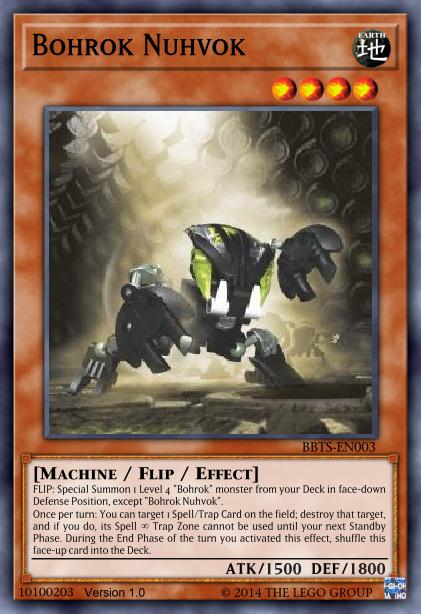
The other three breeds leave you with the rest of the turn to use them for some kind of cost or material to avoid returning to the Deck, but in exchange their removal effects are also a bit weaker and/or more conditional. Such as the Gahlok, whose ever-changing and unpredictable methods of attack are implemented as three possible effects with the choice depending on the top card of your opponent’s GY. A monster allows you the standard move of destroying an opponent’s card, a Spell lets you non-targetingly turn a monster into a 0 ATK vanilla to deal with well-protected obstacles the other breeds struggle with, and a Trap enables a strike entirely beyond the normal range of the swarms, banishing a card directly from the hand. As you may have noticed, the power level of these options is scaled to how often each type can be expected to be found on average. Also conditional, but less mind-bending, is the effect of the Pahrak, which simply destroys a card at the end of a Battle Phase in which it battled. Their iconic trait of stubbornly ignoring outside interference while pursuing a goal aids them here by granting them protection from effects while they are battling. The last remaining Bohrok breed are the Nuhvok, and their effect is to destroy a Spell/Trap on the field and temporarily render its zone unusable with the holes they dig in the process. Note that this only works on the main five Spell/Trap Zones, so no locking your opponent out of Field Spells for a turn with this (but you can still destroy one).
Beware the Swarm is the archetype’s all-purpose search card, which can also recover an additional monster from the GY if you use it to search a monster, at the cost of returning a card from the hand to the Deck. Since it requires different levels, it’s not actually relevant with just the monsters above, but becomes very valuable if you also consider the Bohrok Va.
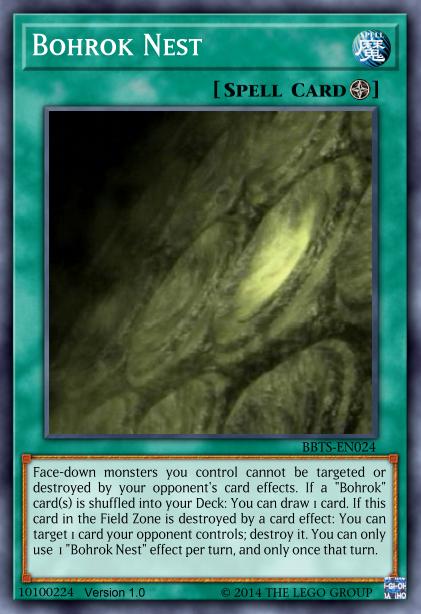
The Field Spell Bohrok Nest helps Bohrok do their thing in various ways. Your face-down monsters are protected from forms of interaction that don’t flip them, to increase the chance of properly getting the engine started. You get to draw of the Bohrok’s shuffle costs to maintain card advantage. And should it be destroyed, the Bohrok swarms released by that foolish action will wreak havoc and destroy something else on the field.
For those last two effects, it’s worth noting that the draw effect specifically only triggers when a Bohrok card in a public location (so not face-down or in the hand) is placed into the Main or Extra Deck face-down (shuffling not strictly required), and that it is entirely possible to upgrade the Nuhvok’s Spell/Trap destruction into a general destruction if you’re willing to sacrifice the Nest.
Moving on, we have a support card that is beautifully simple yet somehow effective in what it does. Bohrok Confrontation is basically just an archetypal version of Rush Recklessly, but with the added “cost” of sending a Krana from the Deck to the GY. Now, if you check out the Krana article to see what some of them do in the GY the synergy becomes clear, but for this section I’ll just say that pumping Bohrok stats up comes in handy in a surprising amount of situations.
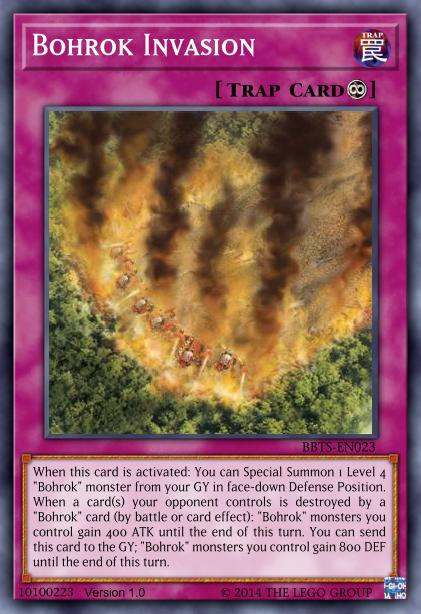
Bohrok Invasion is a Continuous Trap that rewards Bohrok for successful cleaning work with a stacking ATK boost, potentially allowing them to attack for game right away through your opponent’s cleared field. It also helps you recover from setbacks by bringing a Bohrok from the GY back to the field in the ideal face-down Defense Position, and when you’re under attack, you can abandon the invasion to focus on defense instead.
The Bohrok come with several memorable taglines that were very helpful in deciding the focus of their archetype. We have already seen “Beware the Swarm” as the name of the search Spell, but another catchy phrase has made it onto not one, but two cards that form a little mini-combo put together.
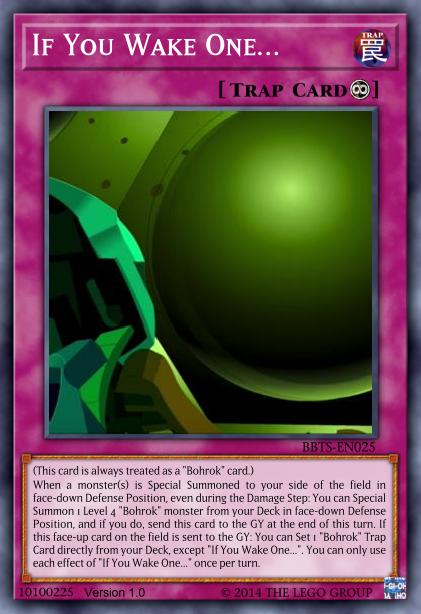
If You Wake One… begins the play by supplying an additional face-down Bohrok along with an iteration of the regular engine, so you then have two ready to be flipped rather than just one. After doing so, it goes to the GY in the End Phase, and at that point it will Set you another Bohrok Trap that is then ready to use once the turn changes. To continue the combo, you would use this to get …You Wake Them All. Then, on your turn, you flip the two face-down Bohrok, get two more, and then return one of your 2-3 face-up Bohrok to the hand with the Trap to once again flip 2 Bohrok and summon 2 more. There’s actually a risk of running out of space on the field before summoning all the monsters with this combo, but that can be avoided by using the Bohrok’s insta-shuffling removal effects or just putting them into some Extra Deck monster.
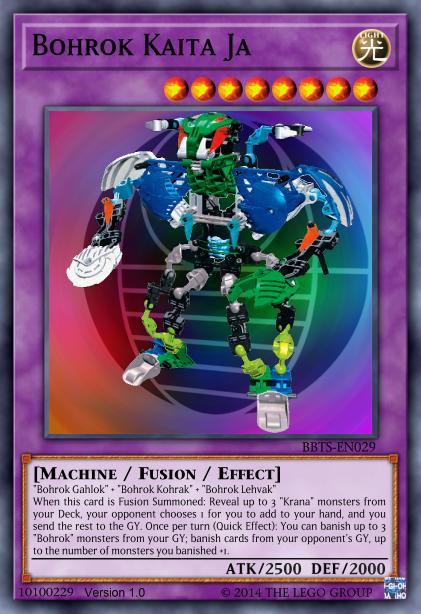
Speaking of Extra Deck monsters, we also have some of those. The Bohrok Kaita are implemented as Fusions, and in fact specifically have to be Fusions because that’s the only Extra Deck summoning mechanic which allows the use of face-down materials. Obviously kinda pretty damn important for a Flip archetype.
The two Bohrok Kaita, Za and Ja, are each made by fusing three specific breeds of Bohrok. When Fusion Summoned, both of them allow you to add 1 Krana from your Deck to the hand and 2 to the GY, with your opponent choosing which of the three you offer goes where. Again, Krana are the focus of their own article, but generally they’re nice to have in both hand and GY, so this is certainly beneficial. Both of them also have quick effects on the field that banish up to 3 Bohrok from the GY (so you basically use their materials, is the idea): Za can buff itself up and, if it gets big enough, even become unaffected by card effects for a turn, while Ja banishes multiple cards from your opponent’s GY.
The idea of Bohrok Kaita in the lore is that the swarms form them to combat problems they cannot overcome on their own, so this is kind of what I was also going for here. The archetype generally relies on removing things with effects, so Kaita Za is a big beater that can just run over bosses that don’t allow this. And all the removal they have focuses on the field, so Kaita Ja is the tool required to combat GY-focused decks.
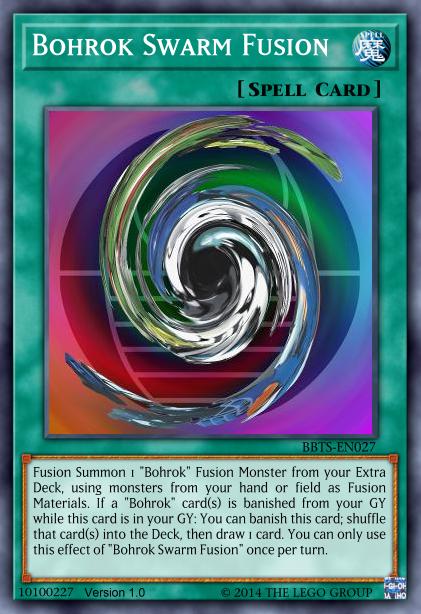
Bohrok Swarm Fusion is the archetypal fusion spell, though it does not actually fuse in any special way. But it does take advantage of the Kaita’s banishing costs with its own GY effect that triggers when Bohrok cards are banished from the GY, shuffling them back into the Deck and drawing a card.
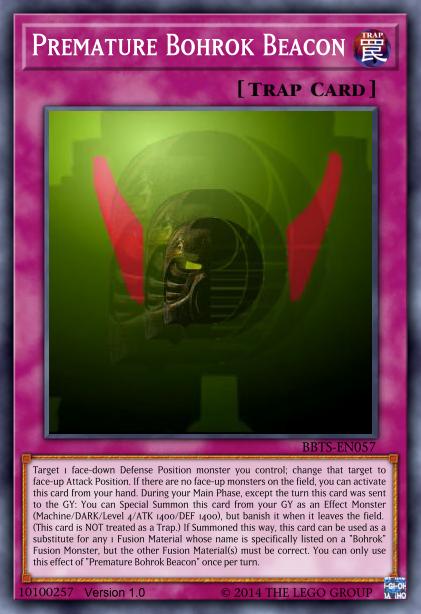
With the final card I want to discuss here, we take a look at what actually caused the Bohrok swarms to awaken before their time. And fittingly enough, the role this card plays in the archetype is the ability to start your engine without needing to wait out the usual Flip monster delay.
Premature Bohrok Beacon has the rather unimpressive effect of flipping your own face-down monster face-up, but being able to activate it from the hand as long as the game state is “premature” enough to not contain any face-up monsters makes it a tool Bohrok can use quite well. Since this is a Makuta-related card, it also has a GY effect that adds more utility, in this case being able to summon itself as a Level 4 DARK Machine (obviously sneaky Orcust support and not just a combination of Bohrok Type and Makuta Attribute) that can replace any of the Bohrok as Fusion Material.
Conclusion
Bohrok have a lot of strong points: The very convenient Level of 4 on all the main monsters, the ability to bring each other out from the Deck, easily accessible removal effects, a really good search Spell that finds them any of their cards and still potentially does more, and multiple nice draw effects to offset the resource loss of shuffling themselves into the Deck. All of this dragged down by the unfortunate yet vital fact that they are Flip monsters whose entire engine relies on their flip effects. Let’s face it, setting one monster and hoping everything goes well so you can snowball from there isn’t exactly an unbeatable strategy in this decade or the last.
But what they lack in speed, the swarms can hopefully make up in consistency and sheer fucking resilience. Assuming you do manage to get the engine going at some point – and with help like Nest and Beacon this is not an entirely impossible task – your opponents will find themselves faced with a constant assault on their field while your monsters just keep calling each other from and returning to the Deck for all eternity. Before long, you will be clearly ahead in resources, and victory shall be yours. Probably. I never tested this on anything newer than the old YGOPro Percy AI that still lived in blissful ignorance of Link Monsters, so it might just be completely unusable in the modern game anyway. But the strategy is sound on paper, at the very least.
A few different ideas for Bohrok decks can be found in the BBTS release.