
At the top of the Bohrok swarms stand the Bahrag, ancient twin queens utterly dedicated to carrying out their one and only mission. As the final bosses of the 2002 storyline, it is only appropriate that they are also the ultimate boss monsters of the Bohrok archetype.
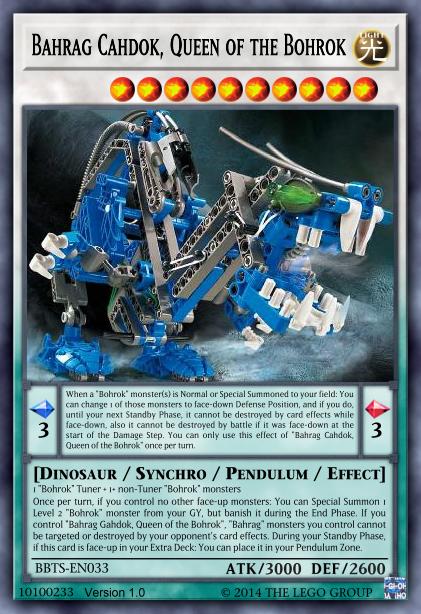
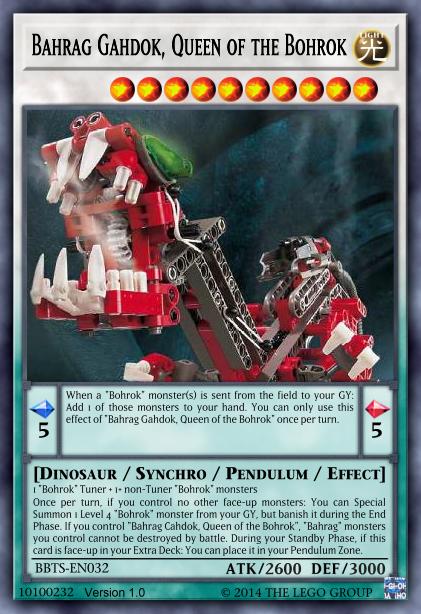
Since I like to make pairs into Pendulum Monsters, that’s what they are, and also Synchros to complement the Fusion Bohrok Kaita and the Xyz [REDACTED]. Their Pendulum Effects attempt to alter the way Bohrok function in order to let them take better advantage of Pendulum Summons: Cahdok lets you put a Bohrok into face-down Defense Position when it’s Summoned face-up, with added protection to make sure you’ll get to the Flip effect. Gahdok replicates the recursion ability of Pendulum Monsters by returning a Bohrok that gets sent from the field to the GY to your hand.
In the Monster Zone, their shared gimmick is that they gain and grant each other protection if you control the other Bahrag anywhere on the field (including as a Pendulum Scale!), with Cahdok protecting from effects and Gahdok protecting from battle. Both of them also place themselves in the Pendulum Zone if they are face-up during your Standby Phase – their shadowy presence behind the Bohrok swarms cannot be easily eliminated, and if you successfully summon them once you will have access to them for the rest of the Duel.
Finally, each queen has the ability to Special Summon certain members of the swarm (the Level 2 Bohrok Va for Cahdok, the Level 4 Bohrok for Gahdok) from the GY if it is the only face-up monster you control. This has a lot of situational utility since there are no restrictions on attacks or effects for the Summoned monster, but the main intent actually is simply to help assemble the materials for the other Bahrag (usually you need 1 Bohrok Va + 2 Bohrok).
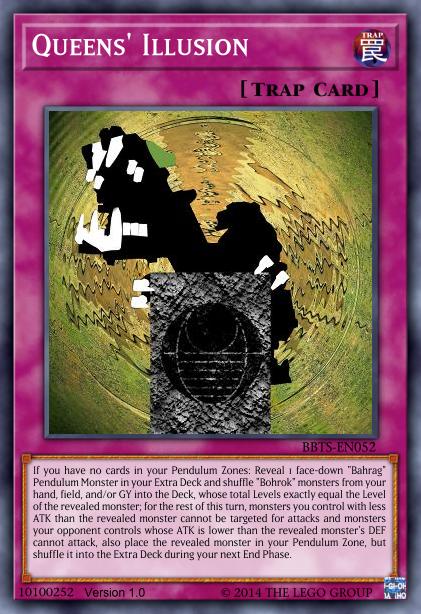
A potentially simpler, if temporary, way to get to the Bahrag is Queens’ Illusion, a Trap Card based on, well, the queens’ ability to generate illusions. By shuffling the materials from hand, field, or GY into the Deck, it places an “illusory” Bahrag in the Pendulum Zone and imposes attack restrictions based on its stats. The illusion ends after a turn, but while it is active you can freely use the Pendulum Effect and potentially enable another Bahrag’s protection with the added name.
And once you do get the Bahrag out, is there anything you can do other than sitting on them and throwing Bohrok at your opponent? Well yes, there’s a card specificall to ensure that all shall be …
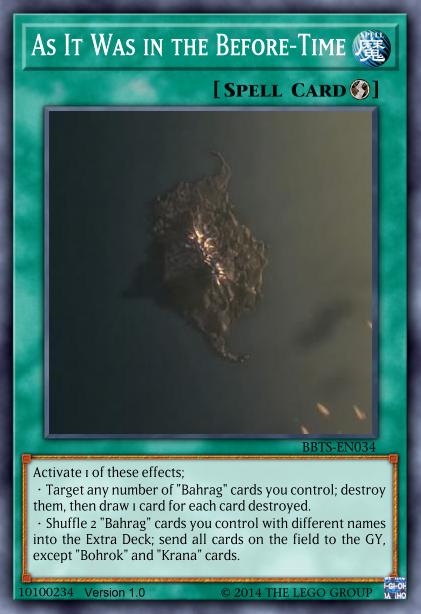
Representing the final goal of the Bahrag and their Bohrok swarms, As It Was in the Before-Time is the ultimate payoff to assembling the pair. By activating this Quick-Play Spell and returning both of the Bahrag (either as monsters or as Pendulum Scales) to the Extra Deck, you can send everything on the field except the swarms themselves to the GY, completing the great mission of cleaning it all. Somehow I feel like that sounded more impressive before Konami made Zeus, but whatever. To make the card not completely useless outside the absolute best case scenario, it can also be used as a draw spell at the cost of destroying a number of Bahrag cards equal to how much you want to draw (again, these can be monsters or just Pendulum Scales). With the Bahrag automatically returning from the Extra Deck each Standby Phase, this is usually a pretty good trade.
Conclusion
Sucessfully setting up the Bahrag provides significant lasting benefits to a Bohrok strategy, and on top of that they simply serve as nice big boss monsters to go into. This makes them into a package that can be included both as just an additional option and as the main win condition.
The BBTS release provides examples of the former approach in any of the multiple Bohrok decks, and of the latter in the Bahrag deck specifically.