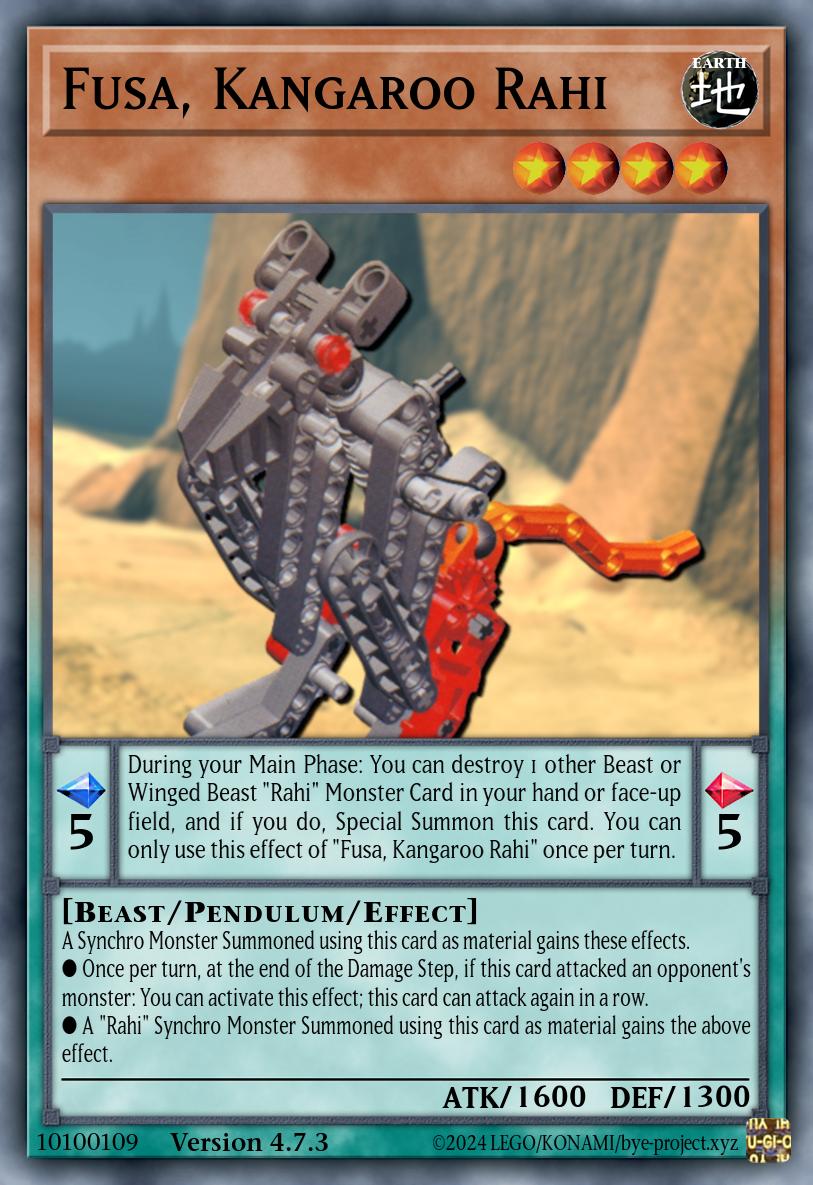
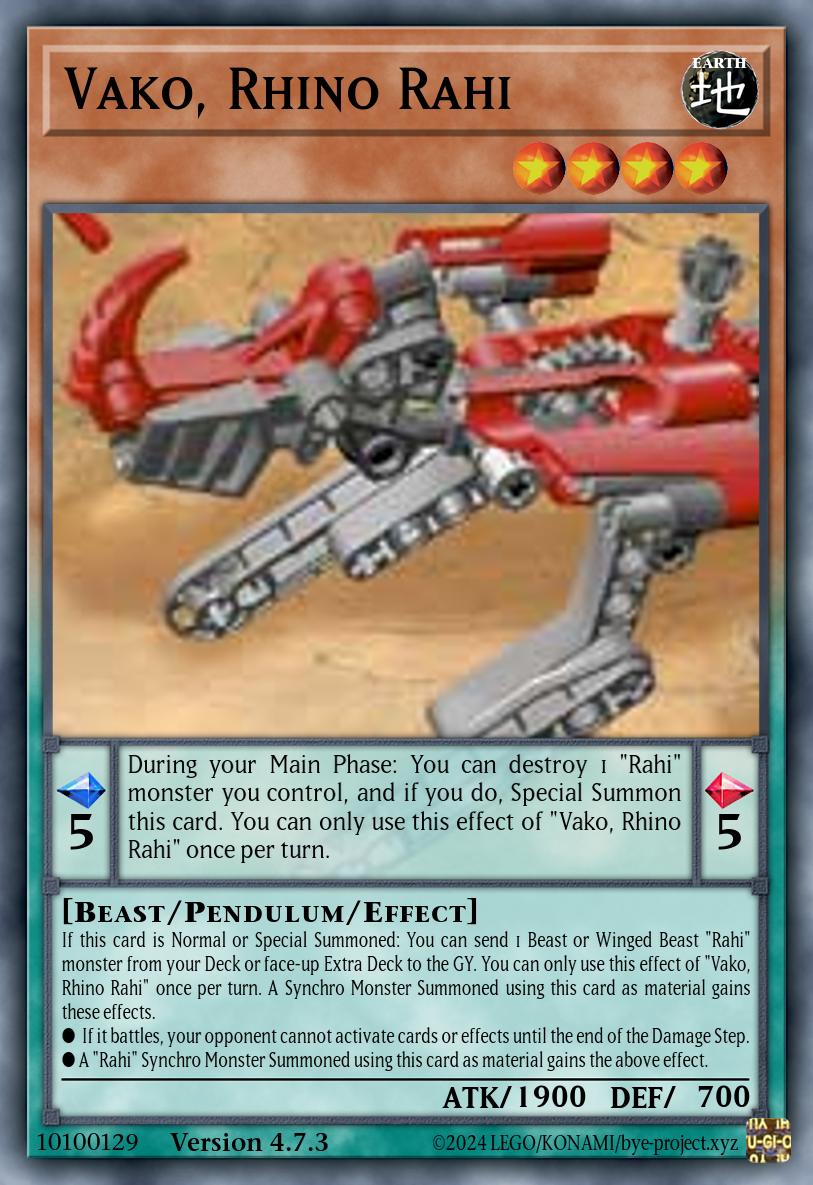
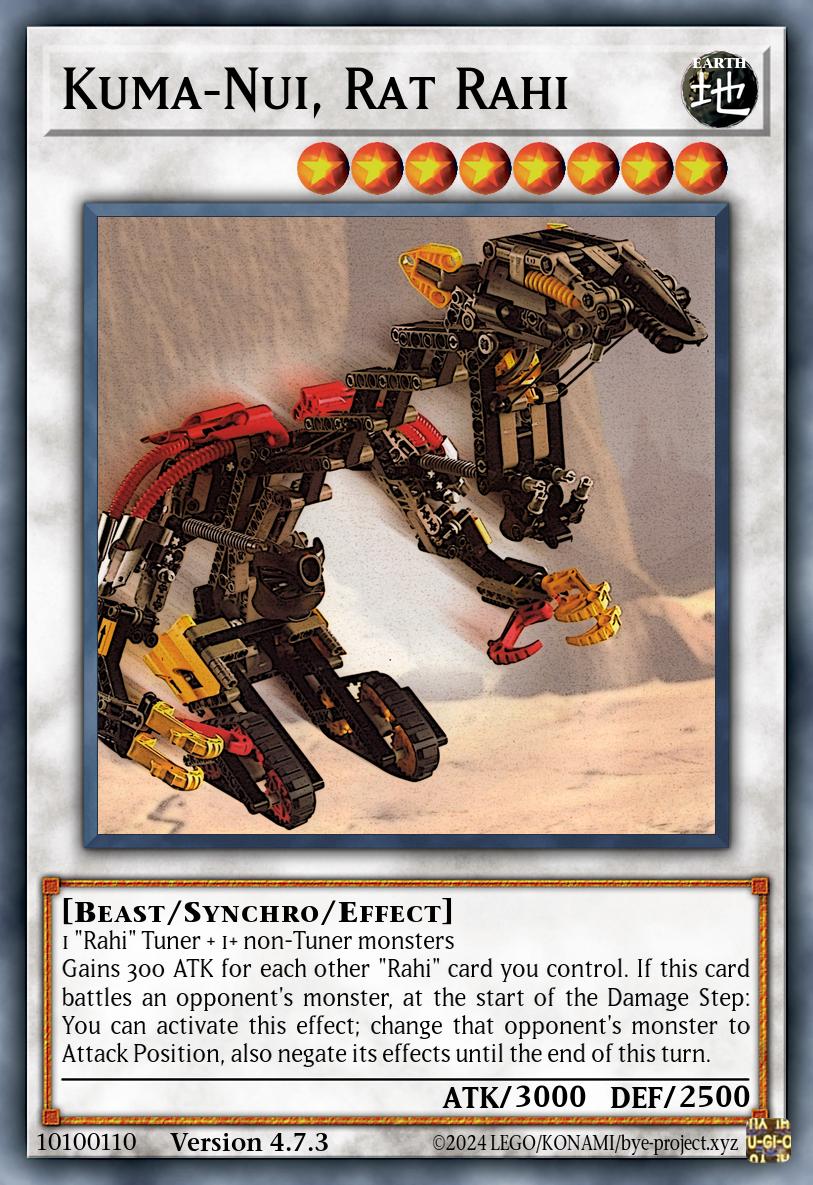
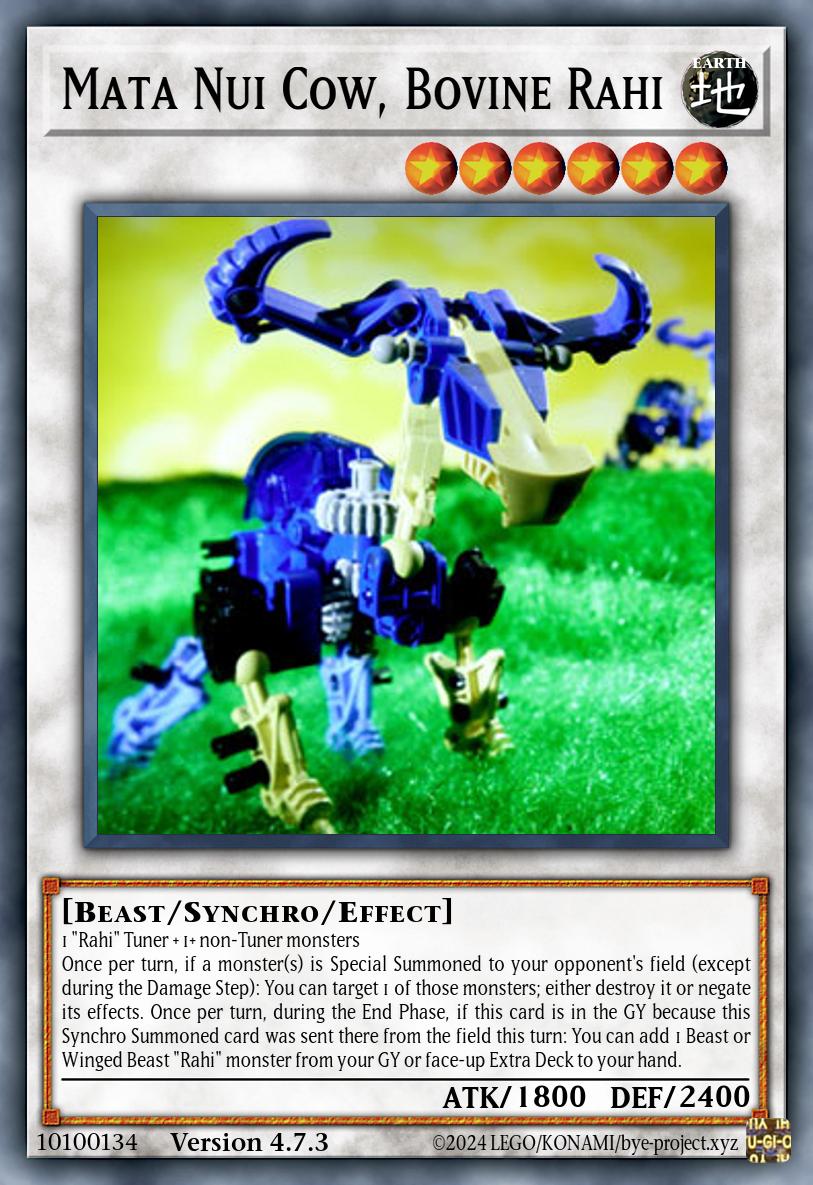
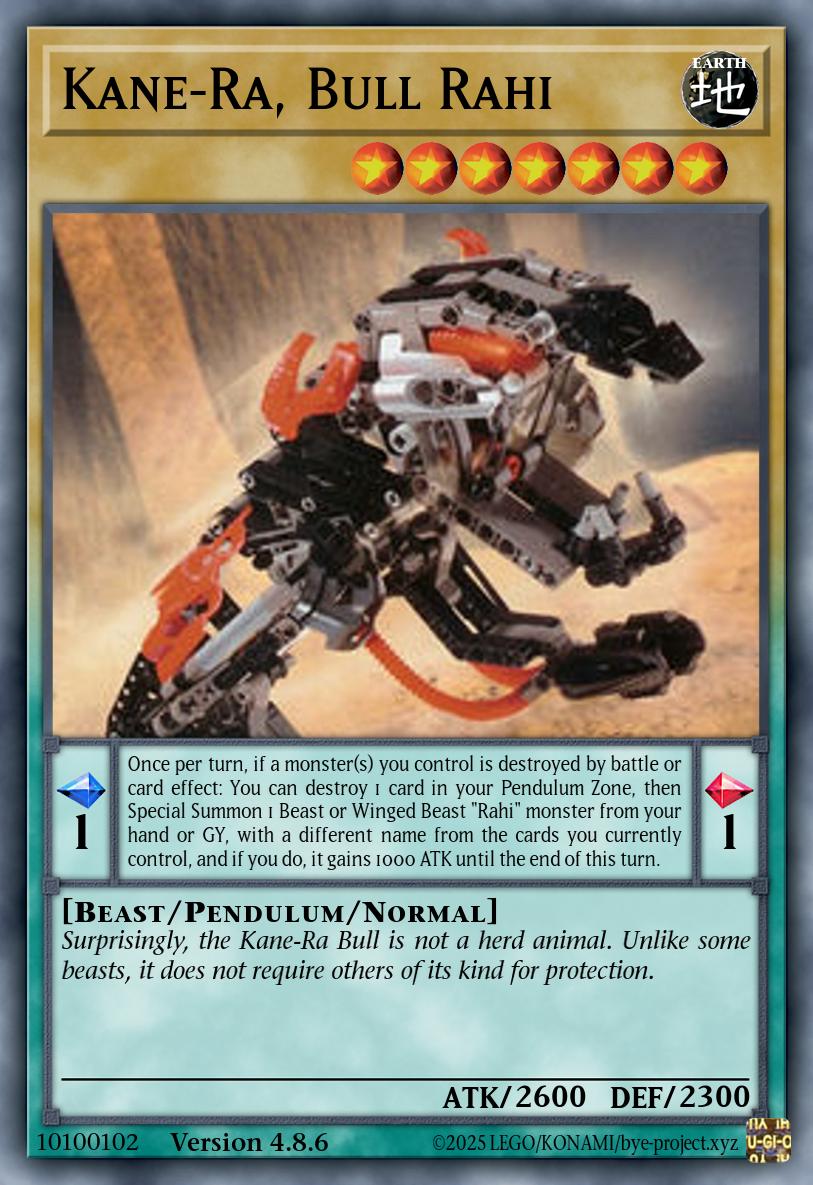
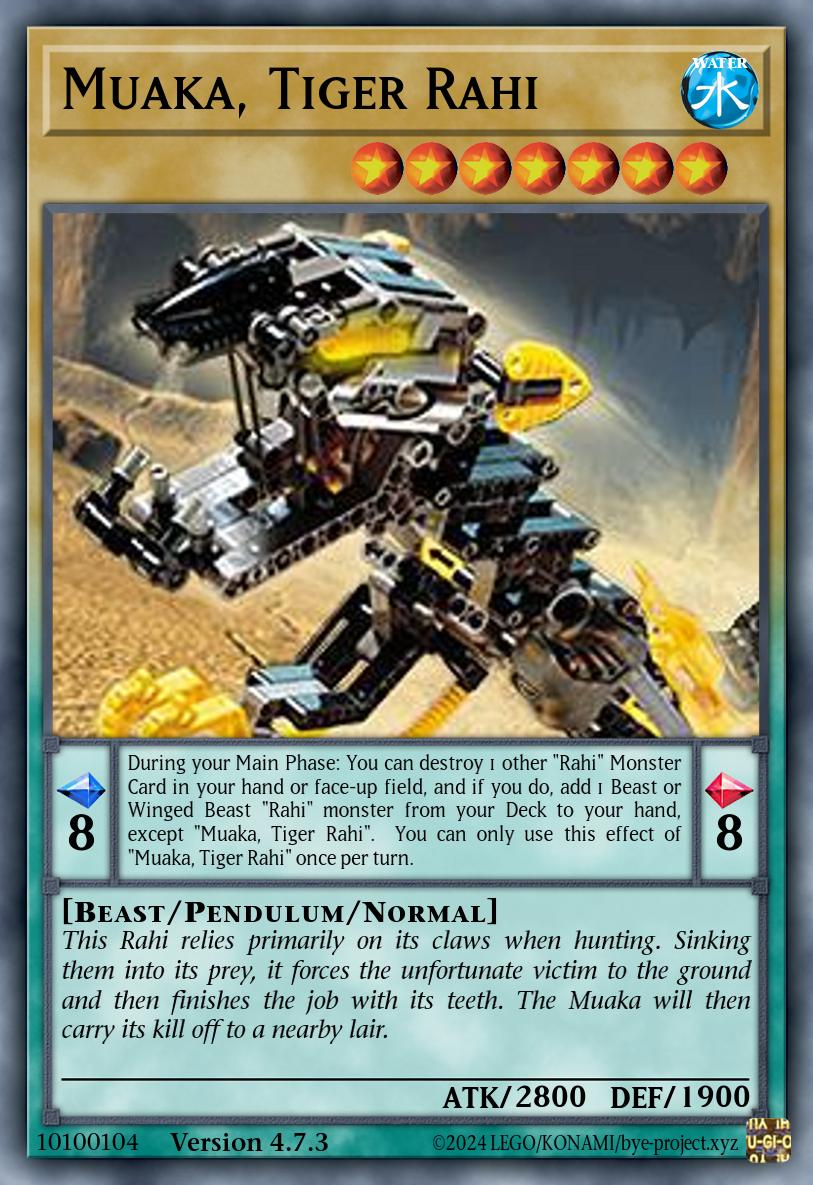
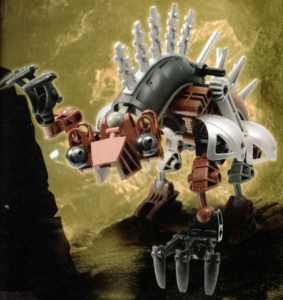
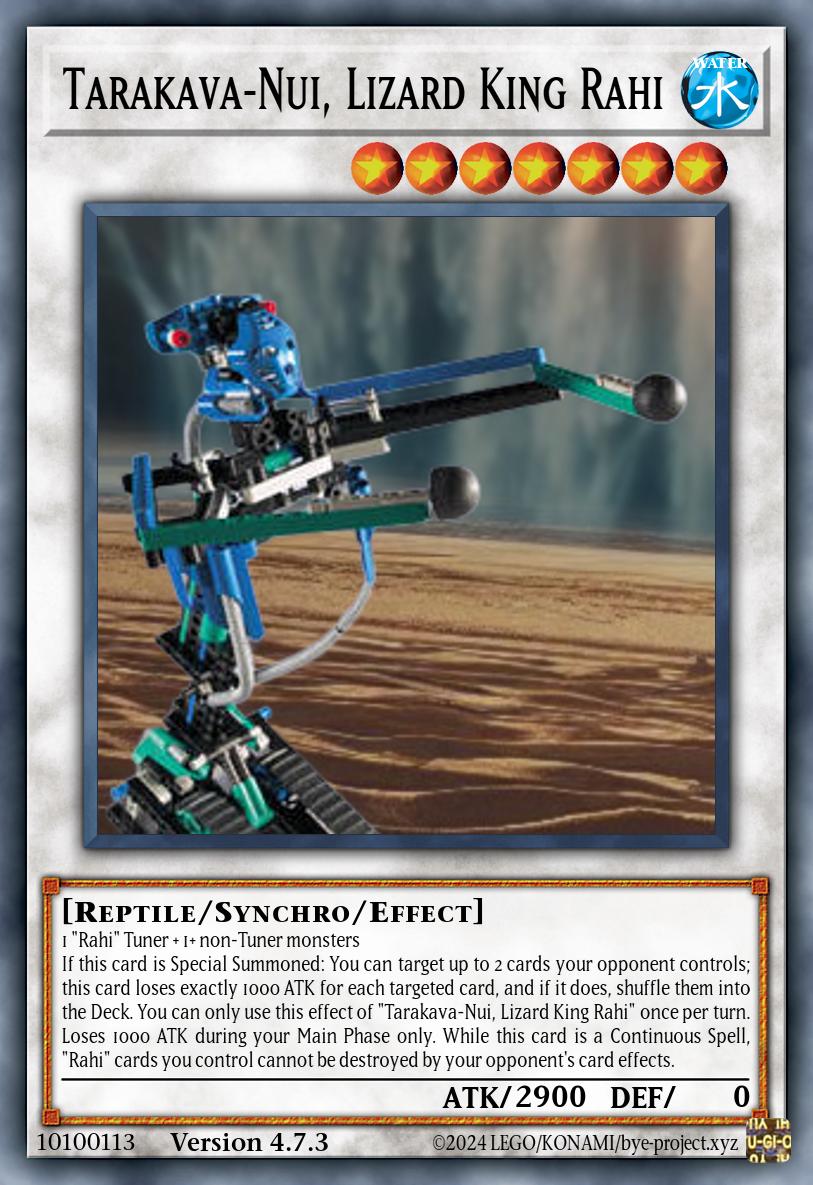
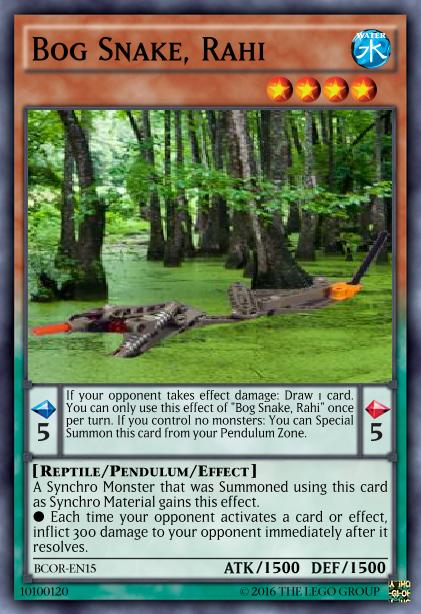
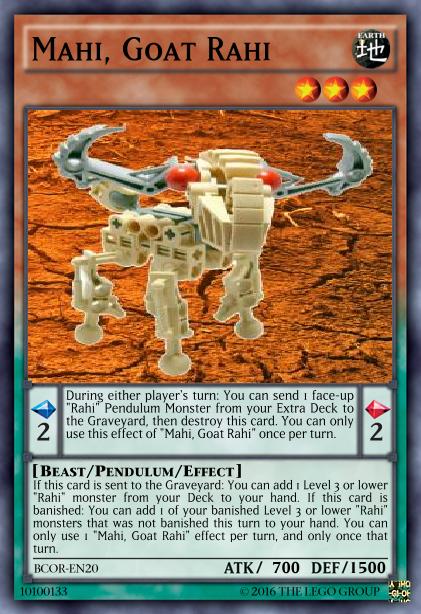
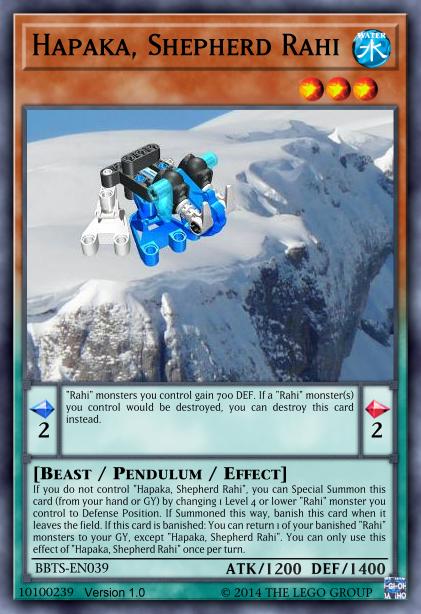
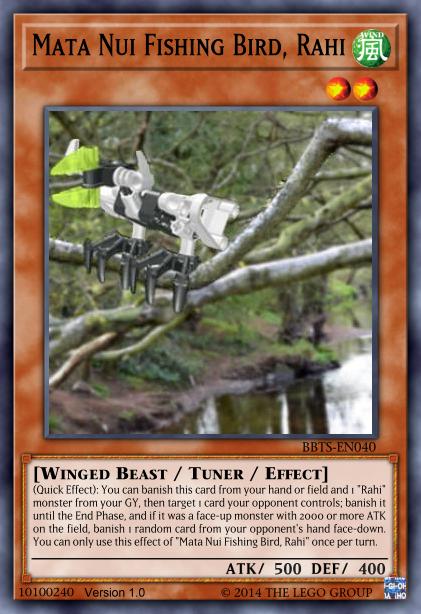
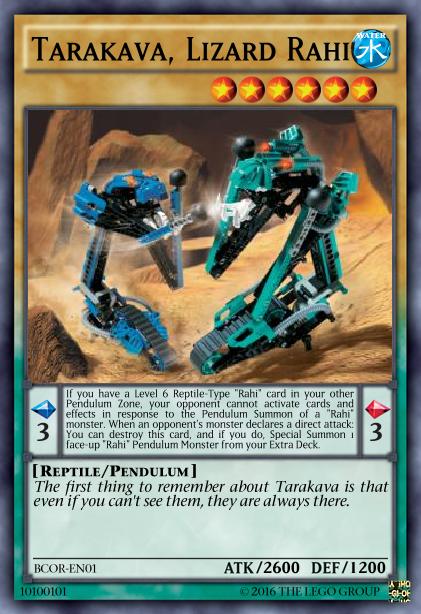
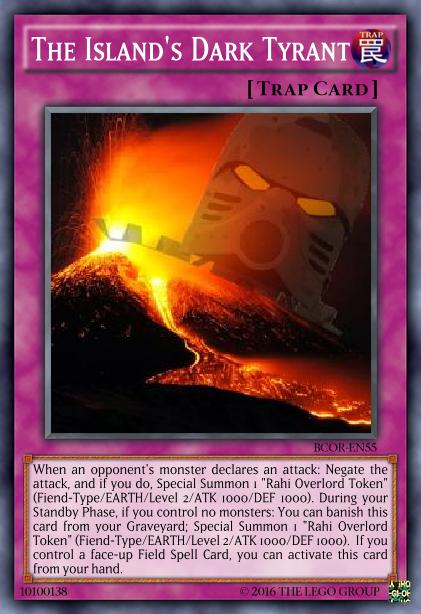
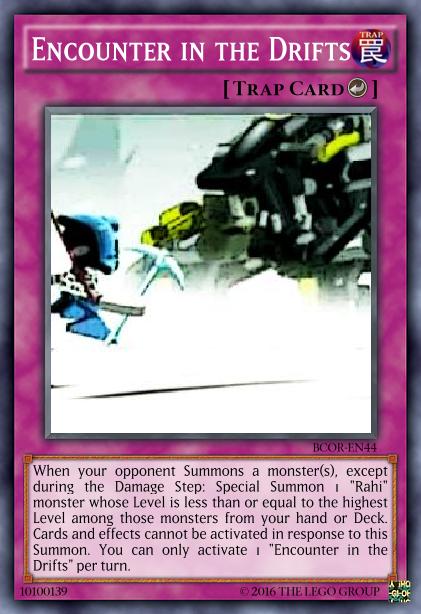
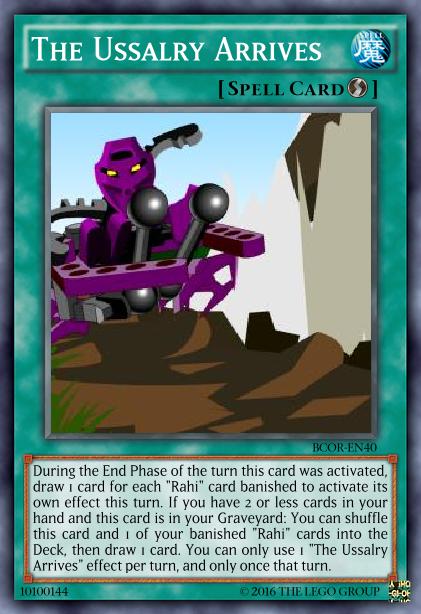
Ahoy! For today’s installment of this ongoing investigation, we will delve into the depths of the sea in search of Fish, Aqua, and Sea Serpent monsters.
See also:
- The Rahi Spreadsheet – The data all of this is based on
- The Shapes and Sizes of Rahi – Overview of all Rahi groupings
Current Members
9 Rahi have been implemented from this thalassic trifecta of Types, although it’s mostly concentrated on 7 Aqua monsters with a small side of 2 Fish monsters. Let’s start with the fishies.
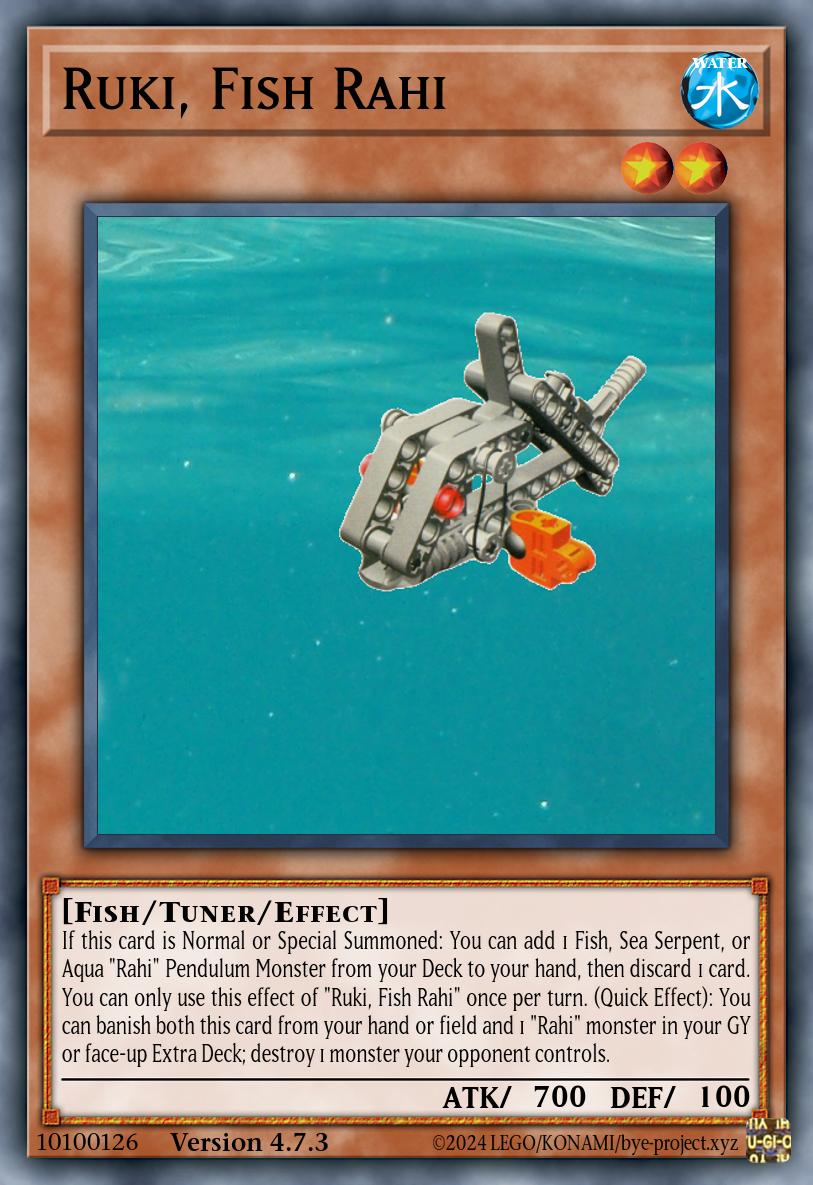
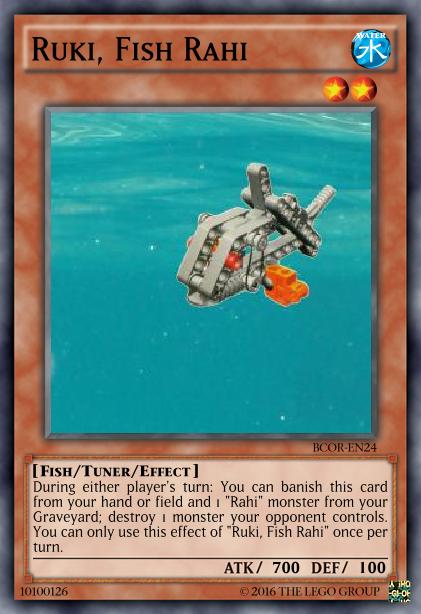
Ruki, Fish Rahi
Tuner Effect MonsterLevel 2 | WATER Fish | ATK 700 / DEF 100If this card is Normal or Special Summoned: You can add 1 Fish, Sea Serpent, or Aqua “Rahi” Pendulum Monster from your Deck to your hand, then discard 1 card. You can only use this effect of “Ruki, Fish Rahi” once per turn. (Quick Effect): You can banish both this card from your hand or field and 1 “Rahi” monster in your GY or face-up Extra Deck; destroy 1 monster your opponent controls.
The Ruki belongs to the group of Level 2 handtraps that banish from the GY as cost, which were so sorely missing from the Beast section. This one offers the especially simple and useful service of monster destruction.
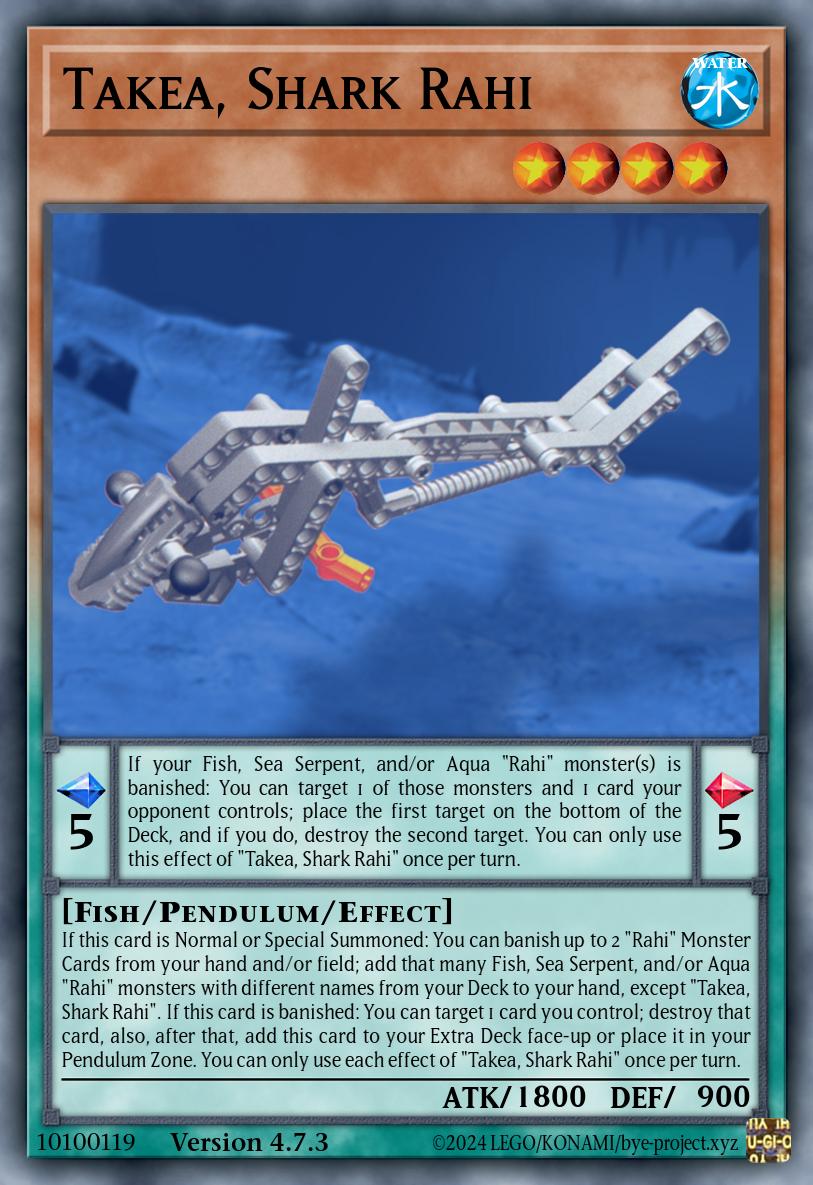
Takea, Shark Rahi
Pendulum Effect MonsterLevel 4 | Scale 5/5 | WATER Fish | ATK 1800 / DEF 900[ Pendulum Effect ]
If your Fish, Sea Serpent, and/or Aqua “Rahi” monster(s) is banished: You can target 1 of those monsters and 1 card your opponent controls; place the first target on the bottom of the Deck, and if you do, destroy the second target. You can only use this effect of “Takea, Shark Rahi” once per turn.
—————————————-
[ Monster Effect ]
If this card is Normal or Special Summoned: You can banish up to 2 “Rahi” Monster Cards from your hand and/or field; add that many Fish, Sea Serpent, and/or Aqua “Rahi” monsters with different names from your Deck to your hand, except “Takea, Shark Rahi”. If this card is banished: You can target 1 card you control; destroy that card, also, after that, add this card to your Extra Deck face-up or place it in your Pendulum Zone. You can only use each effect of “Takea, Shark Rahi” once per turn.
The Takea shark, on the other hand, is a Level 4 and thus grants bonus effects when used as Synchro Material. It has a nice little self-synergy going on between that and its Pendulum Effect, since doubled battle damage allows bringing out a wider range of Rahi from the Deck.
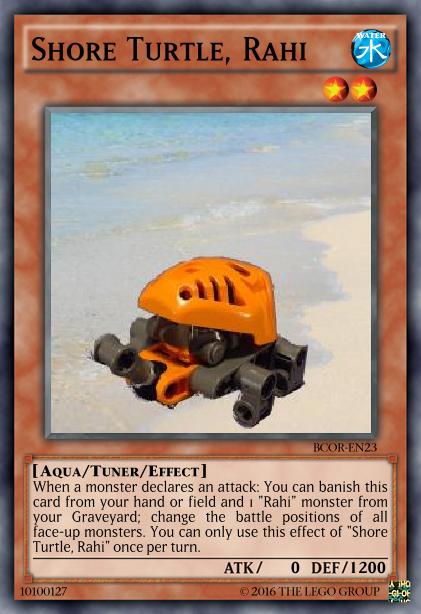
Aqua, meanwhile, encompasses all kinds of at least slightly watery critters that clearly aren’t fish or serpents. On the smallest end, that means the Shore Turtles, who act as a defensive handtrap that prevents battle while potentially leaving some monsters turned in the wrong orientation when your turn rolls around.
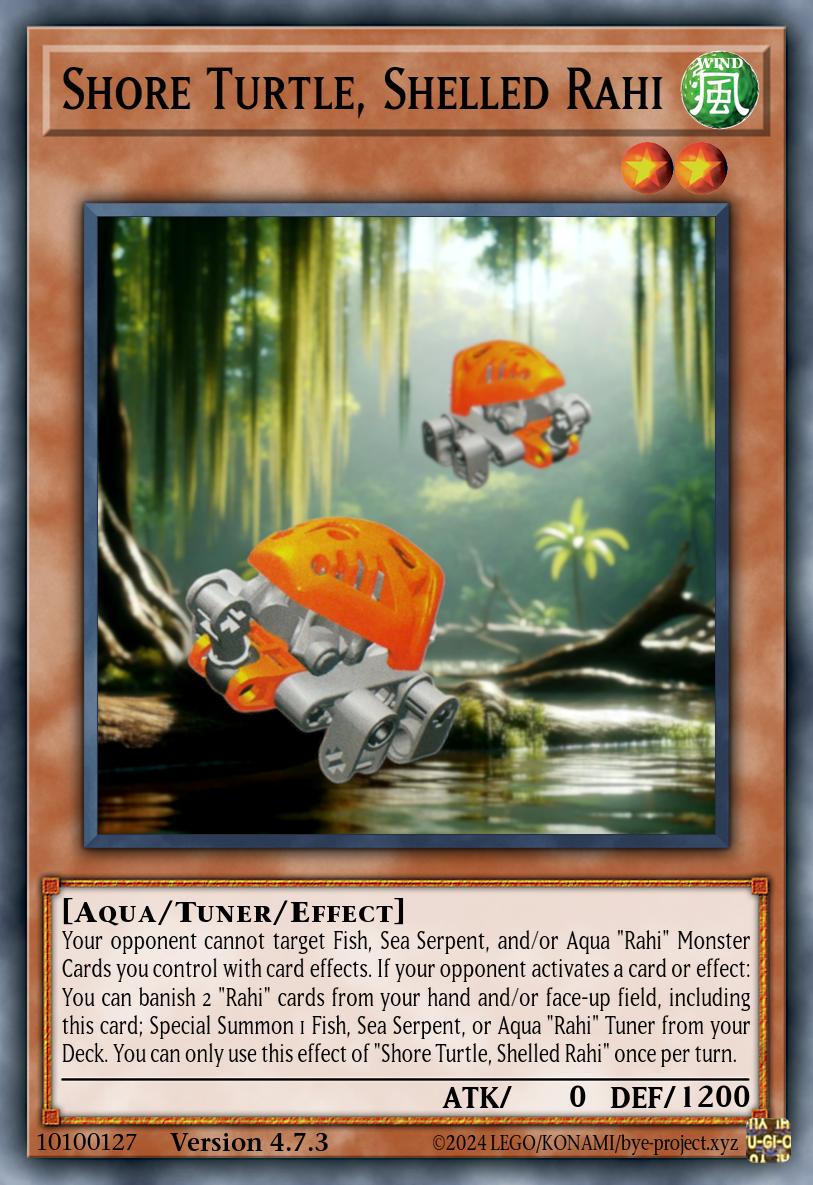
Shore Turtle, Shelled Rahi
Tuner Effect MonsterLevel 2 | WIND Aqua | ATK 0 / DEF 1200Your opponent cannot target Fish, Sea Serpent, and/or Aqua “Rahi” Monster Cards you control with card effects. If your opponent activates a card or effect: You can banish 2 “Rahi” cards from your hand and/or face-up field, including this card; Special Summon 1 Fish, Sea Serpent, or Aqua “Rahi” Tuner from your Deck. You can only use this effect of “Shore Turtle, Shelled Rahi” once per turn.
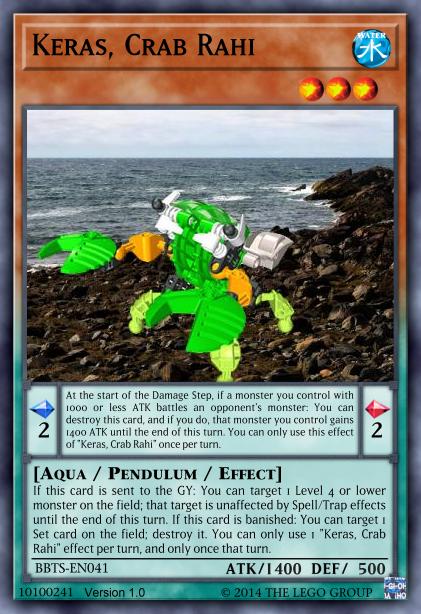
At Level 3, we evolve to crab with the Keras, which follows the current standard structure for Rahi at that Level and provides somewhat arbitrary utility based on its role as a steed the Matoran rode into battle against the Bohrok.
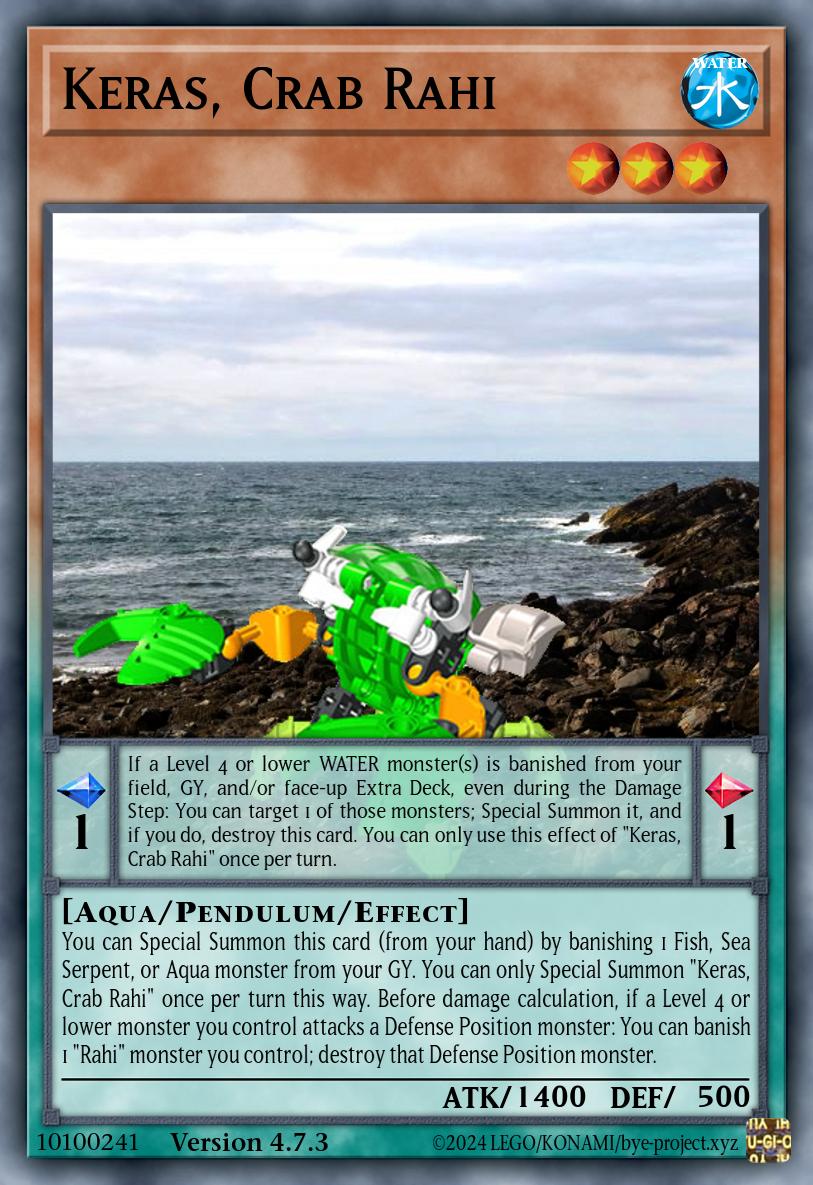
Keras, Crab Rahi
Pendulum Effect MonsterLevel 3 | Scale 1/1 | WATER Aqua | ATK 1400 / DEF 500[ Pendulum Effect ]
If a Level 4 or lower WATER monster(s) is banished from your field, GY, and/or face-up Extra Deck, even during the Damage Step: You can target 1 of those monsters; Special Summon it, and if you do, destroy this card. You can only use this effect of “Keras, Crab Rahi” once per turn.
—————————————-
[ Monster Effect ]
You can Special Summon this card (from your hand) by banishing 1 Fish, Sea Serpent, or Aqua monster from your GY. You can only Special Summon “Keras, Crab Rahi” once per turn this way. Before damage calculation, if a Level 4 or lower monster you control attacks a Defense Position monster: You can banish 1 “Rahi” monster you control; destroy that Defense Position monster.
What else fits under the Aqua umbrella? Well, how about some frogs? Toads. Whatever.
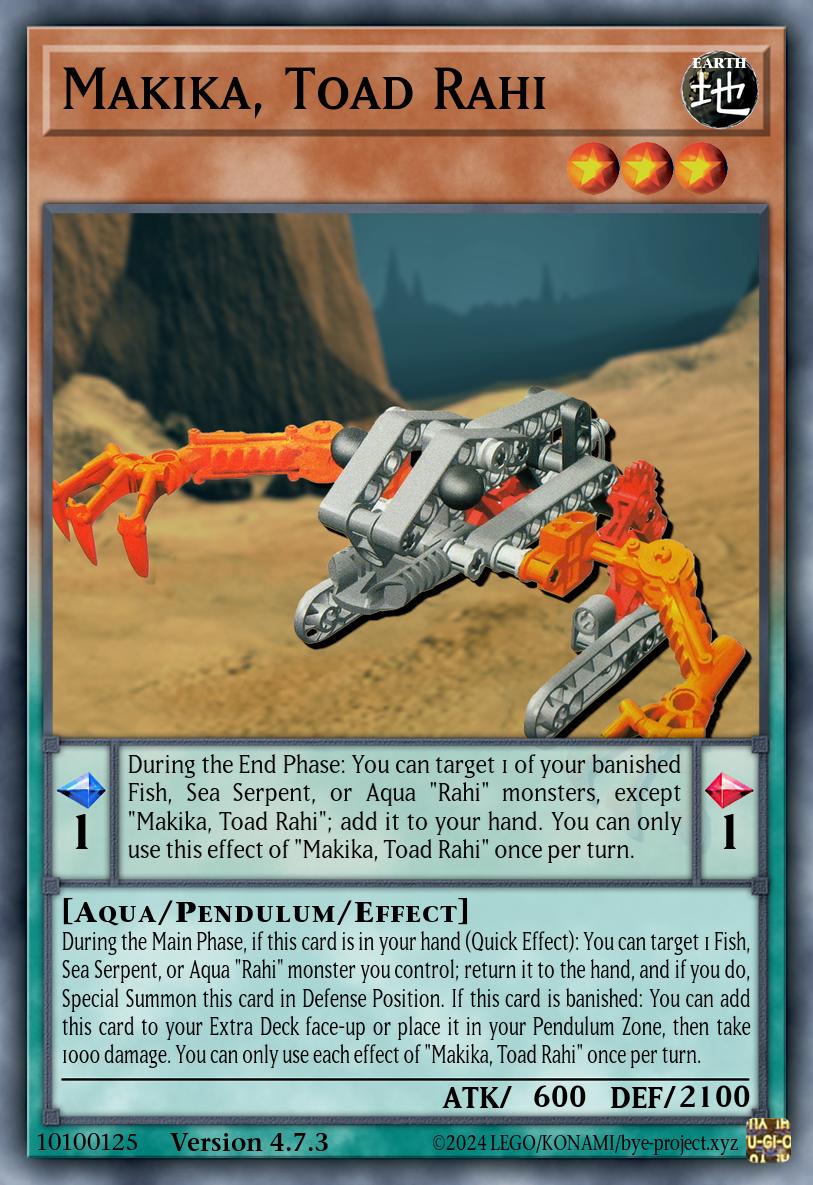
Makika, Toad Rahi
Pendulum Effect MonsterLevel 3 | Scale 1/1 | EARTH Aqua | ATK 600 / DEF 2100[ Pendulum Effect ]
During the End Phase: You can target 1 of your banished Fish, Sea Serpent, or Aqua “Rahi” monsters, except “Makika, Toad Rahi”; add it to your hand. You can only use this effect of “Makika, Toad Rahi” once per turn.
—————————————-
[ Monster Effect ]
During the Main Phase, if this card is in your hand (Quick Effect): You can target 1 Fish, Sea Serpent, or Aqua “Rahi” monster you control; return it to the hand, and if you do, Special Summon this card in Defense Position. If this card is banished: You can add this card to your Extra Deck face-up or place it in your Pendulum Zone, then take 1000 damage. You can only use each effect of “Makika, Toad Rahi” once per turn.
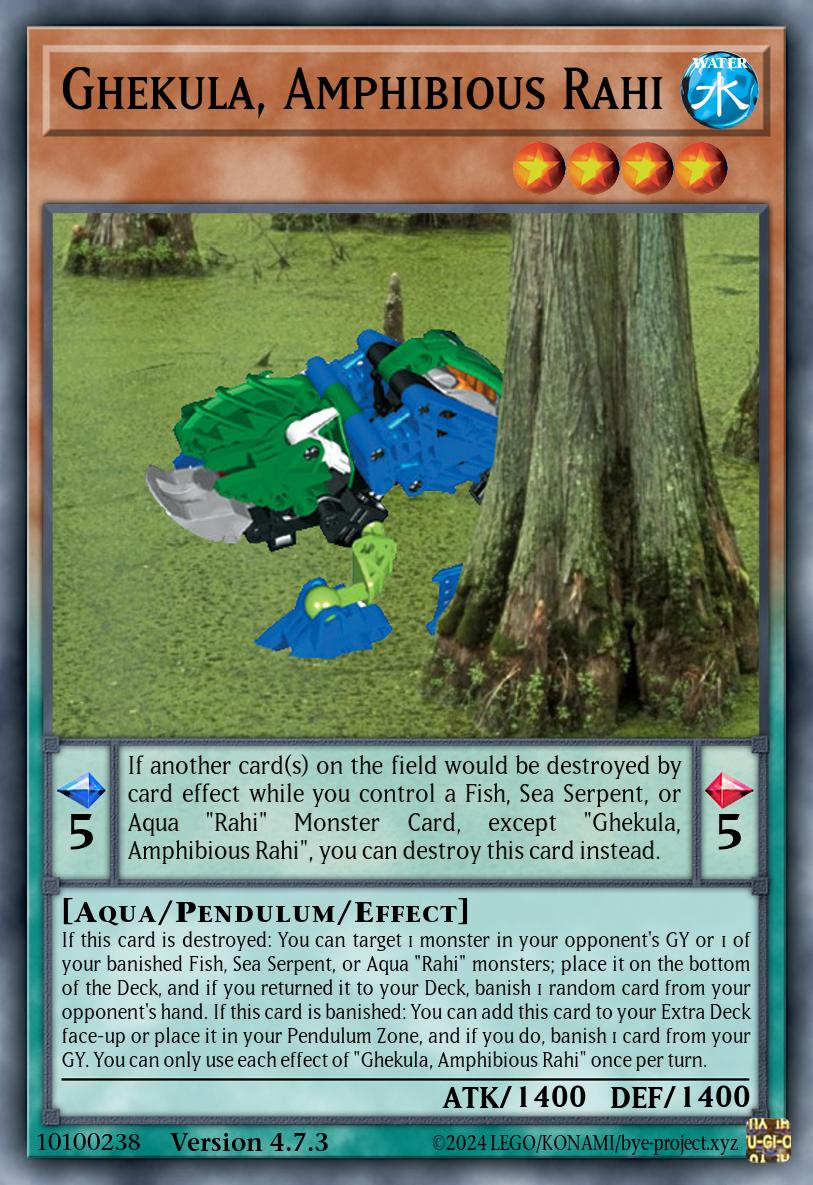
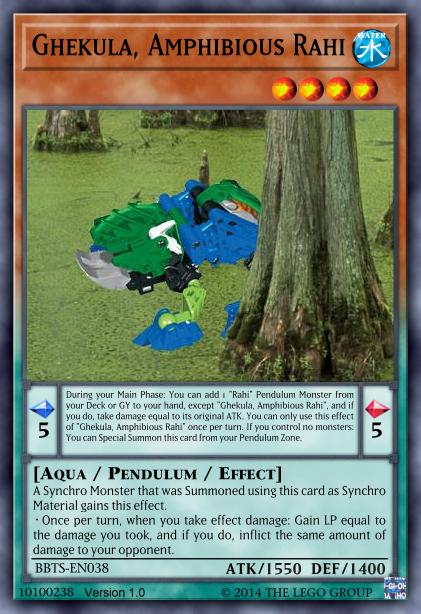
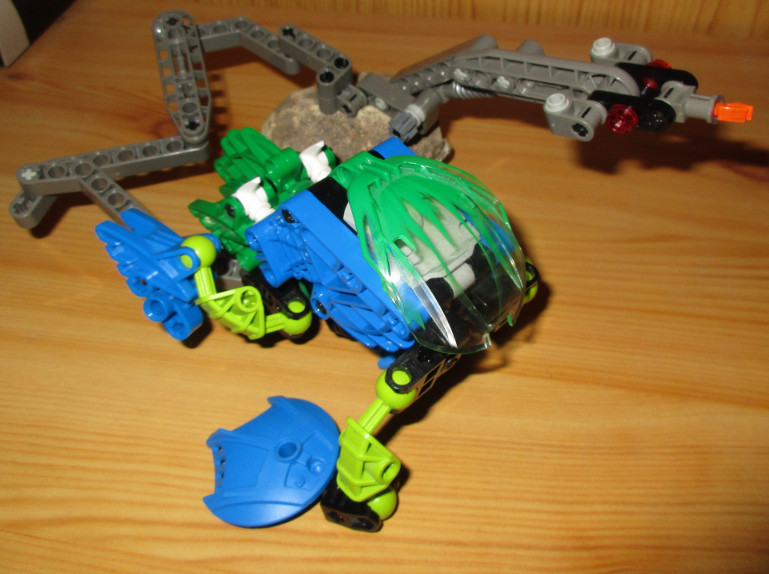
Ghekula, Amphibious Rahi
Pendulum Effect MonsterLevel 4 | Scale 5/5 | WATER Aqua | ATK 1400 / DEF 1400[ Pendulum Effect ]
If another card(s) on the field would be destroyed by card effect while you control a Fish, Sea Serpent, or Aqua “Rahi” Monster Card, except “Ghekula, Amphibious Rahi”, you can destroy this card instead.
—————————————-
[ Monster Effect ]
If this card is destroyed: You can target 1 monster in your opponent’s GY or 1 of your banished Fish, Sea Serpent, or Aqua “Rahi” monsters; place it on the bottom of the Deck, and if you returned it to your Deck, banish 1 random card from your opponent’s hand. If this card is banished: You can add this card to your Extra Deck face-up or place it in your Pendulum Zone, and if you do, banish 1 card from your GY. You can only use each effect of “Ghekula, Amphibious Rahi” once per turn.
The Makika and Ghekula, both sitting at Level 4, go in two drastically different directions. The former is part of that weird little destruction-based subtheme, letting you pop an opponent’s card if your other Pendulum Scale is destroyed and granting Synchros an effect to strike back against whatever destroys them by battle. The latter messes around with effect damage, dealing it to you in exchange for a search as its Pendulum Effect and redirecting it to your opponent in its Synchro-granted effect. The most interesting thing here in terms of overall planning might really be that the Ghekula can search any other Rahi Pendulum, which I imagine would be nice to have in just about any Deck that uses those.
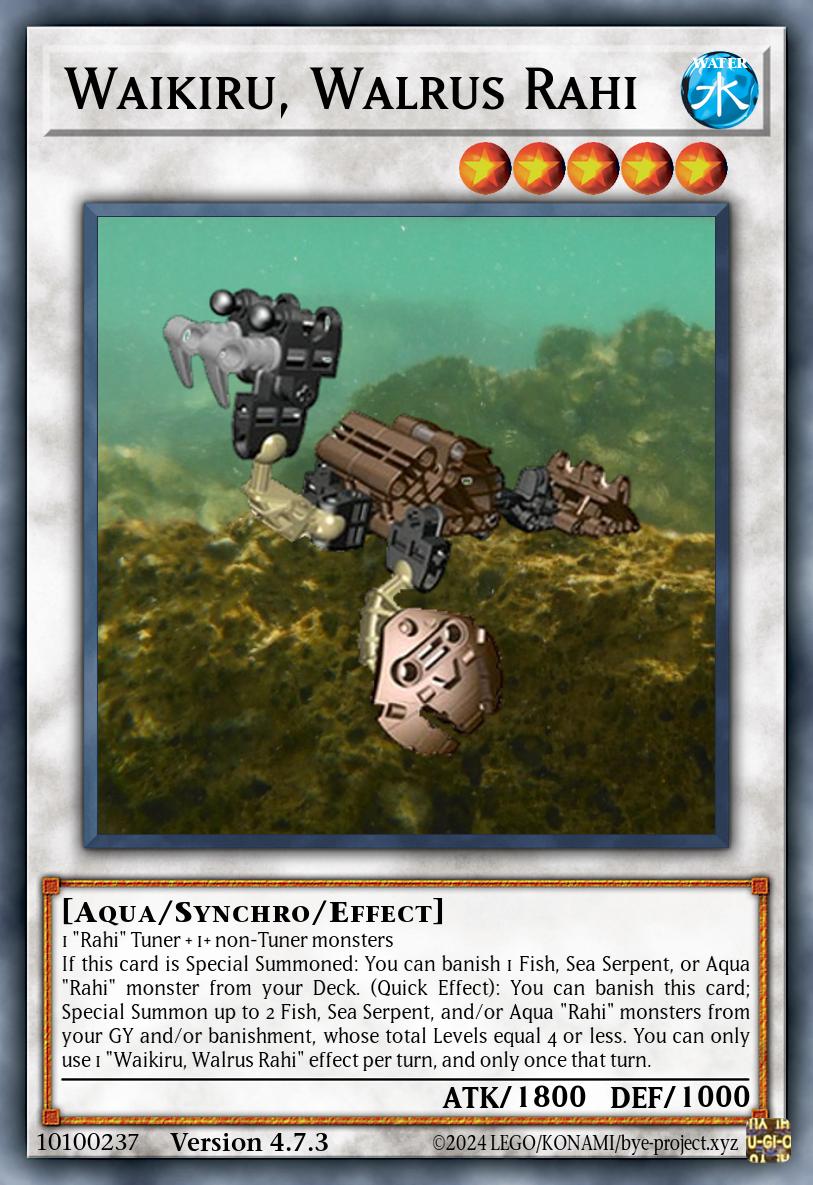
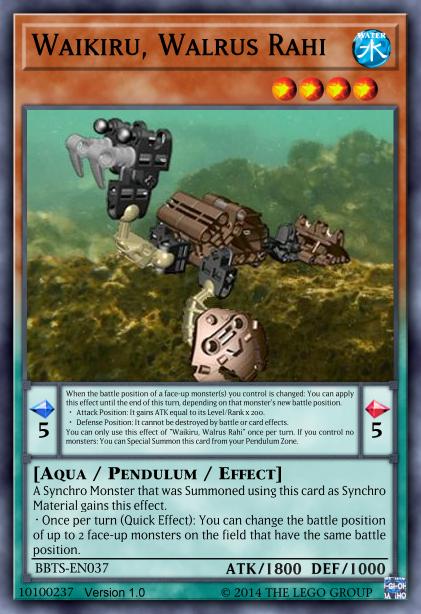
Waikiru, Walrus Rahi
Synchro Effect MonsterLevel 5 | WATER Aqua | ATK 1800 / DEF 10001 “Rahi” Tuner + 1+ non-Tuner monsters
If this card is Special Summoned: You can banish 1 Fish, Sea Serpent, or Aqua “Rahi” monster from your Deck. (Quick Effect): You can banish this card; Special Summon up to 2 Fish, Sea Serpent, and/or Aqua “Rahi” monsters from your GY and/or banishment, whose total Levels equal 4 or less. You can only use 1 “Waikiru, Walrus Rahi” effect per turn, and only once that turn.
A significantly larger aquatic creature is the walrus – in real life, but over there in the Matoran Universe, the Waikiru seems to be about the same size as the other Level 4s we just looked at. Like the Ghekula and Takea, it has a self-synergistic gimmick: Changing battle positions, which a Synchro made with it can do as a Quick Effect and which it rewards with position-dependent buffs from the Pendulum Zone.
And if you thought we were done evolving to crab, you’re wrong, because evolution has advanced even further to reach a truly monstrous degree.
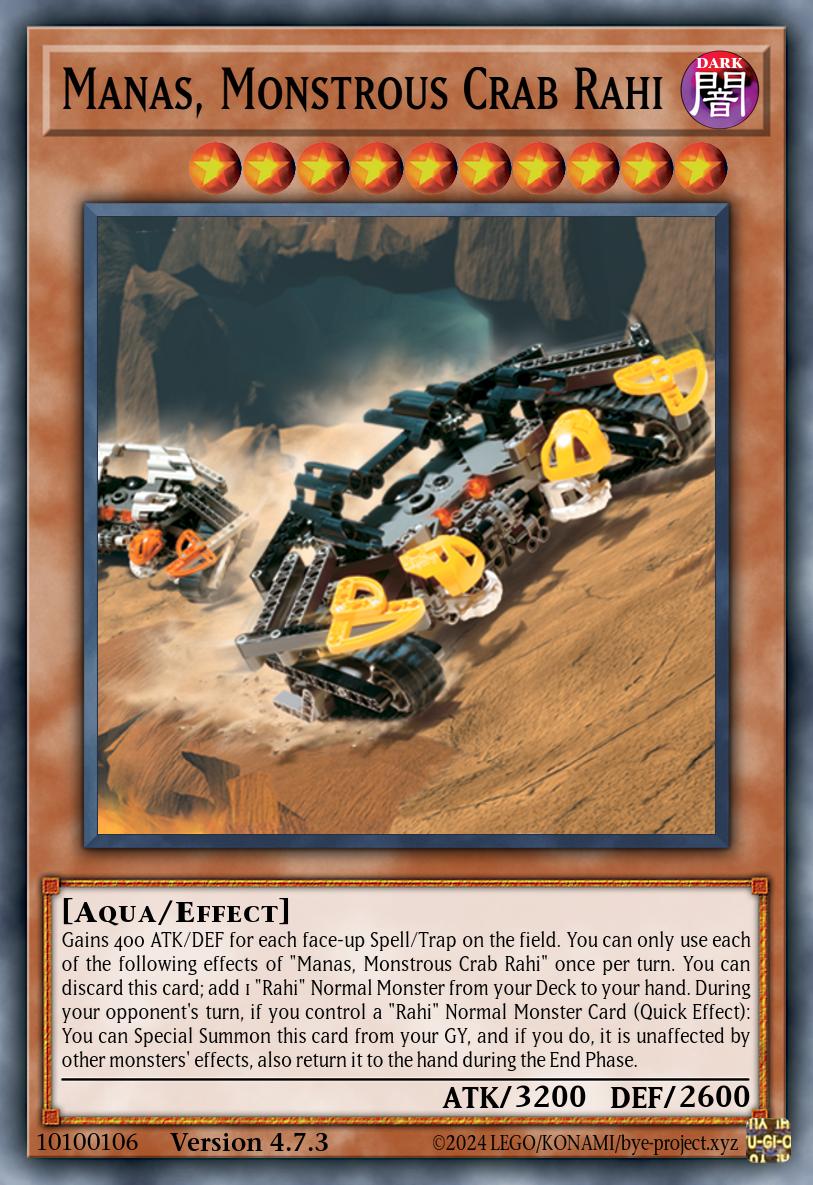
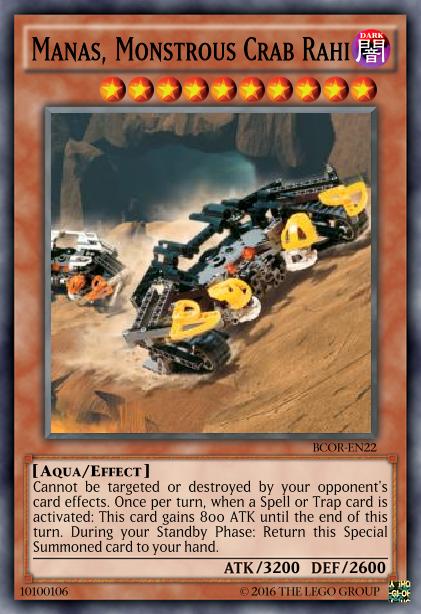
Manas, Monstrous Crab Rahi
Effect MonsterLevel 10 | DARK Aqua | ATK 3200 / DEF 2600Gains 400 ATK/DEF for each face-up Spell/Trap on the field. You can only use each of the following effects of “Manas, Monstrous Crab Rahi” once per turn. You can discard this card; add 1 “Rahi” Normal Monster from your Deck to your hand. During your opponent’s turn, if you control a “Rahi” Normal Monster Card (Quick Effect): You can Special Summon this card from your GY, and if you do, it is unaffected by other monsters’ effects, also return it to the hand during the End Phase.
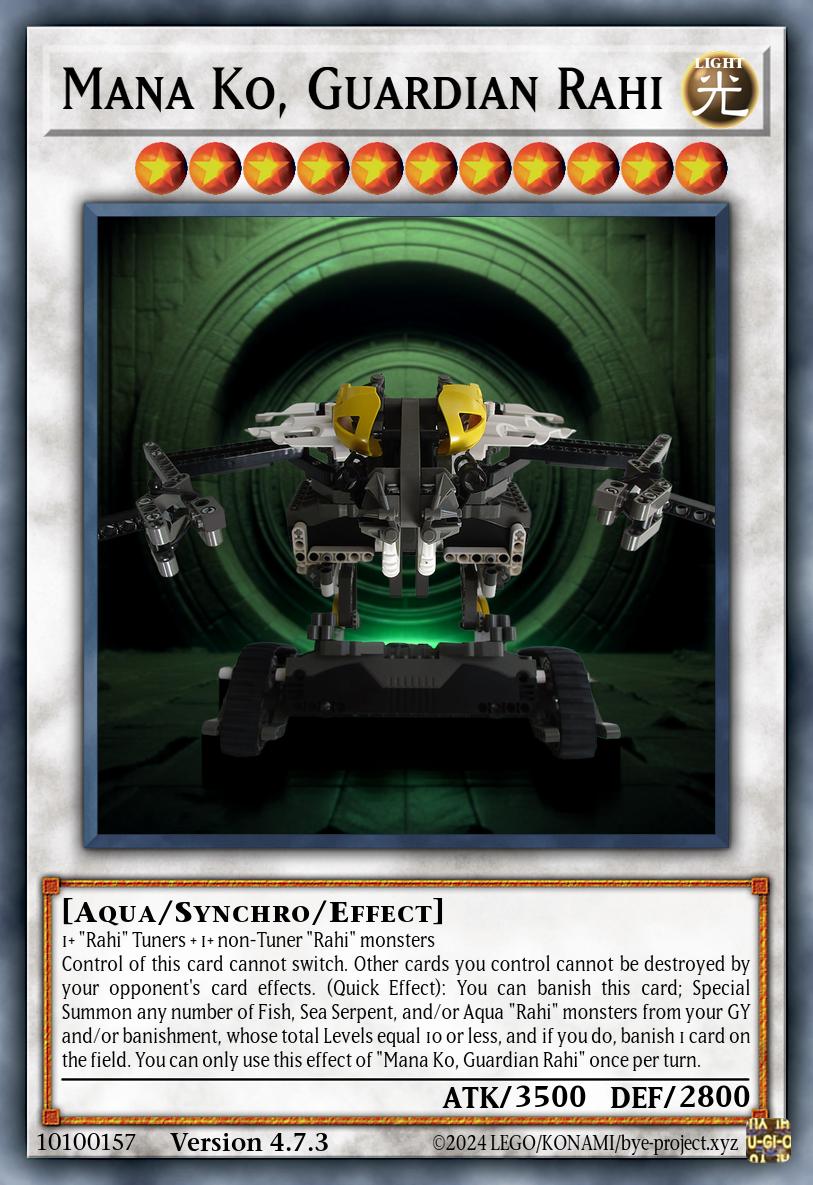
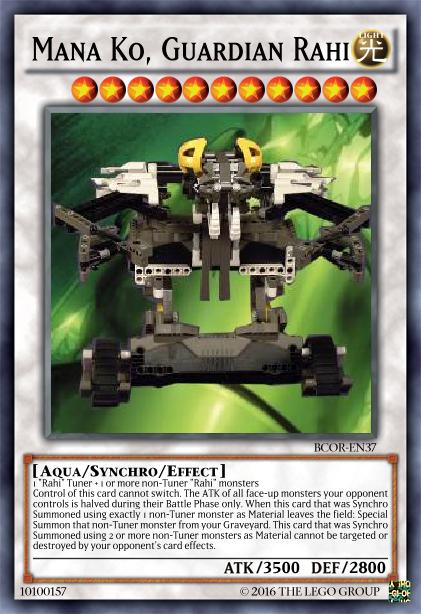
Mana Ko, Guardian Rahi
Synchro Effect MonsterLevel 11 | LIGHT Aqua | ATK 3500 / DEF 28001+ “Rahi” Tuners + 1+ non-Tuner “Rahi” monsters
Control of this card cannot switch. Other cards you control cannot be destroyed by your opponent’s card effects. (Quick Effect): You can banish this card; Special Summon any number of Fish, Sea Serpent, and/or Aqua “Rahi” monsters from your GY and/or banishment, whose total Levels equal 10 or less, and if you do, banish 1 card on the field. You can only use this effect of “Mana Ko, Guardian Rahi” once per turn.
The Manas belongs more to the DARK Rahi faction and also acts as the boss monster of the Normal Pendulums, so it probably isn’t all that relevant to a deck based on aquatic Rahi. The Mana Ko may be worth looking at as the largest Rahi Synchro currently available, though it kind of relies on inheriting powerful bonus effects from its materials to really live up to that title. Honestly I’m not sure this thing is any sort of aquatic creature at all, but like, what is it even supposed to represent then?
Potential Members
The spreadsheet lists 32 Rahi from the seas that are yet to be implemented, ranging from tiny Level 1 plankton to massive Level 10, 11, and 12 leviathans. Unlike the Beasts we previously went over, I don’t really have any particular ideas for an overarching playstyle yet (though maybe something could be done with those self-synergies on the Pendulums?), but let’s still use the same order from small to large and see where we end up.
Level 1 and 2
We begin with a Rahi from MNOG that was actually missed in BCOR, namely the Lightfish that illuminate the leaf huts of Ga-Koro.
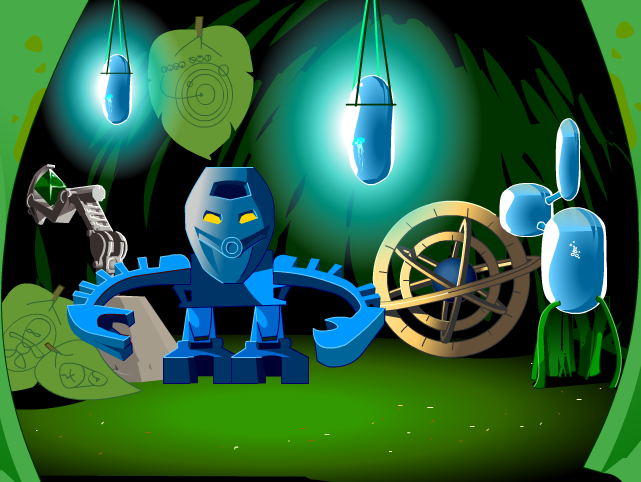
They don’t really do anything except glow, but that already makes a pretty strong case for the LIGHT Attribute. The Type could be Aqua (as is most usual for jellyfish) or Fish (just to match the name), and its effect could honestly be pretty much anything from disruption (“blinding” enemies, like the Lightning Bug from BCOR) to searching (“lighting” the way). So, not really much help in clearing up the playstyle mystery by itself.
A thematically similar creature is the Lava Eel, except it emits FIRE rather than LIGHT. Being a fish that doesn’t have the traditional fish shape and also an elongated aquatic (or rather, magmatic) animal arguably qualifies this Rahi for all three of Fish, Aqua, and Sea Serpent, but going by precedent Fish makes the most sense. I’ve grouped it with the Lightfish in terms of Level due to the similarities, but looking again at the one animation where it’s shown, it really is quite a bit larger than that. I guess there’s also the juvenile versions that Matoran keep as pets, but multiple cards for a Rahi this irrelevant probably makes no sense. Whatever the Level, perhaps effect-wise something could be done based on the passive emission of light/heat, like a continuous effect granting buffs and debuffs.
The Makuta Fish also makes its home in the waters of Mata Nui and Metru Nui, though it was already mentioned in the DARK Rahi discussion and probably isn’t super relevant for the general Aqua/Fish/Sea Serpent pool if it has a home over there. I’d just like to add that IF that is the case, and IF we also end up keeping the structure where Level 3 Rahi have GY and banish effects, there’s a strong argument in favour of bumping this up to Level 3 so it can combo with Allure of Darkness. On the other hand, if we make it WATER, it would probably end up being a slight variant of the Ruki in effect just like it is in concept, so that’s probably the less interesting route.
Also from the DARK Attribute, the Spine Slug could potentially be Aqua, but I somewhat doubt it, and it wouldn’t matter to the non-DARK pool anyway.
And looking at the remaining entries, we can first notice what is going to be a common phenomenon with these Types, namely that a whole lot of them show up once the story goes to Mahri Nui in BPOP. This is quite obvious just from the fact that it’s the arc that takes place entirely underwater, but it’s exacerbated by some 2007 guidebooks that introduce various Rahi as pure worlbuilding fluff.
One such case is the Dust Darter, a tiny, tiny fish that swims in the dust waterfalls of Karzahni – making it a prime candidate for the elusive EARTH Fish typing. Otherwise, their main trait is eating through metallic protodermis in swarms, so it could have a destructive effect similar to the Ruki, but aimed at non-monster cards. Not sure how to represent the swarm aspect though – maybe it’s worth considering to have the card represent a whole swarm to begin with? Wouldn’t be totally unheard of …
The next tiny, deadly creature doesn’t even need the protection of a swarm, and sits at the curious position of being totally irrelevant yet central to the plot due to the metaphor it appears in. I am talking, of course, about the Water Wraith, a toxic Rahi that hunts by using itself as bait, lovingly(?) handcrafted by Makuta Teridax himself. This ability, mirroring the Makuta’s own plan to take over the universe, suggests an effect where the Wraith lets itself be destroyed by an opponent’s monster, kills that monster in the process, and then comes back to “feast” – whatever that entails.
I guess the Gadunka also has to be considered in this Level range as an originally tiny Rahi, even if the bulk of the relevance obviously lies with the particular specimen enlarged by the Ignika. A quick glance over the general traits of the species reveals some familiar concepts – small, powerful jaws, agressive and territorial. I swear, something in the seas in and around the Matoran Universe is making all these Rahi ornery. Anyway, sounds like another thing in the vein of the Ruki … and so does the next one.
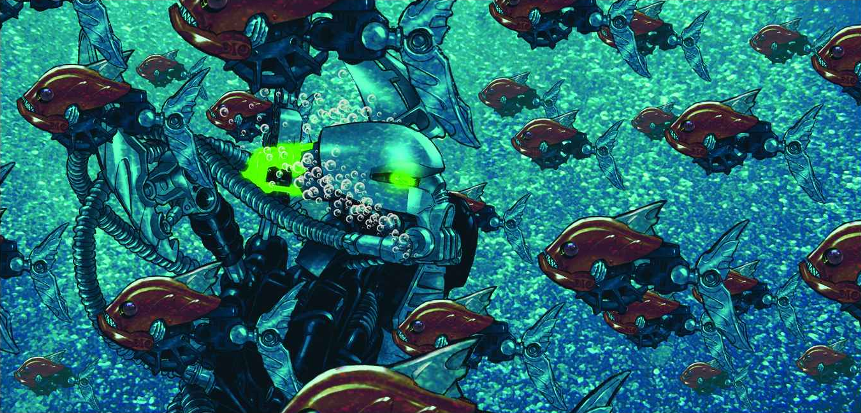
Appearing in a grand total of one comic, Reef Raiders are quite clearly just another kind of bity fish, so there honestly might not be much point in implementing them. Maybe something distinctive could be made out of the fact that they live in the Pit, but as of right now I’ve got nothing.
What I do now have, however, is some basic idea of what the deal is with aquatic Rahi. Even the small ones tend to be agressive, voracious, dangerous to touch, or some combination thereof, so it’s starting to sound sensible that the Aqua/Fish/Sea Serpent types could contrast the Beast beatdown with a theme of taking out the opponent’s field via effects rather than battle. We’ll see if that idea continues to hold up as the subjects of our research increase in size.
Level 3 and 4
Potentially another example of the popular bity fish paradigm (though technically a mammal) is the Razorfish, but between being the smaller counterpart of a whale and damaging ships with their scales I’d guess they’re probably a bit larger than the ones above. Effect-wise, this trait seems to lie at a crossover point between the destructive nature of the other bity fish and the passive harmful effects found on the likes of Lava Eel and Water Wraith.
The Cave Fish employs a different kind of defensive tactic, inflating itself to scare off predators. It’s not exactly clear how big these are in their default state, so arguably putting them at Level 2 would make more sense. The stat boosting implied by its signature ability also matches up kind of well with the current theme of handtraps at that Level, though it remains to be seen whether or not that theme survives the redesign.
In this level range we begin encountering a higher number of potential Sea Serpents, even if there tends to be a bit of ambiguity due to the fact that regular snakes are traditionally typed as Reptiles.
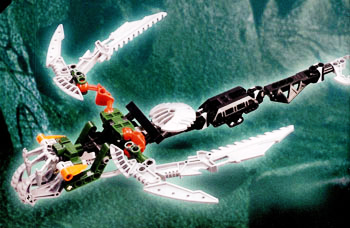
So when you look at the Lohrak (Lorax?), described as a slimy, flying serpent, you can see it as a Winged Beast due to its wings, as a Reptile because it’s a snake flying through the air, or as a (WIND) Sea Serpent because it’s a snake “swimming” through the air covered in wet slime. Between their vicious surprise attacks and their poisonous flesh, they at least would certainly fit into the mechanics suggested in this article so far.
Similar caveats apply to the Air Serpents, the likely flying (but not necessarily winged) snakes the Toa Mata fought in Karda Nui back in the day. However, if we ever reach the point where I implement Rahi only mentioned one single time, I probably need an intervention, so let’s not talk about this one too much.
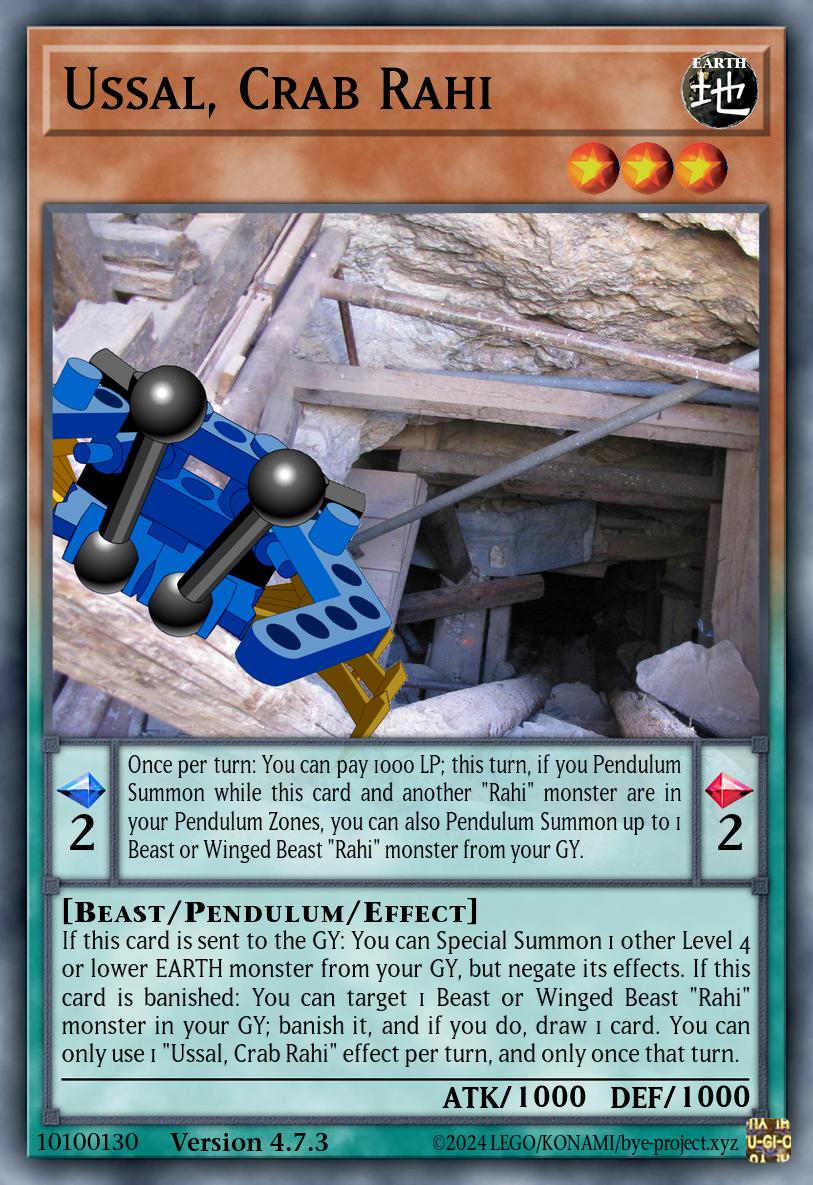
The Rock Ussal pops up here again, since just like the regular Ussal, being a crab theoretically does qualify it for Aqua type (and having Rock in the name for Rock …). There’s an argument to be made that it fits because it’s more agressive than the regular Ussal while still being a fairly small critter, but I’d rather keep consistency with the main variant, which I prefer as a Beast.
Other than crabs, the Aqua type also tends to include turtles, in this case the Dermis Turtle, known for its near-impervious shell, excellent hiding skills, and ability to predict storms. This is quite a contrast to the usually quite hostile and offensive nature of other small Rahi we’ve seen, but somewhat in line with the already implemented Shore Turtle. So it seems reasonable that turtles might represent the defense-oriented weirdos among this subset of Rahi, while everything else focuses on taking apart the opponent’s field. Having that niche filled somehow should come in handy if it’s integrated nicely.
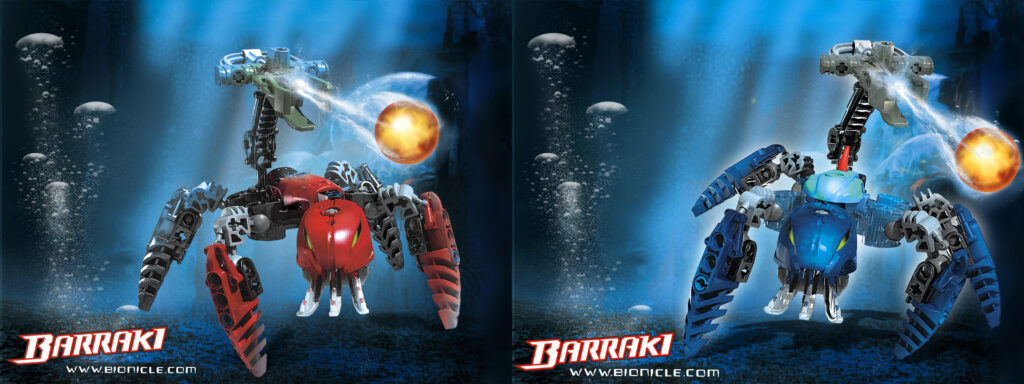
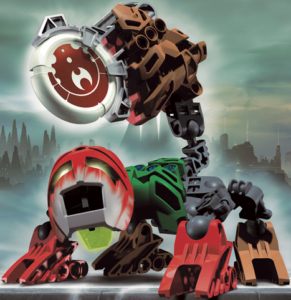
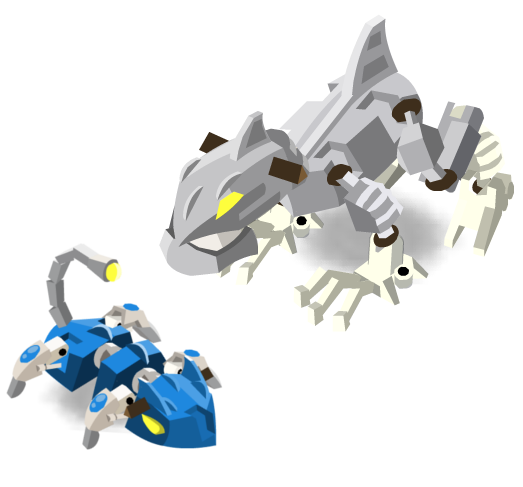
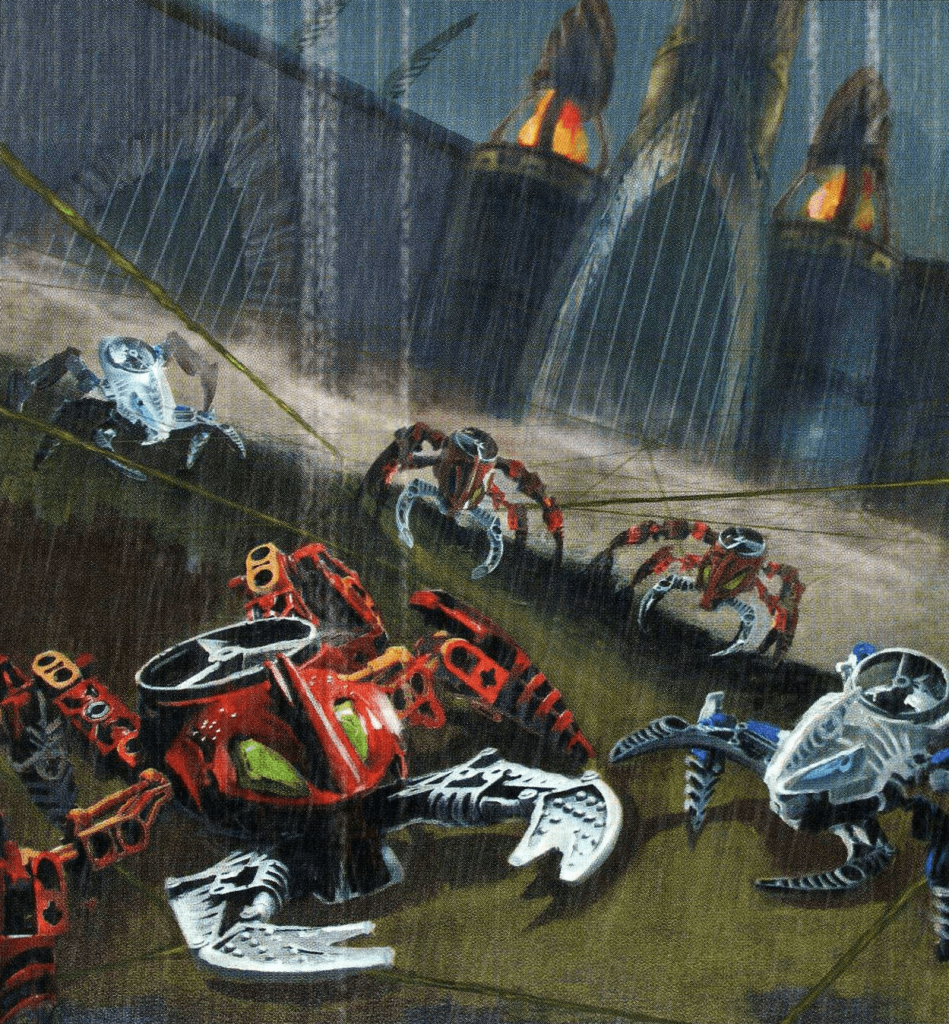
A very interesting species introduced with the Mahri Nui bulk are the Hydruka, domesticated by the Matoran for air harvesting and capable of shooting solidified air bubbles for self-defense. They’re certainly going to fill some kind of specific role based on that in the 2007 cards, but at this point in time, the main design idea I’m getting out of them is due to their color schemes. Morak and Thulox, the named members of the species pictured above, are blue and red – which means they’ll be a pair of Pendulums because, quoth the spreadsheet, “it’s literally the law”.
The Hahnah crab is also red, and since its only real appearance in the story is in the form of the specific individual that briefly acted as Jaller’s mobile turret, I figure it would probably be rather detached from the Rahi archetype and more act as support for the Toa Mahri. Or for FIRE monsters since it’s attracted to heat?
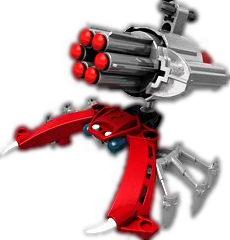
Rounding out the 2007 selection, we have the Manutri, which yet again introduces a new base animal: penguins. Now you would be justified in thinking that those are birds and thus Winged Beasts, but in Yugioh that is for some reason not the standard. Lore-wise, Manutri are just those weird creatures Karzahni turned into an armed fighting force and then never used because some intern probably made that whole thing up on the spot while writing the magazine,leaving them a pretty blank slate. So they might just do something similar to the other Penguins (could arguably even be made part of the archetype, though I’m not sure I’d want to go there), maybe with a side of Karzahni and/or equip synergy.
And to finish off this whole Level range, the amphibian Parakrekks are one of those cases where the obvious lore-based interaction lies outside the Type, and in this case kind of even outside the Rahi archetype. They travel in swarms following in the wake of rampaging Protocairns, which are supposedly Matoran transformed by Energized Protodermis, and then hang around for a long while after those creatures have died and literally become one with the ground.
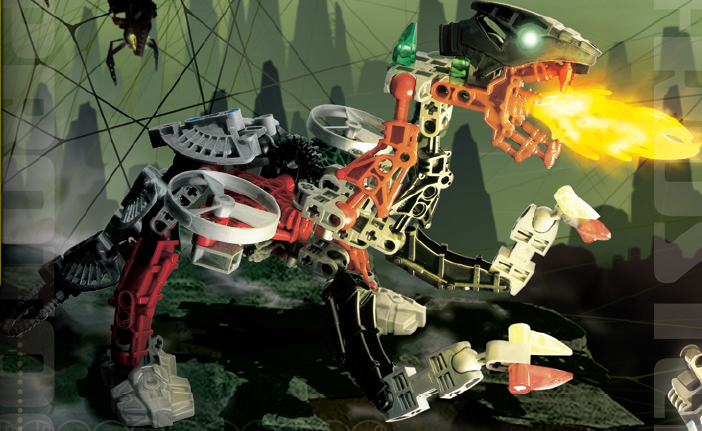
This overall dynamic seems to suggest quite an interesting and clear design direction:
- Make Protocairn by using a member of the recently introduced Energized Protodermis archetype to fuse with a Matoran (this also helps the consistency of Energized Protodermis by expanding the valid fusion materials)
- “Rampage” with the Protocairn, destroying some stuff and all that
- Have the Protocairn die and “transform into new landmass”, which might mean something like floating into a Field Spell
- Said landmass is also infested by Parakrekks, so they somehow show up at the same time and become a sticky menace on the field
So this would basically be an engine that starts out with removal and ends by setting up pretty much an entire board, which certainly has a lot of potential. The Parakrekks themselves are also notable for their skill in concealing themselves, so some fun Flip shenanigans are on the table with them.
Level 5-8
The “-” sign in the title is a bit misleading because somehow, with no intention on my part, I used only exactly Levels 5 and 8 from this range. But as stated repeatedly already, Levels are kind of flexible anyway, so most likely something will still end up squeezed into the area inbetween at implementation.
One creature noted at Level 5 in the spreadsheet is the Proto Drake, a Sea Serpent that moves through the seas, skies, and Ta-Metru’s vats of molten Protodermis alike.
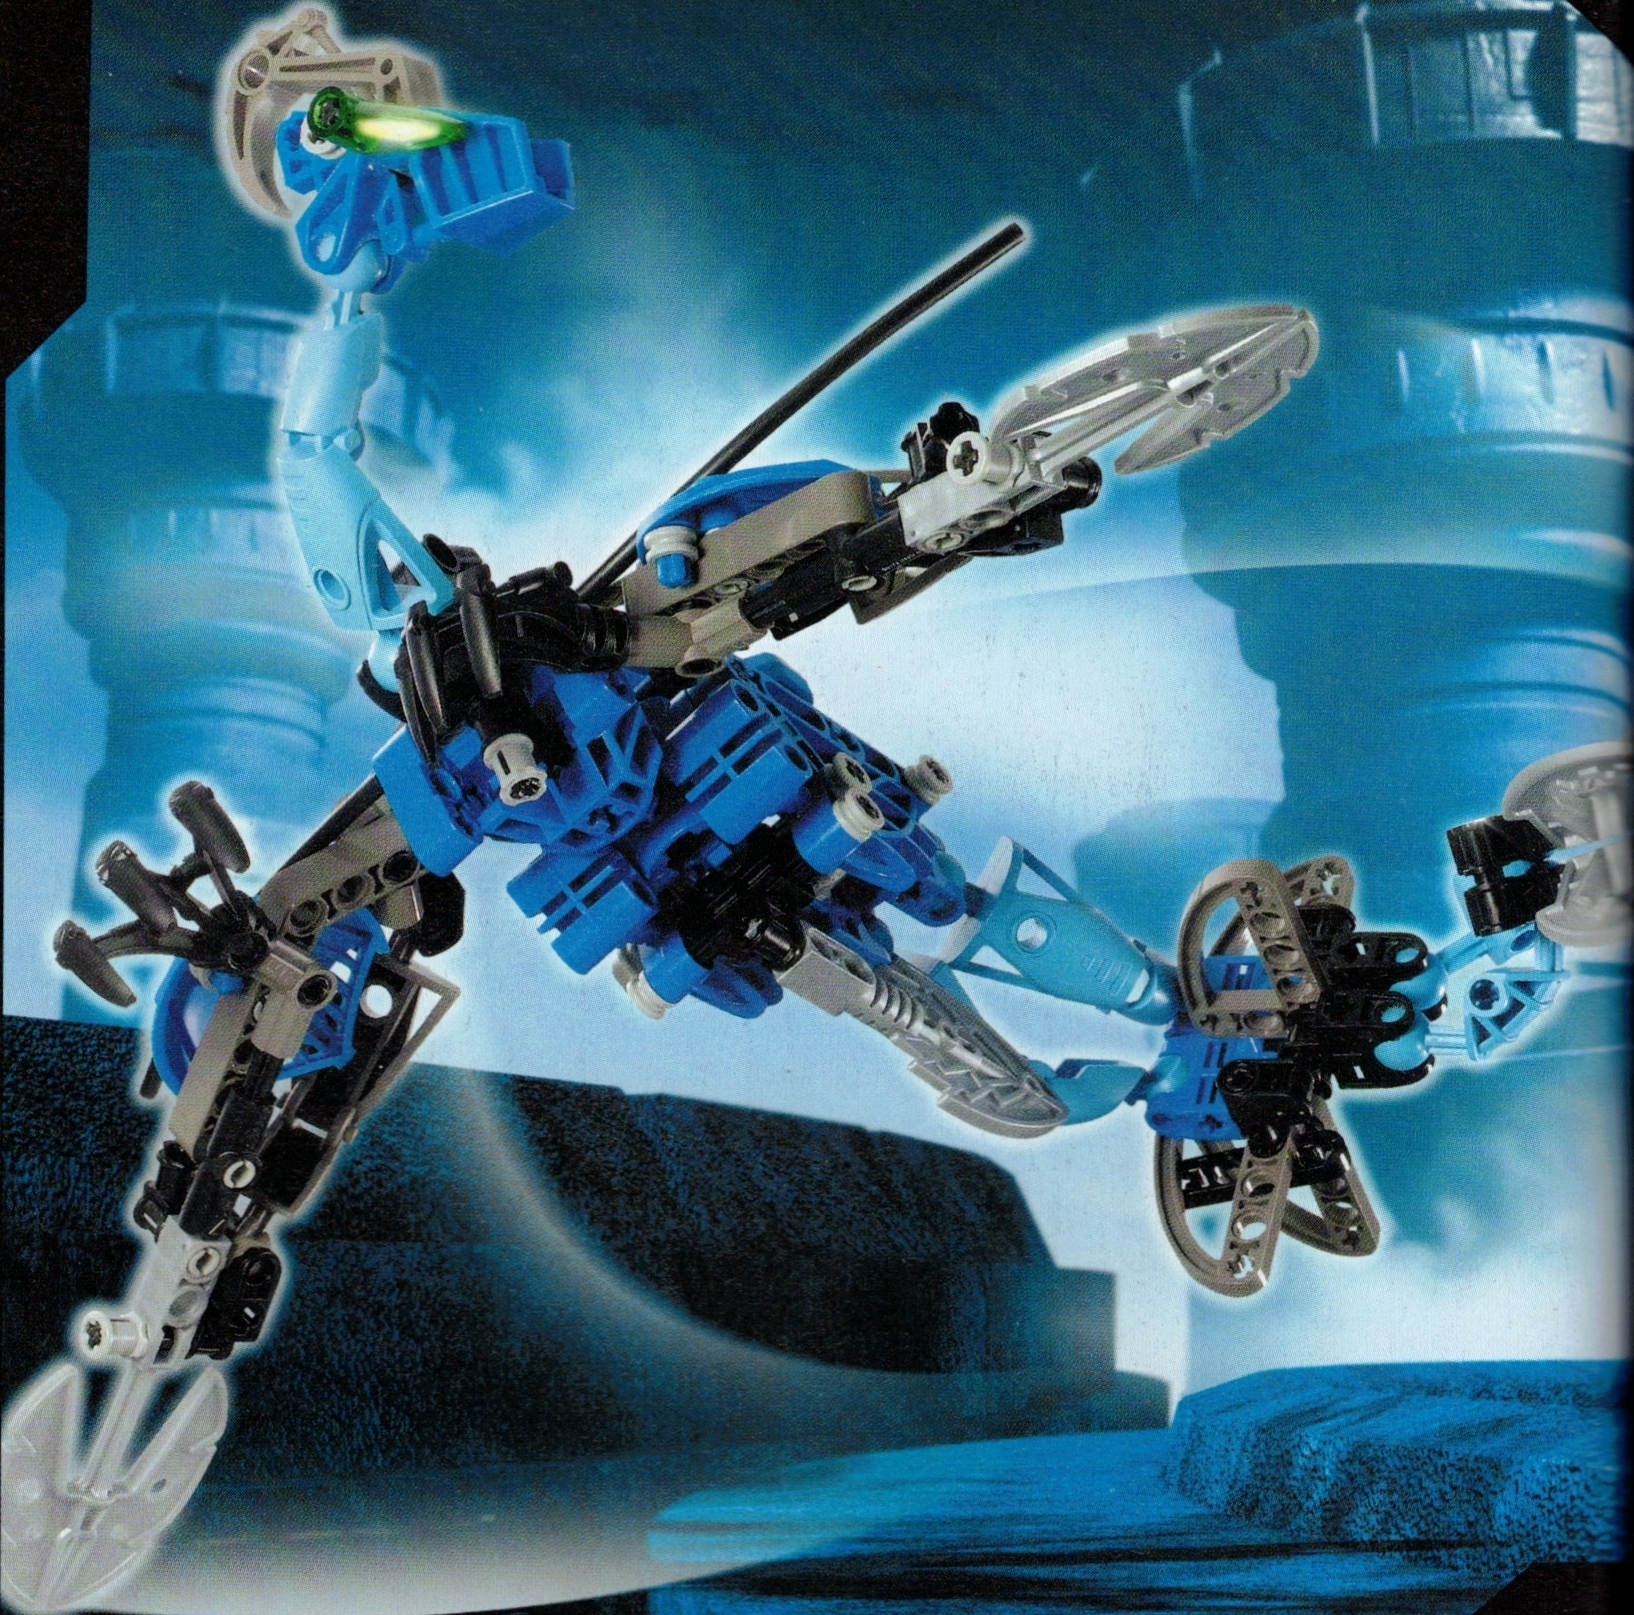
The only reason it’s at exactly this Level is because it feeds on (Level 4) Takea sharks, so obviously it has to be at least a little bit bigger than those. The mobility in different environments could be implemented by having the card smoothly move itself between different locations, such as Monster Zones and Pendulum Zones – kind of like some current Rahi already do, but with more ease.
Chute Lurkers are amphibious and so could be put under the Aqua Type, though their spider-like appearance and hunting method makes me lean more towards Insect. Chutes are characteristic of Le-Metru, so arguably WIND Aqua would be kind of fitting and has some appealing novelty to it, but there are a few monsters with that combination already, so probably not a good enough reason by itself.
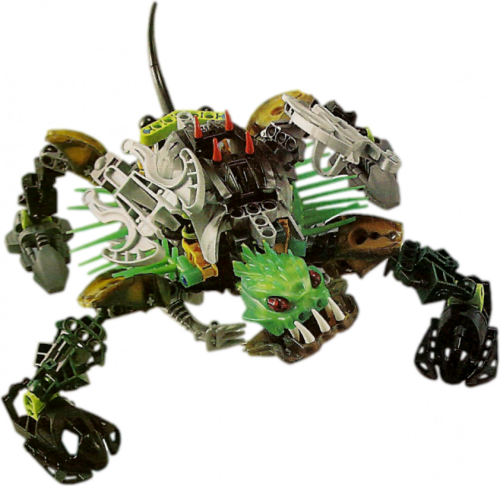
Moving back in the approximate direction of turtles, Pit War Tortoises are only known for the mutated and armed specimens found in the seas around Mahri Nui, so their situation kind of resembles the Manutri. They do have an additional noted trait of long life spans (kind of seems standard in the MU anyway, but let’s not think about it too much), which more or less aligns with the previous observation of turtles being more defense-oriented. These tortoises just also happen to have guns on their backs.
Razor Whales, our first Level 8 candidate, are the larger cousins of the Razorfish mentioned previously. Instead of sharp scales that sink ships, they have sharp spines that mostly act as a deterrent. Despite not being anything turtle-adjacent, these whales also contrast the small fish by being gentle and defensive in nature, which could make for a neat little gameplay dynamic within the Razor family.
The Great Temple Squid is an interesting case: Its first appearance is in Tales of the Masks, a book covered by the currently ongoing expansion BPEV, but they aren’t properly introduced until Metru Nui (where the Great Temple is located). So I’ve been thinking about teasing them with a related support card in BPEV and only actually making the monster once we reach BCOL. Thematically, this creature is a near-apex predator that actively hunts prey with its tentacles, so we seem to have reached a point where the aquatic Rahi are large enough to employ offensive tactics similar to the Beasts.
This idea is further supported by the Doom Viper, a Sea Serpent if I’ve ever seen one.
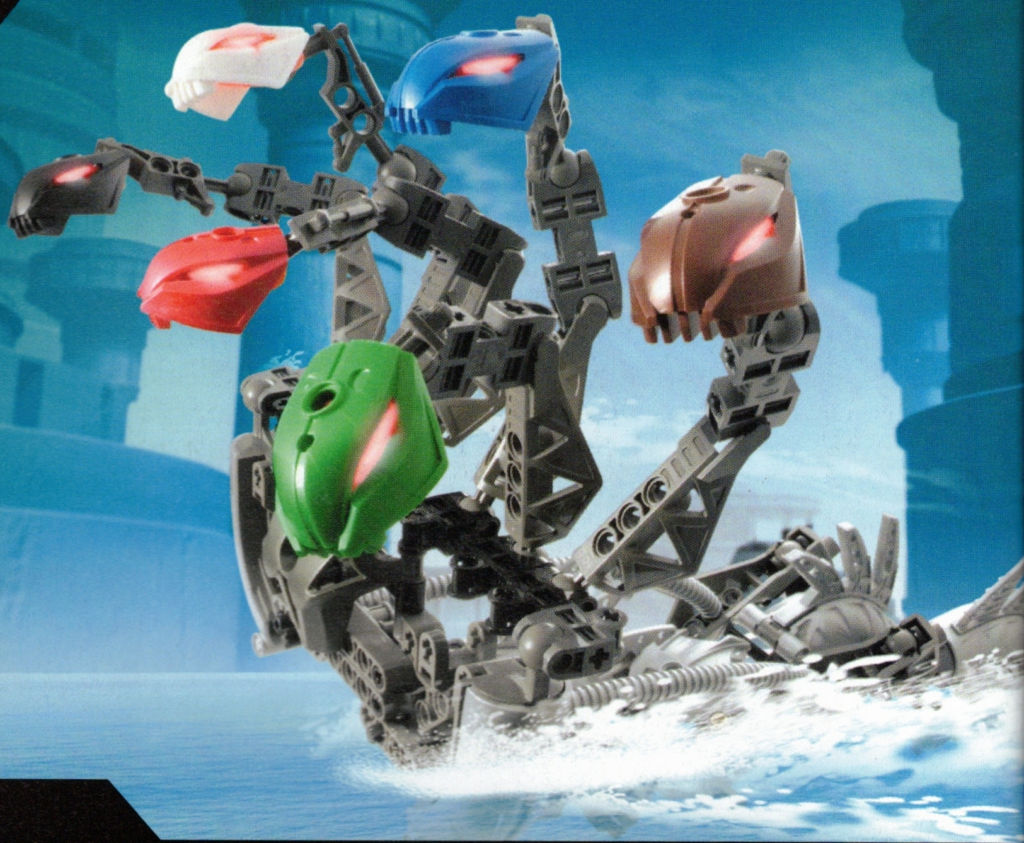
These toxic-breathed monstrosities pretty much just go around killing everything they come across, so they make for quite the formidable boss monster. In a way, they’re the upscaled version of all those small Rahi using poison to defend themselves, except the Doom Viper very much attacks.
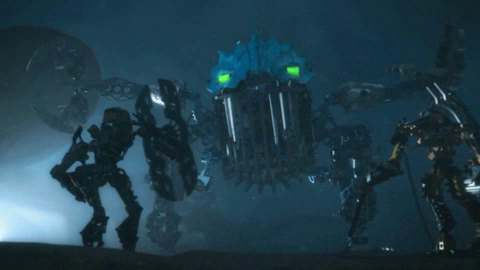
Speaking of upscaled, the particular Gadunka that was turned enormous by the Mask of Life is definitely going to be its own card. Given its unnatural origins, it should probably be something unusual for Rahi, like a Fusion or Ritual monster summoned with an Ignika support card. Since it is just as agressive as it was when tiny, but now big enough to actually threaten most other creatures with its mighty jaws, this seems to be yet another case where a large aquatic Rahi simply goes for straight beatdown.
Vehicles
And now we briefly depart from the Level-based structure to look at something weird. In the 2006 and 2007 playsets, the designers really felt like including some vehicles, which story-wise mostly were explained as modified Rahi. That leaves us with an assortment of cockpit-bearing animals capable of supporting one or more riders, which probably should be implemented with some kind of unique shared mechanic.
The first example of this trend is actually a playset combiner model: The Caravan Crawler, modified by the Piraka from a specimen of the unseen Lava Crawlers. As creatures with a hard shell that live around lava streams, they qualify pretty well for the nice combination of FIRE Aqua (the ol’ Suship), and their bad temper makes them hard to control – a notable contrast to the other turtle-like creatures who are usually on the calmer side.
But it is not until Mahri Nui that the vehicle theme really kicks off, as we are introduced to the Stinger Whale and Spider Crab.
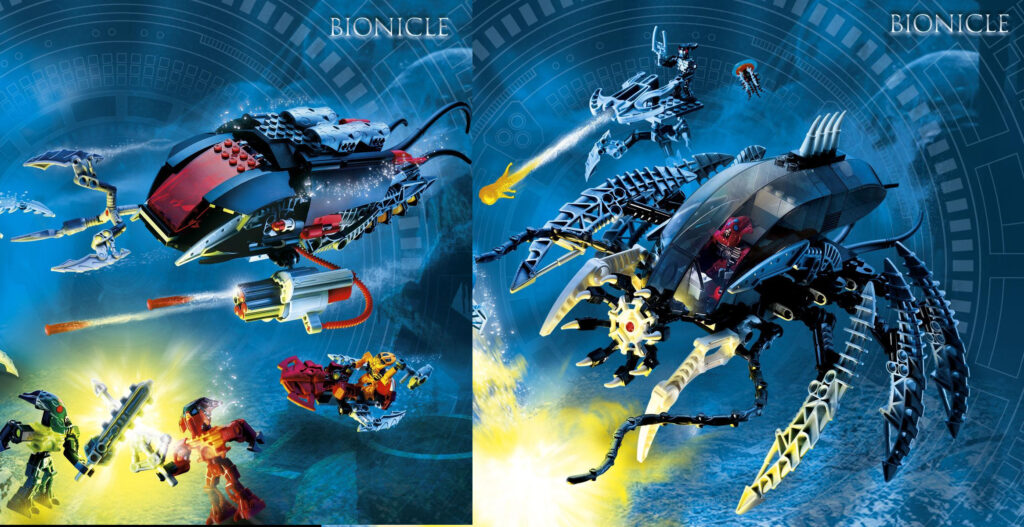
Both of these carry one passenger the size of a Toa or Barraki, meaning they must be fairly high-level to reflect how big they are. Aside from appearance, they only real difference between the two Rahi is that the Whale has more speed and less armor than the crab, which is a decent balance to have. The big question is how to handle the passengers in effects – maybe with some gimmick of equipping to other monsters?
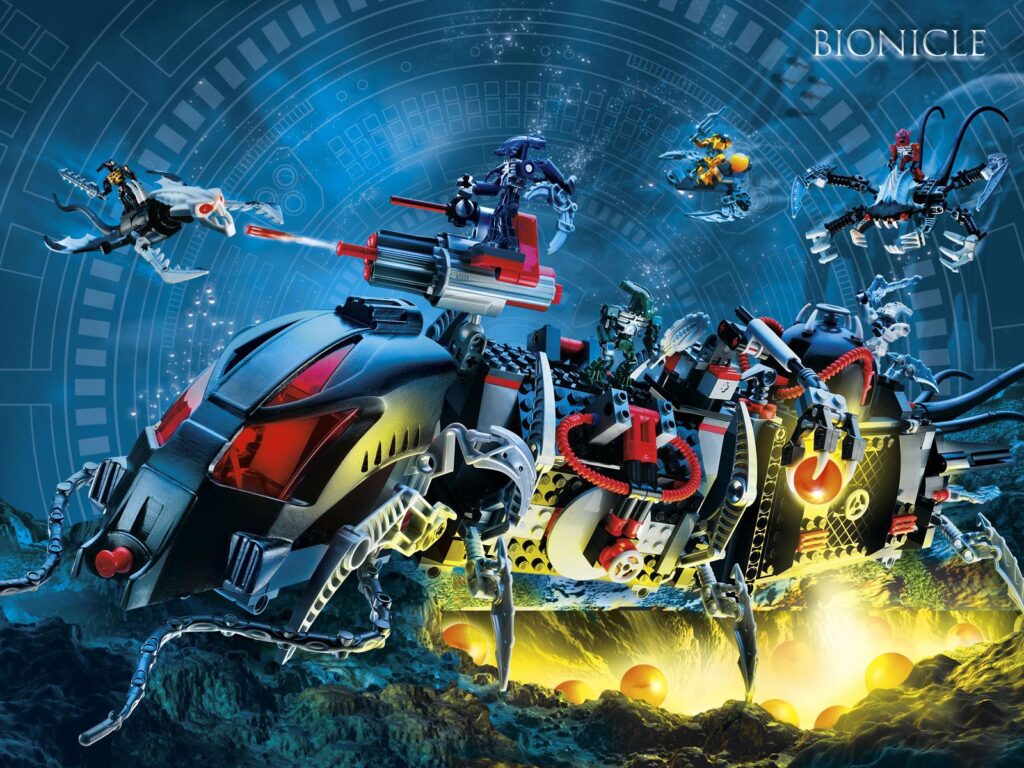
That concept immediately becomes a bit problematic with the Toa Terrain Crawler, the largest of the vehicular Rahi, because a main point that sets it apart from the smaller ones is its ability to house multiple passengers – but you can’t exactly equip to multiple monsters at once. Maybe a solution would be pulling a Super Quant and having the vehicles be Xyz that take the pilots/passengers as material, which would also serve nicely to set them apart from other Rahi. Another minor point on the TTC specifically: Its modifications are said to be so extensive that it appears more mechanical than organic, so it might just end up being the first Machine Rahi, rather than the currently suggested Sea Serpent.
Level 10-12
At these Levels, we reach Rahi that can be described as downright mythical, such as the Crystal Serpents created by Artakha. They’re practically a collection of highly unusual traits – their creator is not a Makuta, there are only four of them, they only feed every few centuries, and the heat rays from their crystal bodies are potent enough to instantly wipe out a whole wave of invading Visorak. Given their oddity and power, I figured they would fit well at the also quite odd Level 11, as LIGHT Sea Serpents or Reptiles. Nothing suggests they’re aquatic in any capacity, so the latter might actually make more sense now that I think about it.
That leaves us with just one more marine Rahi of truly legendary proportions, the so-called Dweller in the Deep.
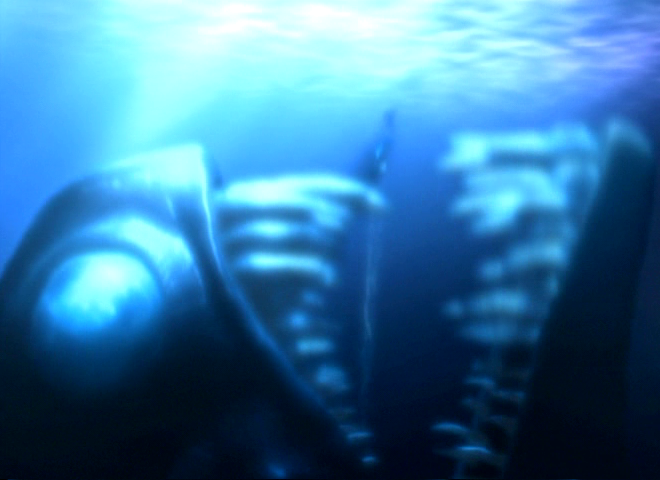
Not to be confused with Abyss Dweller, Dweller in the Depths, or The Deadly Dastardly Dragon Dwelling in the Dangerous Dark Deep, of course. Supposedly its jaws are large enough to swallow the entire Great Temple of Ga-Metru, and while that’s probably an exaggeration, the fact that it feeds on Great Temple Squids still qualifies it for Level 10 or above. We could follow the same approach already suggested for the Tahtorak and make the final boss of the Type(s) a big Synchro to climb into, but the fact that the small Rahi in this case tend to help take apart the opponent’s field with their effects kind of leaves less room for the necessary combo enablers. So it might be better off as a more easily accessible thing that doesn’t really do anything outside of being exceedingly large so you can get around effect resistances and stuff.
The First Rahi
I lied, there’s even more huge things in the water. It’s just that the remaining ones form yet another special subgroup that is set apart from the rest of their Type. I am talking about the First Rahi, famously studied by Onu-Matoran Mavrah in the tunnels outside Metru Nui.
These ancient sea creatures created by the Great Beings themselves consist of several dozen briefly described varieties, so there’s ample room to build a little self-contained engine from them, presumably also involving Mavrah in some way. Since being ancient is their core identifying feature, it would make sense to have them also be kind of antiquated in terms of card type, like making them large main deck bosses or even Rituals. Of course, that would be mostly aesthetic and they’d still need to live up to modern standards of playability.
Even though I’ve covered them in this article now, I’m actually strongly considering making them Dinosaurs instead of Sea Serpents. It’s a nice way to signify their primoridal nature, and outside the very special case of the Rahi Nui, that Type is pretty much unused anyway.
Conclusion
That was quite a lot to go over, but I think there are several fairly intersting conclusions to be had.
- Low-level Fish/Aqua/Sea Serpent Rahi are absolutely willing to punch above their weight class and attack anything that moves, either physically or by means of poison or other harmful emissions. Therefore, one of the selling points of this Type alliance could be that even the fodder has some ability to interfere with the opponent’s field through their effects – as is already the case with cards like the Ruki.
- As Levels grow higher, these tactics begin to lose relevance and are replaced by simple large apex predators, as well as peaceful creatures kept safe by their sheer size. This suggests a shift from effect-based removal/disruption to beatdown and large bosses, granting these Rahi a nice amount of flexibility.
- Turtle-like Rahi are pretty consistently oriented around defense, so they could fill precisely that niche between the two types of offense listed above. That might just be exactly what is needed to complete the aquatic Rahi as a nicely rounded sub-archetype.
- There are a few different groups that exist within their own little card ecosystems outside the main Fish/Aqua/Sea Serpent one. That means the Parakrekks and their connection to the Protocairn, the rideable “vehicles”, and possibly even the numerous primordial Rahi around Mavrah. While these are generally going to be their own thing, it might be worthwhile to invest in support cards for Rahi of the three Types that are also of use to such detached engines.
In terms of introduction order, these cards are spaced pretty evenly, with the obvious exception of the major flood coming in with BPOP. The only notable delay is that non-Manas Rahi larger than Level 4 only start appearing from BCOL onwards, so the “large boss” aspect of the strategy won’t be available until then. Maybe the Squid-based support card from BPEV could be something that helps fill the gap in the meantime.
So, it’s looking like the aquatic Rahi will be the “balanced” portion of the archetype, their win condition combining effect-based control of the boardstate with the ability to simply make large monsters, with some literal turtling added to the mix for safety.

