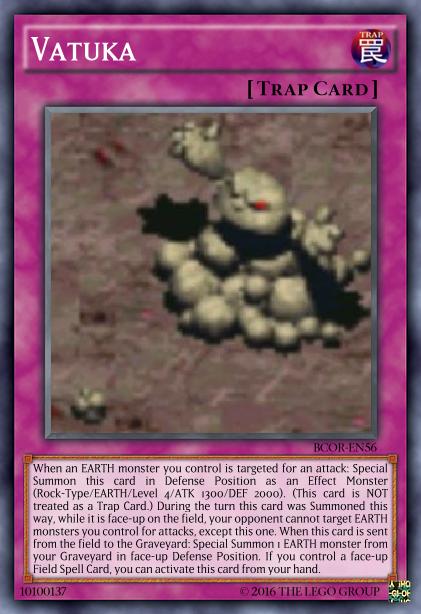
A card from BCOR that actually never came up in the Theme Guides is the Vatuka. This living pile of dirt is quite unusual among the biomechanical creatures of the Bionicle universe, but not actually unique. Other examples include the Avohkah who once lived in Karda Nui, the Fire Entity that Vakama fought at one point in the books, or on the less canon side the Snowbird from Quest for the Toa and the various bosses from Legend of Mata Nui.
The idea I came up with is to implement these types of creatures as Trap Monsters that support a certain Attribute, with the added gimmick that they can be activated/summoned from the hand while you control a Field Spell, because they are born from natural elemental forces (or something like that). So far the Vatuka is the only one, but if/when I get to any of the others, I plan to use the same style.
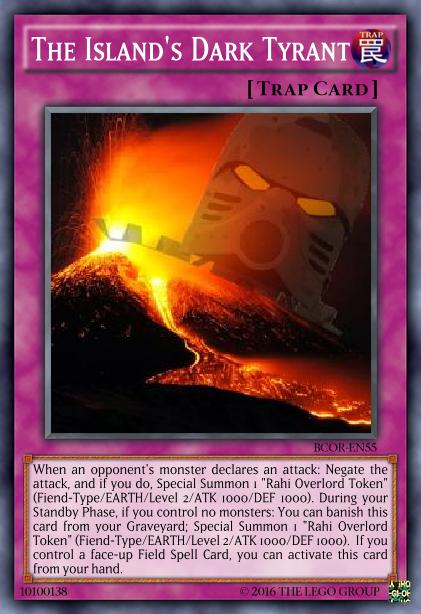
Interestingly, The Island’s Dark Tyrant also has the clause where you can activate it from your hand if you control a Field Spell. This is because the card shows Makuta controlling the aforementioned “natural elemental forces”, so it’s basically a pseudo-elemental. But only pseudo, because rather than a Trap Monster it only summons a Token. And because it’s a Makuta card, it also works from the GY.
The Element Lords from Spherus Magna are also technically elementals, though of a significantly different nature. Maybe I’ll work them into this concept somehow.
An expansion about Mata Nui’s Rahi must of course also include the evil mastermind controlling them from the shadows. Makuta are sure to become a large archetype of their own when I get to the parts where the Brotherhood becomes relevant, if not sooner, but for now there’s just a small selection of cards representing the one and only Makuta who that name used to mean back in the day.
For starters, we have the Infected Kanohi symbolizing Makuta. It’s an Equip Spell Card just like regular Kanohi, but rather than granting positive effects it just destroys any Kanohi equipped in parallel and then attempts to take control of the opponent’s monster it is equipped to. “Attempts” because they can struggle against it by losing a card every turn, and one more every time that monster dares attack you.
But that is only the prelude to the actual Makuta cards, of which there are three in this set.
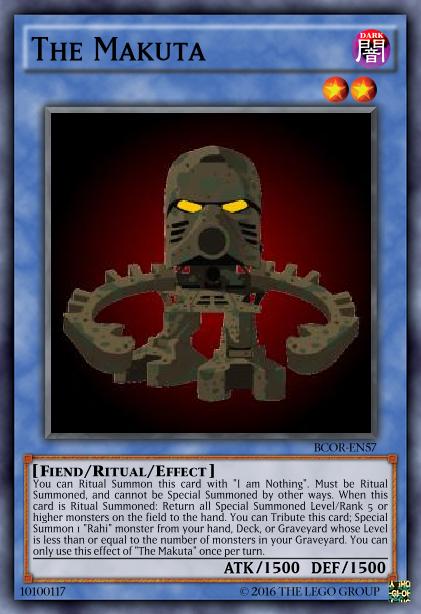
“I am Nothing“, declares the dark lord before the final battle commences, and thus is the name of the Ritual Spell used to Summon this particular form of Makuta. Besides the standard condition of Tributing monsters from hand or field, you can also pay the cost by putting a Kanohi from the field or either GY back into the Deck – which could be your opponent’s actually beneficial Kanohi, or simply your own Infected model. Moreover, you can also banish the Ritual Spell from the GY for another Ritual Summon from that same location, at a slightly higher cost. Spells and Traps with GY effects, especially Ritual Spells, are a theme I decided on pretty early for the Makuta archetype, so expect more of that in future expansions. It just feels properly villainous to me.
The Makuta is then implemented as the Ritual Monster to match the Spell, with a tiny Level of 2 since he is taking the form of a diminished Matoran here. His on-summon effect lets him take out Special Summoned monsters with high Level or Rank, which sure is a lot less useful in an age of Link Summoning than it used to be when I made it. Still, it works on the intended targets (the Toa Kaita), so as far as the lore is concerned everything’s fine. Makuta’s second effect allows him to leave the stage and return to the position of the evil power pulling the strings behind the Rahi invasion, where the size of the Rahi he can bring out is dependent on your GY setup to go with the general GY-based nature of Makuta.
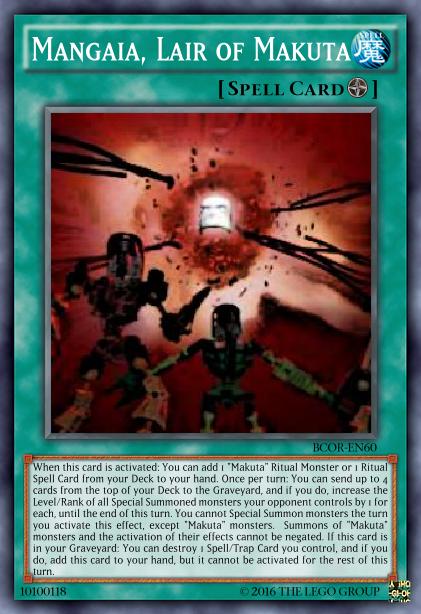
Completing the trio is Mangaia, Lair of Makuta. This Field Spell lays the groundwork for Makuta’s big entrance with a search on activation and with an effect that simultaneously sets up the GY and makes your opponent’s monsters into suitable targets for the incoming mass bounce. It even goes as far as preventing any negations against Makuta, for there is no stopping him within his own domain. Finally, this card of course has a GY effect, in this case simply adding itself back to the hand forcibly by destroying a Spell/Trap on the field.
Fun fact to close this out: The Island’s Dark Tyrant is more of a Rahi support card than a Makuta support card, but the Type and Level of the Tokens it Summons are actually based on the Ritual Monster seen above – hence the name “Rahi Overlord Token”. The matching Level means you can simply Tribute a single one of these Tokens for Makuta’s Ritual Summon, so I guess there is some incidental synergy.
Conclusion
At this point, Makuta is not yet an archetype and instead just a single small engine that helps out GY-centric Rahi builds with a powerful, but situational removal effect and immediate access to almost every monster in the deck. An example of the cards being incorporated that way can be found in the 60 Card Graverahi decklist from the BCOR release.
BCOR expands the Matoran archetype beyond the special case of the Chronicler’s Company, with the addition of six iconic villagers of different occupations and a few support cards.
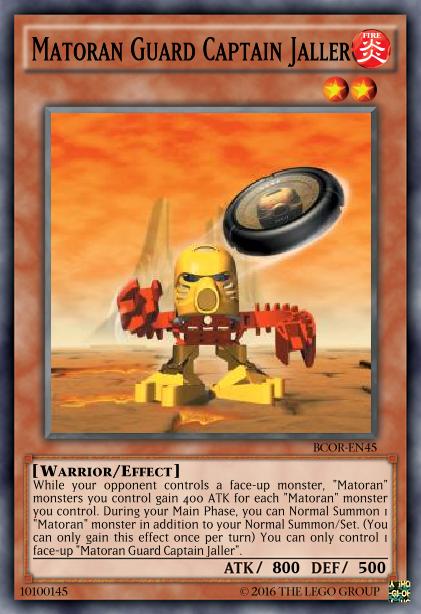
Leading the charge is the mightiest scion of Ta-Koro, Jaller his name*. The captain of the guard, in accordance with his occupation, helps you assemble a fighting force with an extra Normal Summon and prepares them for battle against your opponent’s monsters with a potentially really big ATK boost.
* Or Jala at this point, actually. I originally wanted to only use the final version of any changed names for consistency across expansions, but later decided there wasn’t really any point to that. Jala, Maku, etc also technically are canon due to Naming Day, so it makes more sense to keep them in. Since BCOR is from before that change of plans, it still uses the final names.
Another source of significant benefits for groups of Matoran is Hewkii (Huki), Koli Champion of Po-Koro. His abilities can be summarized as taking the attention of his opponent’s monsters off his fellow Matoran, persevering through difficult battles as long as he has others to protect, and potentially pulling off an unexpected victory agains particularly powerful enemies. Very champion-like, though in hindsight I feel the last effect shouldn’t really work when attacking.
With Rahi being the central focus of the BCOR expansion, it only seems correct to also examine the more peaceful side of the Rahi/Matoran relationship from the perspective of the Matoran. That brings us to the following two villagers, whose occupations both utilize tamed Rahi.
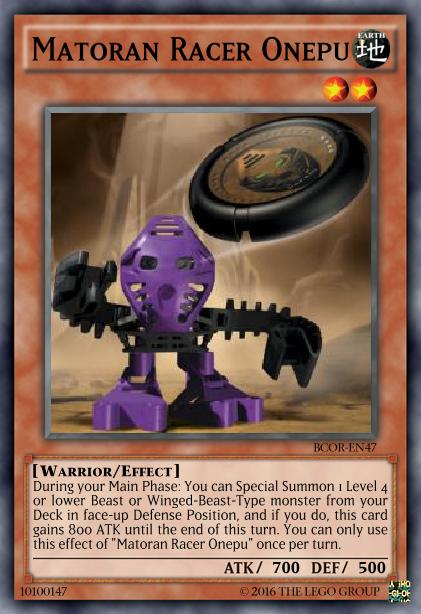
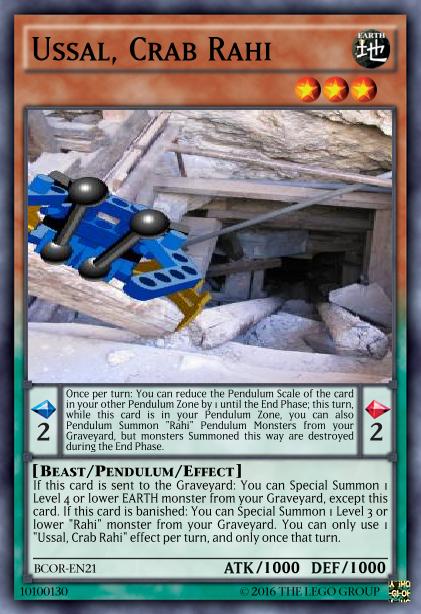
Onepu summons out an “Ussal” (here broadly represented by Beasts or Winged-Beasts in general) from the Deck and “rides” it, increasing his power in battle. This is a Special Summon from Deck covering the Level 4 or lower range of two entire Types without any restrictions such as negated effects, so basically the only reason I could have possibly thought this was remotely ok was because I didn’t for a single second consider how to break it. If you have read the Rahi guide, you might note that Ussals are indeed Beast, but the addition of Winged-Beast to this effect is a bit puzzling. The explanation is that I wanted the two Rahi-related Matoran from this set to build upon each other’s effects, so I made sure to have both of their effects use both relevant types.
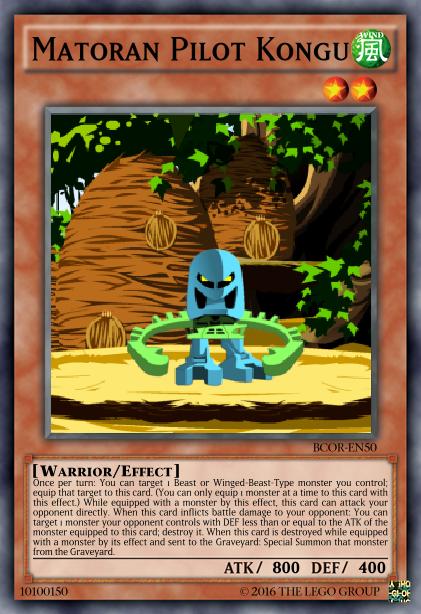
Hence, Kongu has the ability to pilot whatever Onepu has summoned by turning it into an equip card for himself. Riding his glorious flying (yes the Beasts fly too shut up) steed, he will then pass over enemy lines to attack directly, and while he’s at it take out some of the more vulnerable monsters. Furthermore, even if he’s taken out, his steed will still be there to fight for you.
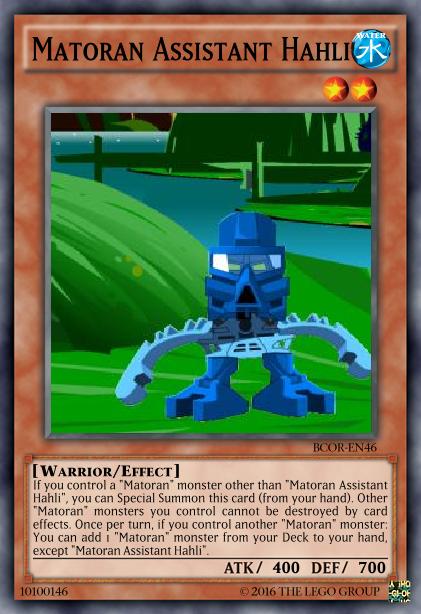
Hahli is designed to quite literally assist her fellow Matoran, letting herself be Special Summoned if you control them and protecting them from effect destruction. On top of that, she can search Matoran once per turn. Not even hard once per turn. And the Special Summon can be repeated as much as you want, too. Definitely another case where the card’s existence proves I don’t think things through very well.
Matoro the Matoran, whose name holds the same energy as Hubert the Human, is a straightforward revival option, and he brings back not one, but two Matoran. In exchange, it only works during the turn he was Normal Summoned and requires him to sacrifice himself. So basically ;_;7
The fact that he’s a Tuner comes from his job as Nuju’s translator, based on the original version of the Turaga being Tuners as well.
In addition to these six monsters, BCOR enriches the Matoran archetype with a small lineup of supporting Spell Cards.
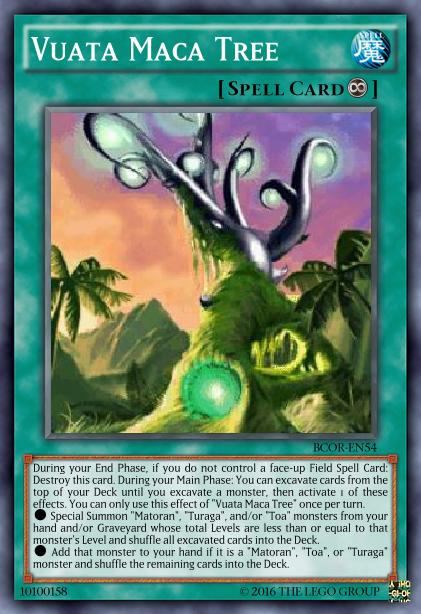
Probably the most important is the Vuata Maca Tree, the natural power source utilized by the villages of Mata Nui. Being a feature of the location, the tree requires a Field Spell to support its continued existence, though a one-time use is fine anyway. Its effect utilizes the highly entertaining excavation mechanic to either Special Summon Matoran (and their other forms) from hand/GY or add one that you happen to find.
Perhaps a bit less central to Matoran society on Mata Nui, but still a lot more present in official material are Lightstones, which are the focus of our final pair of cards.
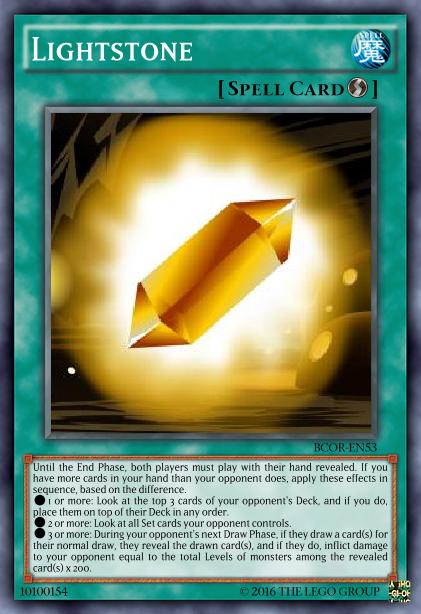
The Lightstone itself has various effects related to illumination, first and foremost making both players reveal their hands for a turn. If you activate this while your hand is bigger than your opponent’s, you unfortunately reveal more information than you get, but to make up for that difference, additional effects of the Lightstone begin to apply. In total, it can potentially let you see and reorder the top of the opponent’s Deck, see all their Set cards, and explode into some burn damage on the next draw (which you can set up with the reordering), so there’s definitely an argument to be made that the extra information revealed on your part is worth it.
Cavern of Light, being the location where Lightstones are mined, provides easy access to them, as you would expect. It also establishes the actual connection to the Matoran archetype by replenishing used-up Lightstones as long as you have the required miners or simply creatures of the EARTH to dig them up.
Conclusion
BCOR introduces various Matoran support cards that provide aid in playing a deck composed of Matoran, Turaga, and Toa from across Mata Nui, but in doing so produces a few honestly quite broken effects. Also, this concept was already kind of used for the Chronicler’s Company in BCOT and was a lot more appopriate there than on other Matoran that actually stay in their own villages most of the time. An update of the expansion would probably involve rethinking them as support for their respective Koro strategies introduced in the redesign of BCOT, though some of them (like Jaller) already kind of fit in.
In their current state, the overarching theme of the Matoran shown here could be considered providing passive field-wide buffs that turn these small monsters into a formidable fighting force when Summoned en masse. With the Rahi-taming Matoran and the Lightstone cards, there are also some more gimmicky ideas here that I’m quite fond of, even though they may need some balancing fixes.
A sample Matoran deck can be found in the BCOR release.
The Rahi that live on Mata Nui form a huge archetype consisting of several subthemes, each of which follows a different common design idea. Since archetypal support cards work for all of them, they can be combined in a variety of ways, though not all of them necessarily make sense or function. I think the most straightforward way to do this would be to look at each of the subthemes separately, so here we go.
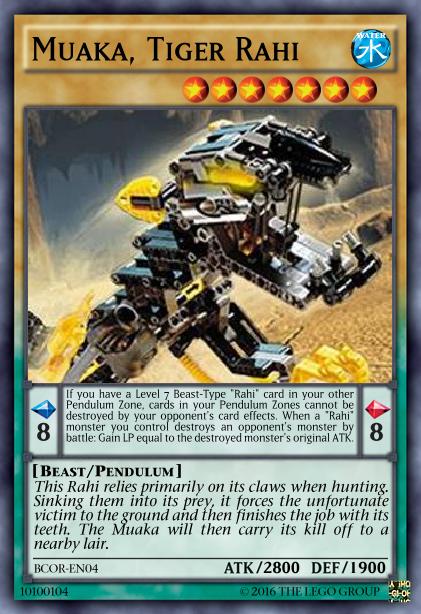
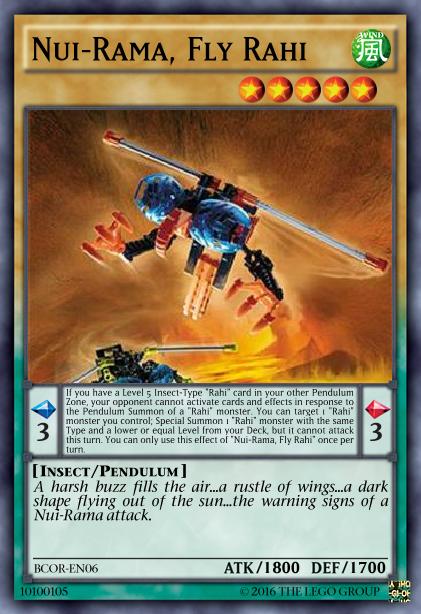
The Rahi mainly featured in the 2001 storyline were the larger types, sold as sets in pairs – mostly just two of the same species, but also the combination of Muaka & Kane-Ra. Based on this idea, these Rahi are Normal Pendulum Monsters with the gimmick that the scales (one 3 and one 8, to comfortably cover all their levels) are meant to match in terms of Type. The Reptile Tarakava is paired with the Reptile Sand Tarakava, the Beast Kane-Ra with the Beast Muaka, and the Insect Nui-Jaga with the Insect Nui-Rama. When this is the case, the shared effects split between the two sides of each pair make it so that your Pendulum Scales become indestructible and your Pendulum Summons cannot be responded to, basically setting the whole mechanic to easy mode.
In addition, each of them has a unique second Pendulum Effect, probably best to explain this with a little table:
Name
Type
Scale
Effect
Explanation
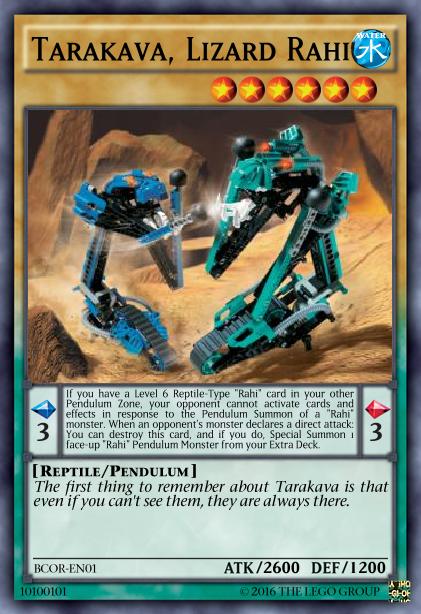
Tarakava, Lizard Rahi
Reptile
3
Self-destruct to summon Rahi Pendulum from ED on direct attack
Tarakava are known for surprise attacks, in this case launched from the Pendulum Zone/ED
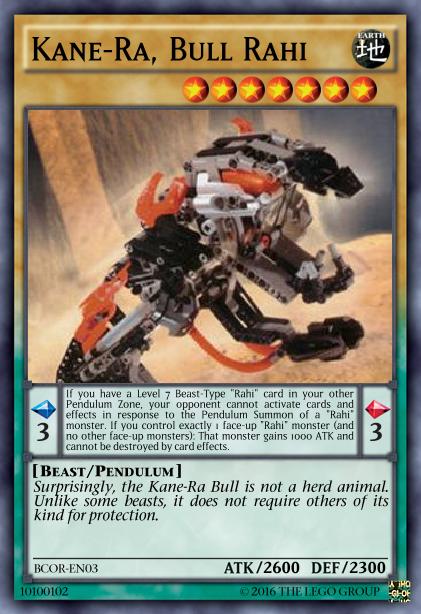
Kane-Ra, Bull Rahi
Beast
3
If only face-up monster you control is a Rahi, it gets +1000 ATK and effect protection
Kane-Ra are not herd animals, so solitary Rahi get buffs
Nui-Jaga, Scorpion Rahi
Insect
8
Add Rahi Pendulum from ED to hand, then destroy card in Pendulum Zone
No particular lore relation intended, could be Nui-Jaga calling each other?
Muaka, Tiger Rahi
Beast
8
Gain LP when Rahi destroys opponent’s monster by battle
Opponent’s monsters get eaten by your Rahi
Nui-Rama, Fly Rahi
Insect
3
Summon Rahi with same type as and lower or equal level than a Rahi you control from Deck
Nui-Rama form large swarms, this helps you do the same
Sand Tarakava, Lizard Rahi
Reptile
8
Place Rahi you control in Pendulum Zone (Quick Effect)
No particular lore relation intended, but complements Tarakava’s effect
So, you have set up the paired scales of your choice and Pendulum Summoned a bunch of monsters in one turn, now what do you do with them? The Rahi archetype offers two answers that fit in this section.
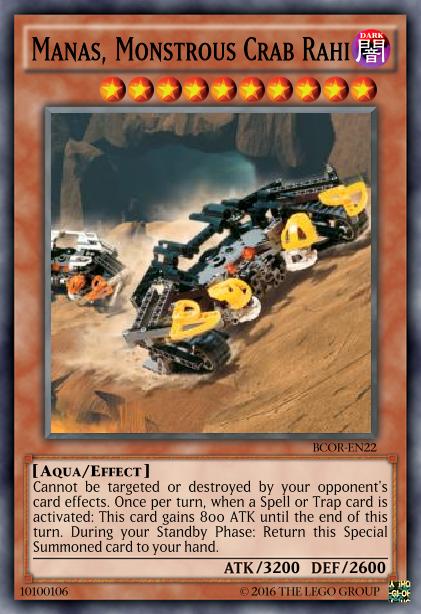
Manas, Monstrous Crab RahiFikou, Spider Rahi
You could just use them as tributes to summon the Manas, a big beefy boss with protection from targeting and effect destruction that can also power itself up further with heat (where heat means Spells and Traps). Or, if you want something more creative, you could add to the mix the Fikou, a little Level 1 Rahi that can banish itself from the GY and reduce a Rahi’s Level by 1 to Special Summon another Fikou from the Deck. Since it also happens to be a Tuner, this opens the path to some more big Rahi that live as Synchro Monsters in the Extra Deck.
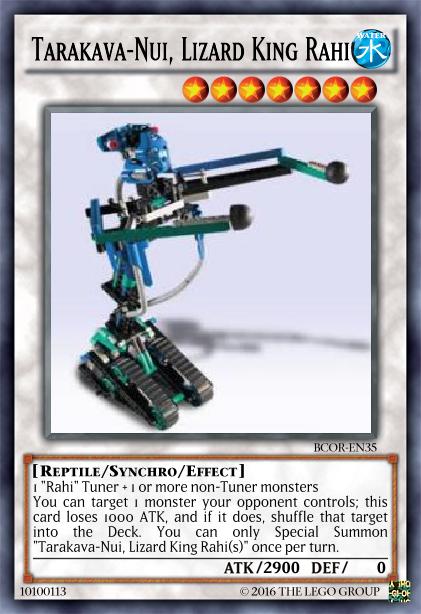
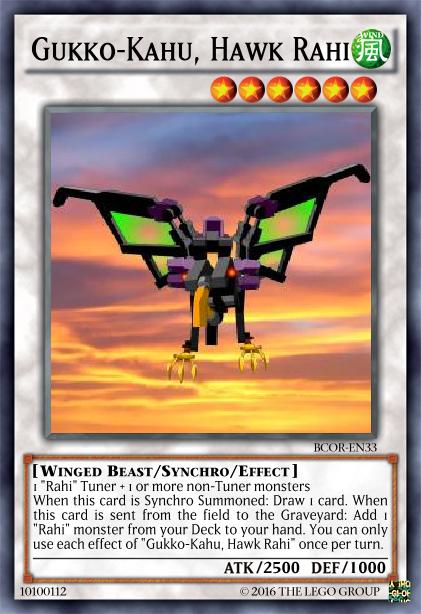
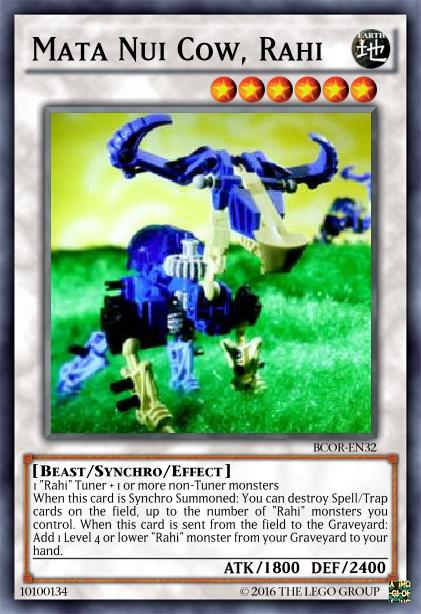
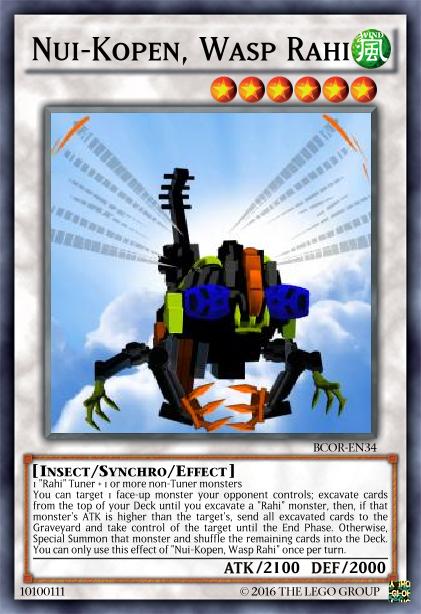
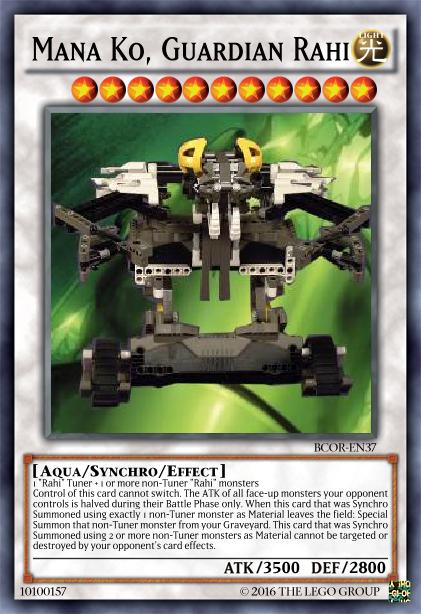
Tarakava-Nui, Lizard King RahiKuma-Nui, Rat RahiGukko-Kahu, Hawk RahiMata Nui Cow, RahiNui-Kopen, Wasp RahiMana Ko, Guardian Rahi
Basically, these are the combiners made from the Level 5 and above Rahi shown before, with a Mukau Mata Nui Cow snuck in because I guess it’s a combiner as well. All of them require a Rahi Tuner, and, the obvious bovine exception aside, are one level higher than their corresponding main deck monster. So that + Fikou makes the respective combiner. Since there aren’t really any major common features beyond that, I’ll have to briefly explain their designs one by one.
Tarakava-Nui, the king of the punchy lizards, punches things so hard they go back into the Deck. Rather than a regular once per turn restriction, each use is paid with 1000 of its 2900 ATK, so theoretically there’s nothing stopping you from buffing it a whole bunch and getting rid of the entire field that way. Might not be okay that that’s allowed. Well, at least there’s a clause preventing you from summoning multiple in a turn to make abuse a bit harder.
Kuma-Nui, the Muaka & Kane-Ra combiner that obviously represents a rat, can blow up Spells and Traps on the field at the start of the Battle Phase and buff itself if it hit any of yours. The choice between face-up and face-down cards grants you a limited way to control what exactly is affected, so you can selectively use it either for the ATK boost or to clear out backrow.
The Gukko-Kahu, a very important Rahi for the Matoran society and an alternate model of the Nui-Jaga set, couldn’t be screaming any louder to use it as an intermediary step in Synchro climbing. It straight up gives a draw when it enters the field and a search when it leaves.
The Mukau Mata Nui Cow is a Rahi that is not built from other Rahi, but from two Toa, namely the Gali and Pohatu sets. Therefore, its effects (which use the same triggers as the Gukko-Kahu) are modeled after the original versions of those Toa: One destroys Spells and Traps, the other recycles monsters in the GY.
The Nui-Kopen, alternate Nui-Rama model, played a significant role in the 2001 storyline’s most prominent example of mind control via infected masks, so it has an effect that lets you take control of an opponent’s monster. The excavation stuff to go along with that really doesn’t have any deep reason, just thought it would be fun when I made this. I wasn’t wrong.
Finally, the Mana-Ko is the biggest Rahi so far, outdoing even the Manas (its base model) with a Level of 11 and 3500 base ATK. On the effect side, it’s immune to control changes (Order of Mata Nui mental shielding, says the LORE), halves your opponent’s monsters’ ATK during their Battle Phase to make destruction by battle unlikely, and has a different third effect depending on its materials. If there was just one non-Tuner, it floats into that monster, which will usually be a Manas. If there were multiple, it instead gains the same protection as the Manas. Since this is the final big boss, it has the special condition of requiring Rahi for both the Tuner and non-Tuner materials.
Level 4 Rahi (Effect Pendulums / Synchro Fodder)
Moving on to less gargantuan beasts, we have a category mainly composed of models from the Master Builder Set (which was technically from 2002, but contained a lot of Rahi that already appeared in 2001 material). Their shared features are exactly two:
They can be Special Summoned from the Pendulum Zone if you control no monsters.
Using them as Synchro Material grants the summoned monster additional effects.
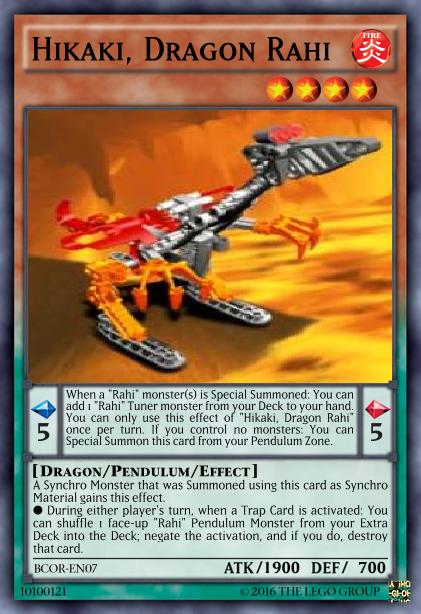
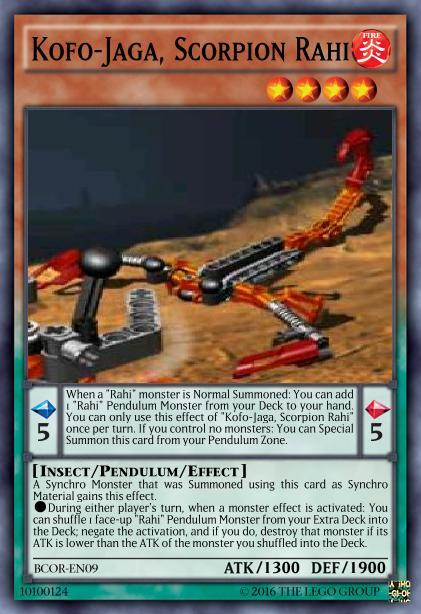
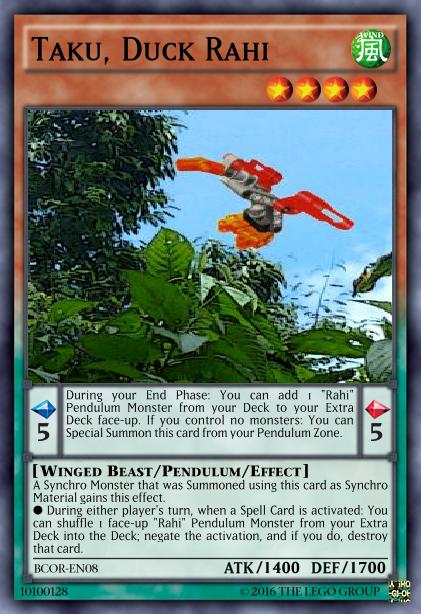
Beyond that, they can be divided more or less loosely into three distinct subgroups. The first is what I sometimes call the “negation Rahi”.
All of these grant the Synchros summoned with them a nearly identical effect, which allows negating activations of a certain card type by shuffling Rahi Pendulums from the Extra Deck back into the Deck. This is also not once per turn, so it can get really oppressive depending on how loaded up on ammo you are. Their unique Pendulum Effects are designed to work as a little engine that helps set all of this up, so this trio of Rahi actually serves as a pretty good centerpiece for a deck.
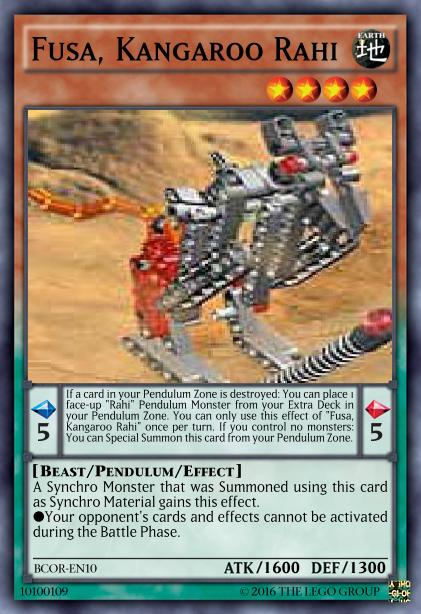
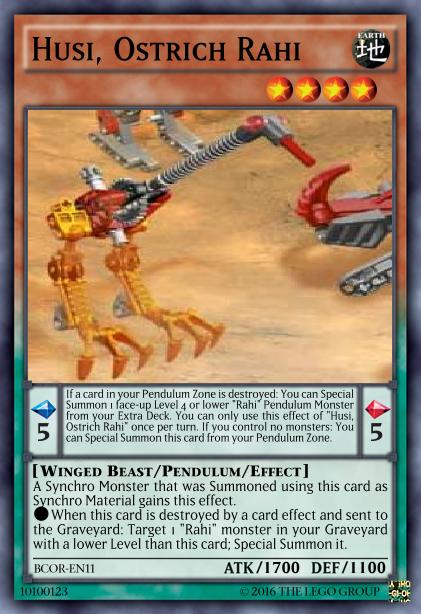
As the second group we have “destruction Rahi”, which are connected through their Pendulum Effects that all trigger when another card in the Pendulum Zone is destroyed.
This potentially serves as a counterplay to an opponent’s attempt to destroy Pendulum Scales (though hitting the monster with the destruction trigger would avoid this, so you can’t really expect it to happen), but more importantly has synergy with some other Rahi that blow themselves up with their Pendulum Effects. We have already seen the Tarakava, and a few others will follow in the Level 3 section.
The Pendulum Effects can be quickly summarized by saying that the Fusa replaces the destroyed scale, the Husi gets you a Special Summon from it, and the Makika destroys an opponent’s card in retaliation. The monster effects on the other hand are a bit more diverse.
The Fusa makes it so the Synchro Monster that used it as material shuts down all your opponent’s effects during the Battle Phase.
The Husi, similar to its Pendulum Effect, makes the Synchro float into reviving a lower Level Rahi monster.
And the Makika also continues its original theme of retaliation by allowing a Synchro Monster to strike back in a rather painful way against any monster that destroys it by battle.
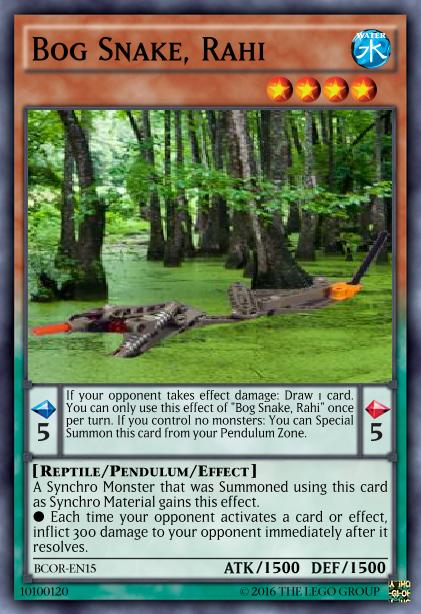
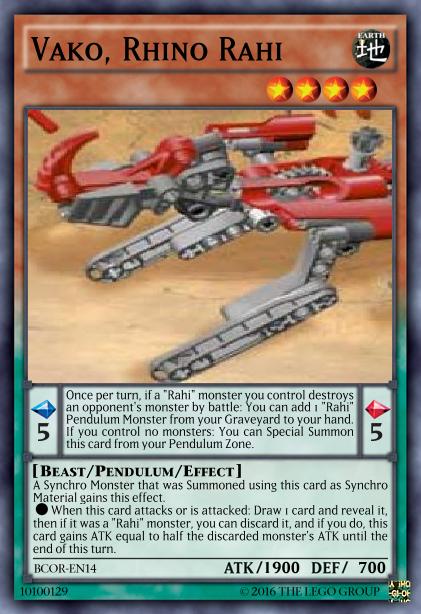
With these two sub-sub-themes done, it’s about time to admit I lied a little when I said there were three groups. It’s actually more like two groups plus the rest that doesn’t fit into either of them. Each of these leftover Rahi instead just kind of synergizes with itself.
The Takea can double a Rahi’s battle damage from the Pendulum Zone, and a Synchro Monster summoned with it can Special Summon additional Rahi from the Deck in proportion to the battle damage it inflicts.
The Bog Snake makes Synchros gradually damage your opponent as they play, and in the Pendulum Zone lets you have a free draw per turn if your opponent takes effect damage.
The Vako gives Synchro Monsters a chance to increase their ATK when they battle, or alternatively just draw you a card. The Pendulum Effect lets you have the best of both worlds from this effect because you can immediately recover a Rahi from the GY if your Rahi destroys an opponent’s monster by battle.
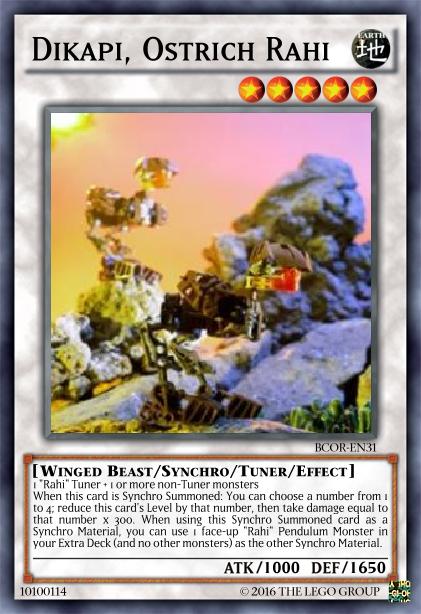
Finally, there is a Synchro specifically designed to go with these cards.
The Dikapi, a combiner of Pohatu and Onewa, has exactly the right level to be made with a Level 4 Rahi plus the Fikou. Once on the field, it can then change itself to any lower level and reuse the Rahi Pendulum Monster sent to the Extra Deck this way for another Synchro Summon. So Level 4 Rahi + Fikou makes any Synchro from Level 5 to 9, which then gains whatever effect the Level 4 grants.
Level 3 Rahi (Effect Pendulums / GY and banish shenanigans)
One step further down on the Level ladder, we find another type of Rahi. These are characterized by having two monster effects that trigger when sent to the GY and banished, respectively, plus one Pendulum Effect following no particular pattern. Their Pendulum Scales are all 2, so when paired with the Level 4 Rahi who all have a Scale of 5, it becomes possible to summon exactly the Rahi from this section and the previous one.
There is one additional pattern that can be found in some of these monsters, namely that the GY trigger effect consists of Special Summoning another Level 4 or lower monster of the same Attribute from the GY. This obviously has some really broad synergy with the non-custom card pool, so chances are they’re completely broken in the hands of someone making even a little effort to abuse them. Anyway, let’s look at what else they do.
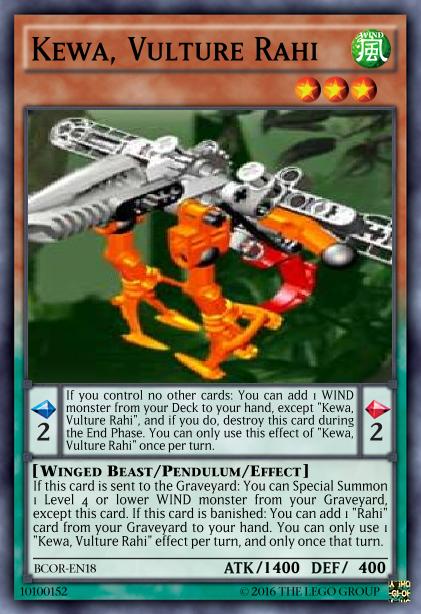
Search a WIND monster, destroy self during End Phase
Add Rahi card from GY to hand
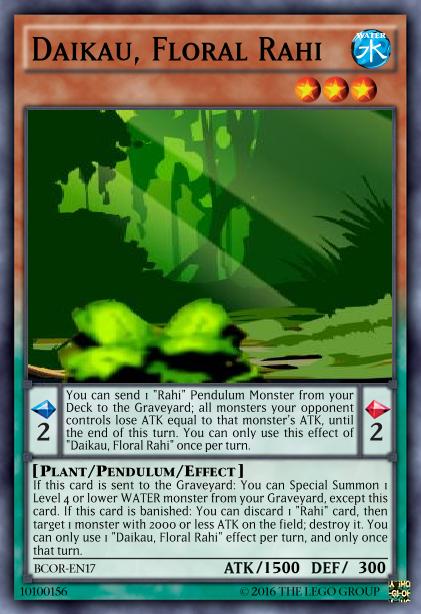
Daikau, Floral Rahi
WATER
Send Rahi Pendulum from Deck to GY to reduce ATK of opponent’s monsters
Discard Rahi to destroy monster with <=2000 ATK
Other Level 3 Rahi provide a variety of effects to support the archetype, and mostly its Level 3 or lower subset.
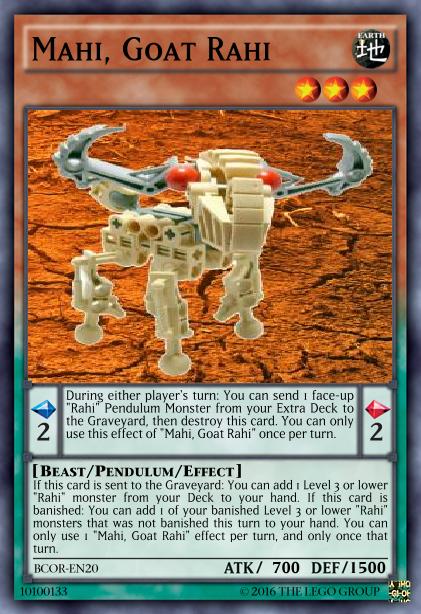
The Mahi‘s Pendulum Effect provides the solution to the glaring inherent problem Pendulum Monsters with GY effects have: They go from the field to the Extra Deck rather than to the GY. This effect allows you to send a Rahi where you actually need it to be and then destroys the Mahi itself, potentially triggering the effect of the other Scale. Its own GY trigger is a simple search for Level 3 or lower Rahi monsters (notably, even itself – not sure anymore how intentional that was), and its banish trigger brings a Rahi banished in a previous turn back to your hand.
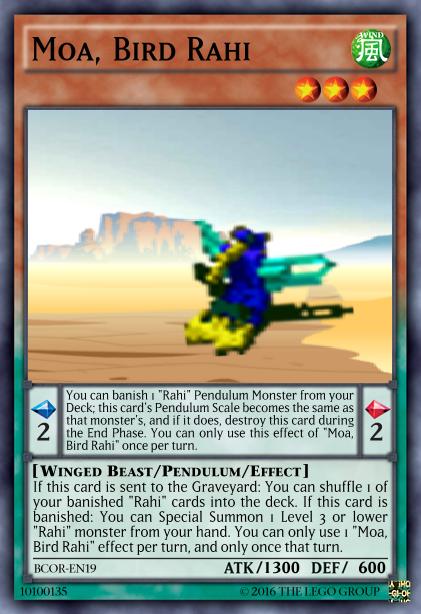
The Moa can switch its Pendulum Scale to another Rahi monster’s by banishing that monster directly from the Deck, which of course has the very valuable alternate use of just immediately triggering any banish effect you might want. When sent to the GY, it puts any Rahi card back into the Deck, and when banished it Special Summons a Level 3 or lower Rahi from the hand.
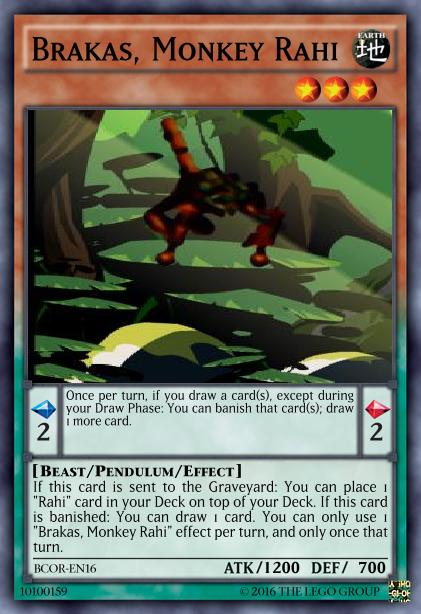
The Brakas has overall much less archetypal effects and is another of those cards that mainly has synergy between its own different effects. When sent to the GY, it places any Rahi card from the Deck on top of the Deck. When banished, it lets you draw a card. And in the Pendulum Scale, it gives you the option to banish that card (which may very well be a Rahi with a banish trigger) to immediately draw one more.
For this group as well, there are some Synchro Monsters that go with it. Both of them are based on official models that also came out in 2001, but don’t have any actual relation to the sets that were sold in stores.
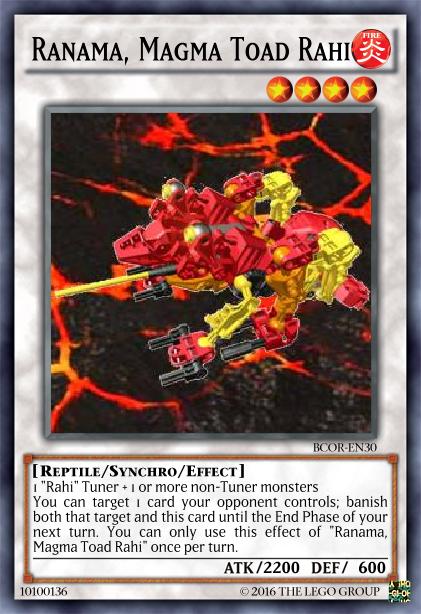
Kirikori-Nui, Locust RahiRanama, Magma Toad Rahi
Kirikori-Nui is itself a Level 3 Rahi, meaning it can be made just by putting any of the main deck monsters from this section on the field while having a live Fikou in the GY. And it is also a valid target for any of the many effects specifying Level 3 or lower Rahi, like the Ussal or Mahi. With its own effects, it can send a Rahi directly from the Deck to the GY to reach a more respectable ATK value, or non-targetingly get rid of another card by temporarily banishing itself.
The Ranama offers a similar form of removal, but instead temporarily banishes both itself and the other card. However, this does target, so which is more effective mostly depends on the situation.
Level 2 Rahi (Tuners / Handtraps)
With all these Pendulum Monsters and Synchro Monsters, it’s starting to look like the Fikou is a bit overloaded as the sole main deck Tuner of the archetype. And that’s why there are also others.
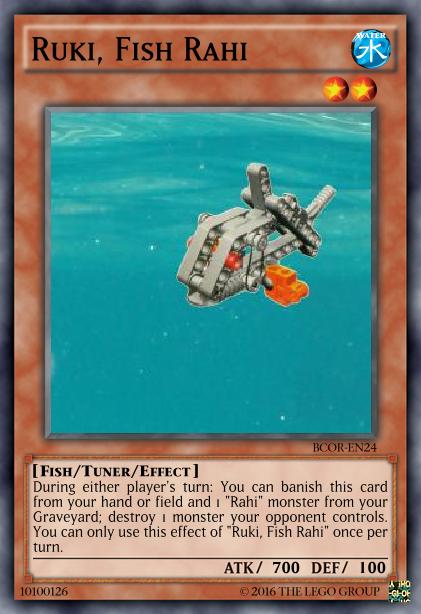
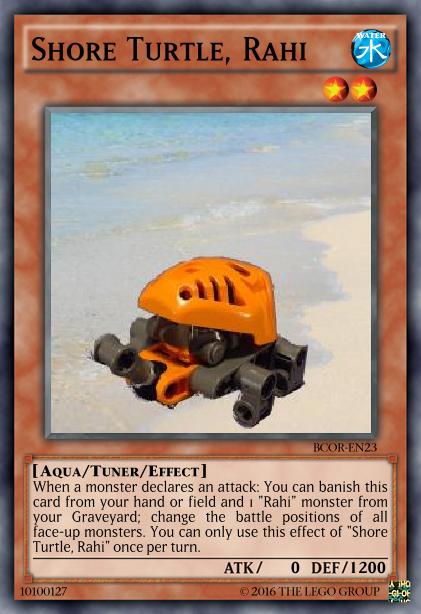
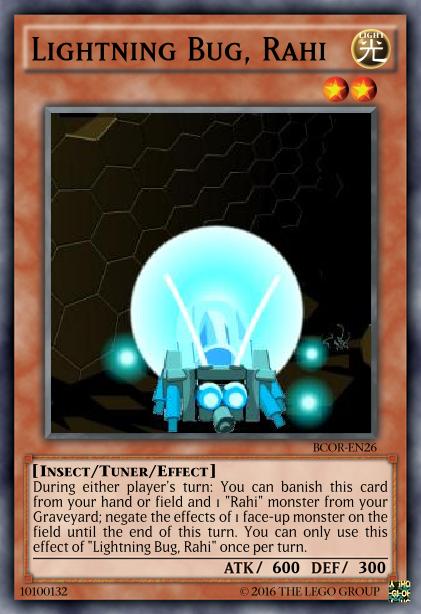
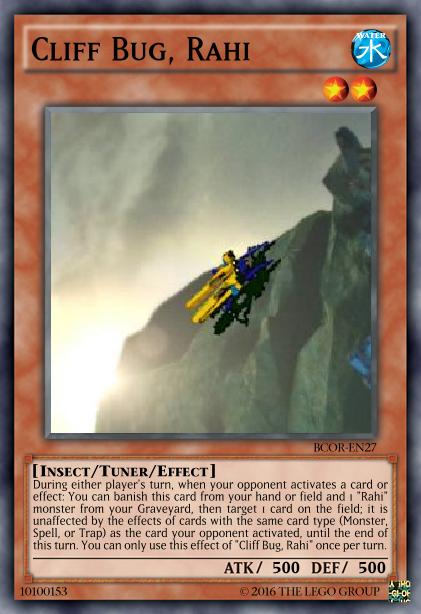
These Level 2 Rahi all have powerful handtrap-like effects that require you to banish themselves from the hand or field and an additional Rahi from the GY, so combining them with the Level 3 Rahi is key to using them to their fullest potential.
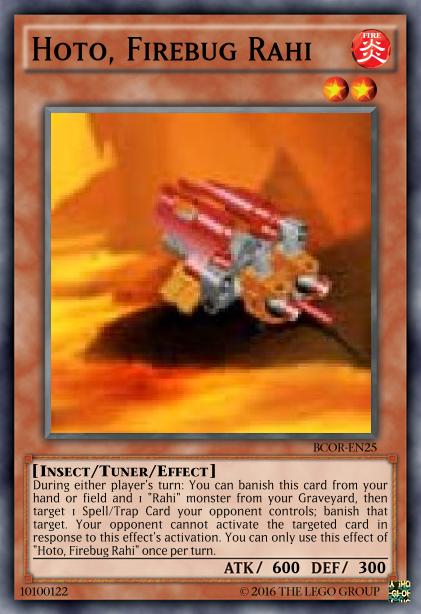
The Hoto banishes a Spell or Trap from the field, the Ruki destroys a monster, the Shore Turtle changes all battle positions on the field in response to an attack (I’ve had a lot of fun with this one), the Lightning Bug negates a face-up monster’s effects, and the Cliff Bug makes a monster unaffected by a certain card type depending on what your opponent is trying to do.
A particularly fruitful strategy is combining these little guys with the Mahi from the Level 3 section, which searches them when it goes to the GY and can recycle a monster banished in a previous turn when it gets banished as cost. With multiple of them, you can set up a nice stable loop.
Rahi Spells/Traps
In addition to the plentiful monster lineup, there are also some spells and traps belonging to or supporting the Rahi archetype. Keeping with the theme of Pendulum Monsters with GY effects and to establish a connection with Makuta, all the Spells also have secondary effects that can be activated by banishing from the GY.
The cards that are formally part of the Rahi archetype depict various key events in the struggles between the Matoran of Mata Nui and the Rahi controlled by Makuta.
Devastation of the Rahi is based on the battle that became the origin of the charred forest, and with its main effect essentially provides that kind of brutal mutual (brutual?) destruction between your Rahi and whatever the opponent is playing. The GY effect further makes use of any Rahi that may have ended up there to banish something from the field.
Siege of the Rahi takes its inspiration from the Tarakava attack on Ga-Koro, using the pressure of a big Rahi on the field to make small monsters your opponent summons take refuge in the face-down Defense Position, rendering them mostly useless. However, the Siege ends as soon as you do not have said big Rahi anymore, so the GY effect simply helps you protect them.
Infection of the Rahi, the only Trap bearing the Rahi name, covers the devious scheme of a certain Po-Koro merchant collaborating with Makuta. Rather than simply beating down their enemies, your Rahi will now be used to infect them, which lets you take control of them at the end of the turn. This only lasts as long as the card remains intact, but it deals some damage when it leaves just to be petty.
Rahi Swarm is about the Nui-Rama swarms attacking Le-Koro, and similar to the concept of the Nui-Rama’s own effect, it searches Rahi with matching types – so you can complete the properly paired scales of the big Rahi in one shot. In the GY, the word “swarm” is taken literally in a different sense, and it just helps you swarm the field.
Rahi Hive Showdown, the card version of the iconic battle between Onua and an infected Lewa, takes control of one high-ATK monster your opponent controls if they have multiple, pitting the two heroes against each other. In the GY, it can steal a small monster from your opponent during their Main Phase, which is obviously quite annoying. Yeah, despite being a Rahi card in name, this doesn’t really interact with the Rahi archetype at all, other than being searchable and stuff.
The opposite is true for the following three cards, which support Rahi without having them in their name.
The Island’s Dark Tyrant represents Makuta’s ability to control not only the Rahi, but the very land itself. Which he barely ever used, but whatever. The main thing this card does with both its regular activation and banish-from-GY effects is Special Summoning a Token that also counts as a Rahi, which can then be used as Synchro fodder. And with an active Field Spell, it can be activated from the hand.
Encounter in the Drifts is a Counter Trap that responds to an opponent’s Summon by having a Rahi suddenly pop out. So suddenly, in fact, that there is not even a way to respond to the Summon. Technically the restriction of only being able to Summon Rahi of lower or equal levels than the opponent’s monster contradicts the depicted scene of a Muaka (Level 7) surprising Matoro (Level 2), but this way is pretty fun anyway.
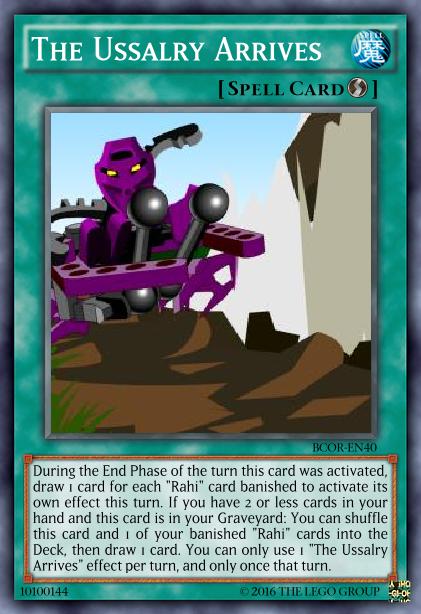
The Ussalry Arrives works more or less like Super Rejuvenation, giving you a number of draws in the End Phase equal to how many Rahi you banished for their own effects this turn. Meanwhile, in the GY, it can just recycle itself and some banished Rahi card into the Deck in order to draw yet another card. You can always count on the Ussalry as reliable backup.
Conclusion
There are a lot of Rahi. There are, in fact, way too many Rahi to really say there is one specific way of playing them. Depending on how you mix and match the different Level ranges and themes, you could
go full caveman beatdown with Kane-Ra, Muaka, Kuma-Nui, Takea, Vako, etc.
use the Hikaki/Kofo-Jaga/Taku negation trio to make arbitrary Synchro Monsters into game-controlling bosses.
use cards like Siege, Showdown, or the Level 2 Tuners to constantly interfere with your opponent’s attempts to play.
do any combination of the above.
probably follow some other (possibly broken) strategy I didn’t even consider.
The broadest statement I can make is that whatever you play, you’re probably going to get a lot of mileage out of filling up the GY, which is kind of a funny property for a Pendulum archetype to have. If (when?) I eventually update these designs, I definitely want to keep that aspect, and I’ll probably focus more on establishing concrete sub-strategies for the archetype (perhaps divided by Type?) so it becomes easier to balance in a controlled way. This seems especially important considering new Rahi will be added for many, many expansions (hell, Rahi Beasts didn’t come out until 2005), and I’ll have to find a way to design them so they fit neatly into the archetype’s card pool. That’s going to be a challenge, a Challenge of the Rahi you could say. Ha.
Various sample decks are included with the BCOR release in the deck folder.